


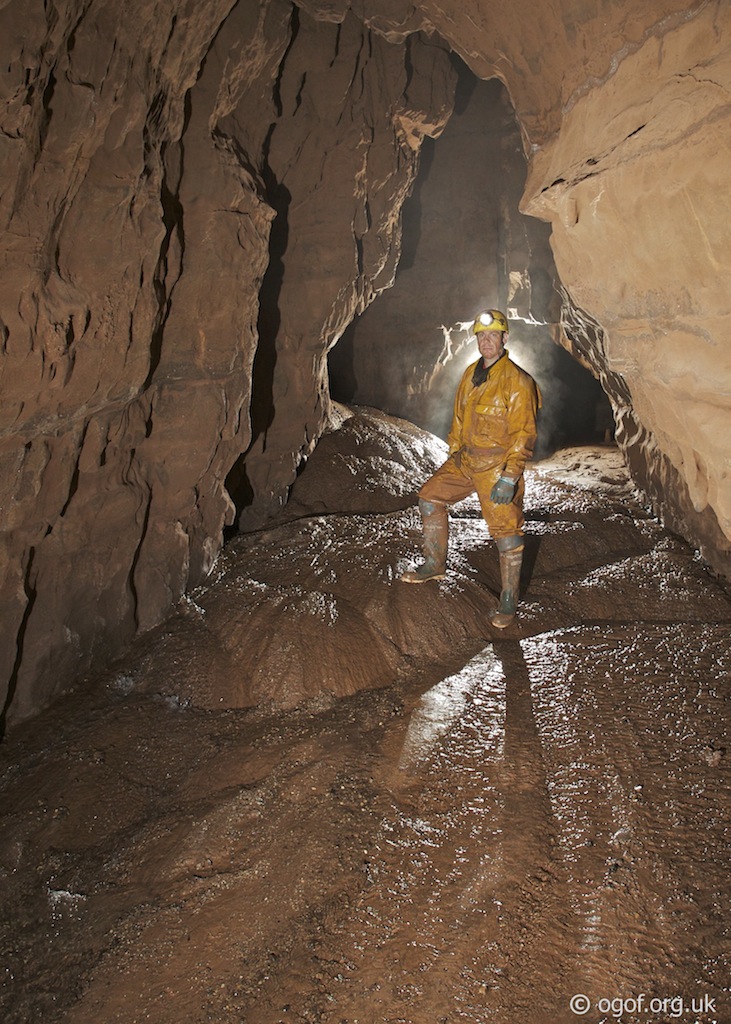
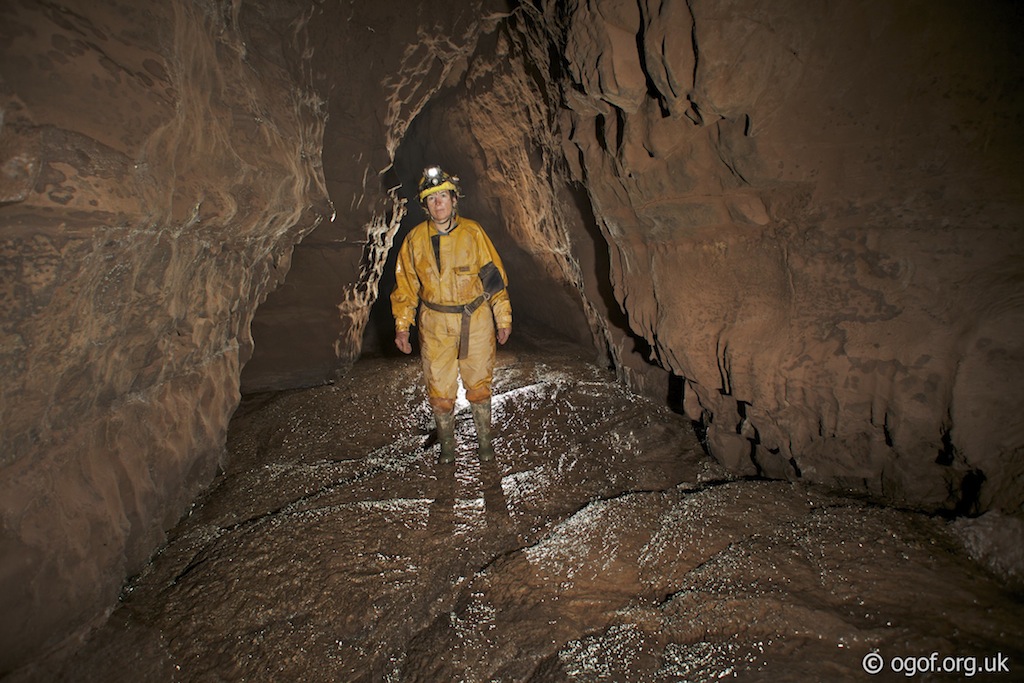
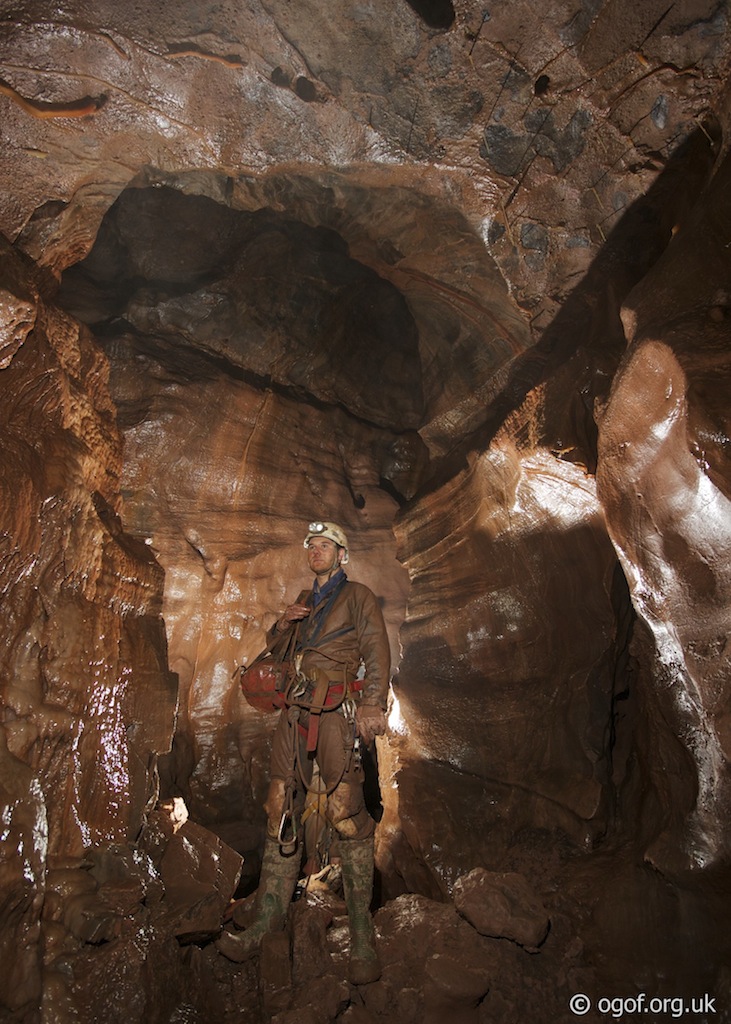
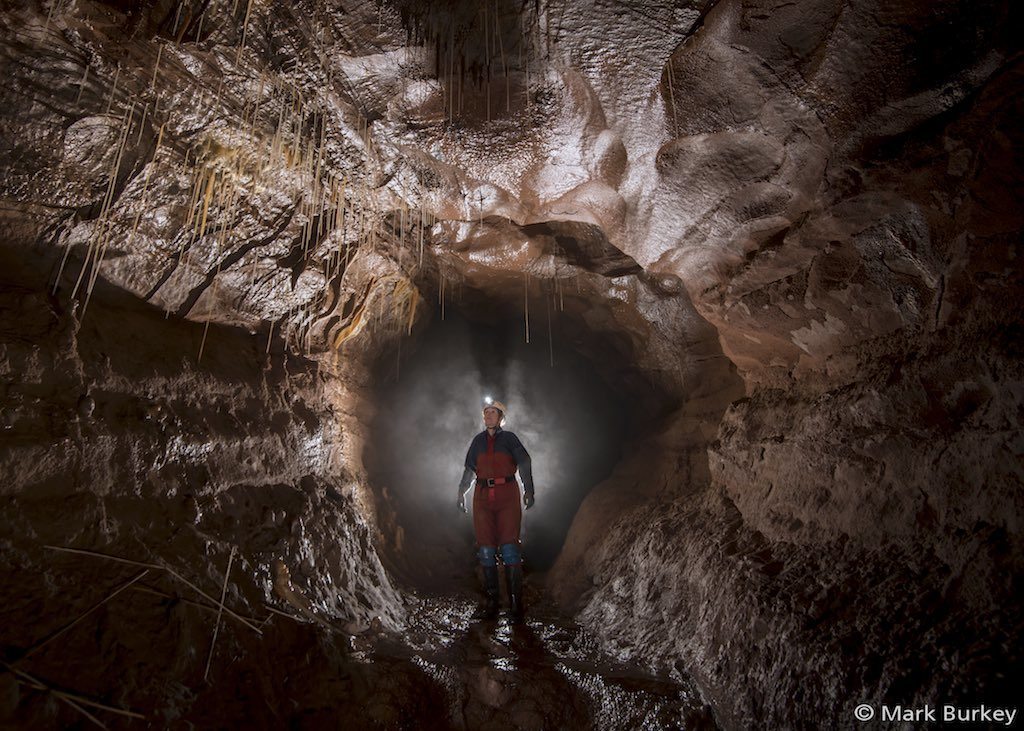
Overview
The Cwm Dwr Entrance to the OFD cave system starts as a climb down a shaft and then follows some tight crawls to enter the heart of the mighty Ogof Ffynnon Ddu cave system. From this point a maze of passages can be explored leading to the lower OFD I section of the cave and via the streamway to the upper OFD II part of the system.Length 900m+ to the connection with Ogof Ffynnon Ddu
60,600m - approximate length of the entire OFD system
Altitude 335m
Grid SN 85738 15605
History
The cave was first uncovered by quarrying and then explored by the Dragon Caving Group in 1937. The cave was reopened by the South Wales Caving Club in 1957 and then in 1966 the cave was connected to the OFD II cave by digging.
Location
Cwm Dwr Quarry Cave is located in the disused quarry beside the Headquarters of the South Wales Caving Club. This cave entrance leads to the middle section of the Ogof Ffynnon Ddu cave system with the OFD 1 entrance lower down the hill and OFD 2 entrance further up the hill.Swansea Valley Google map showing the location of Cwm Dwr and other caves in the area.
Location map - click marker to show entrance photo
Access
The cave is gated and governed by a permit system, administered by the South Wales Caving Club on behalf of Natural Resources Wales.
Description
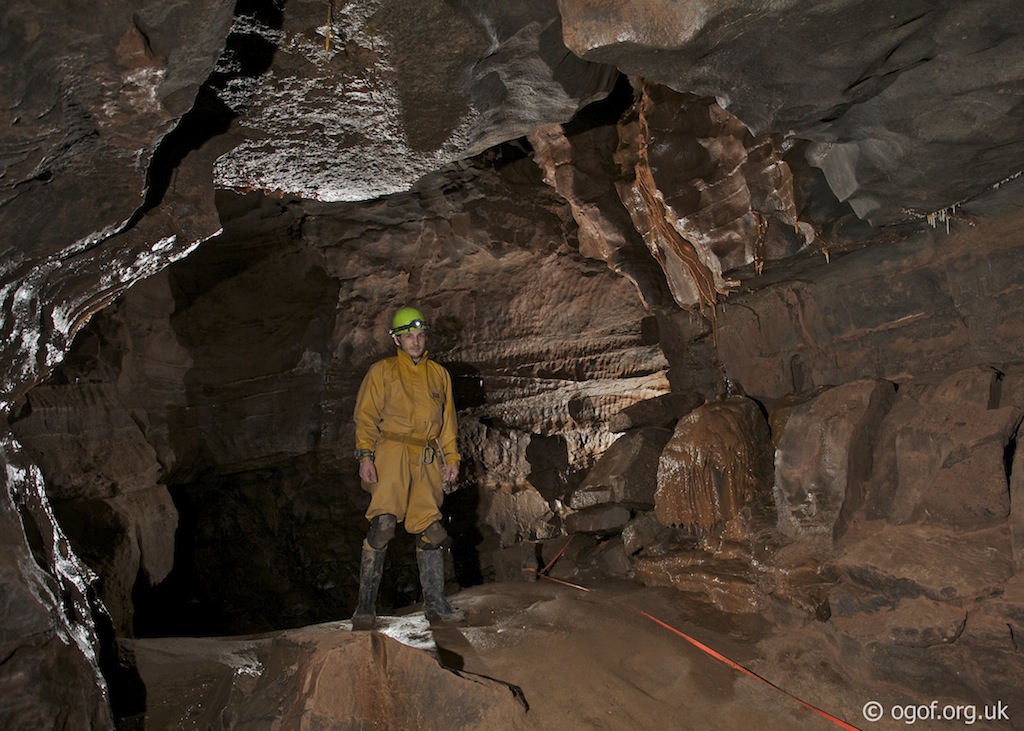
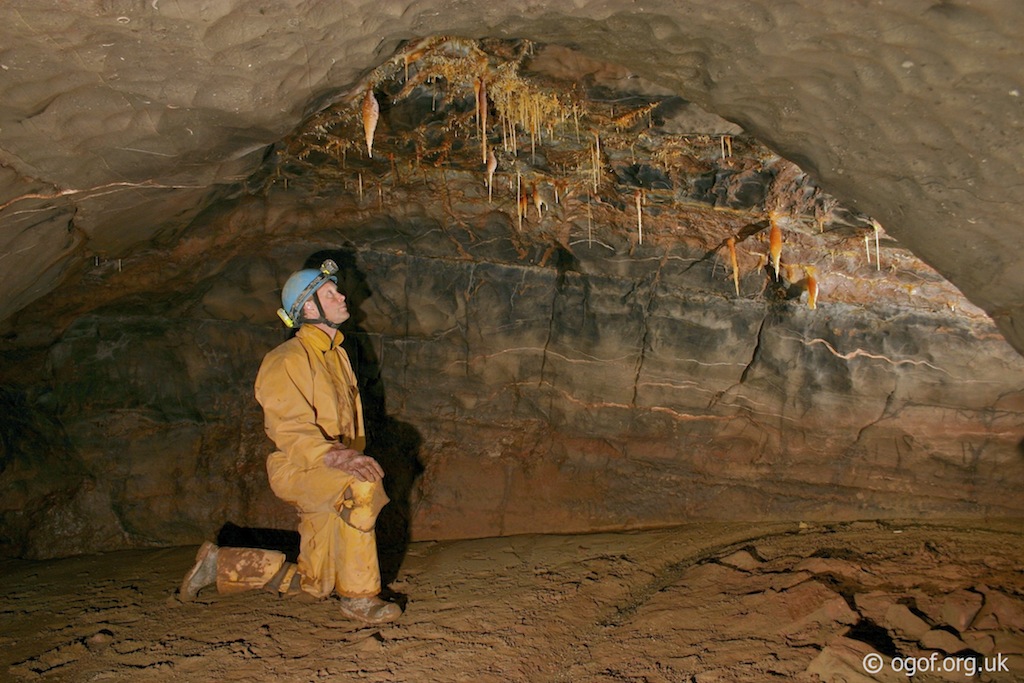
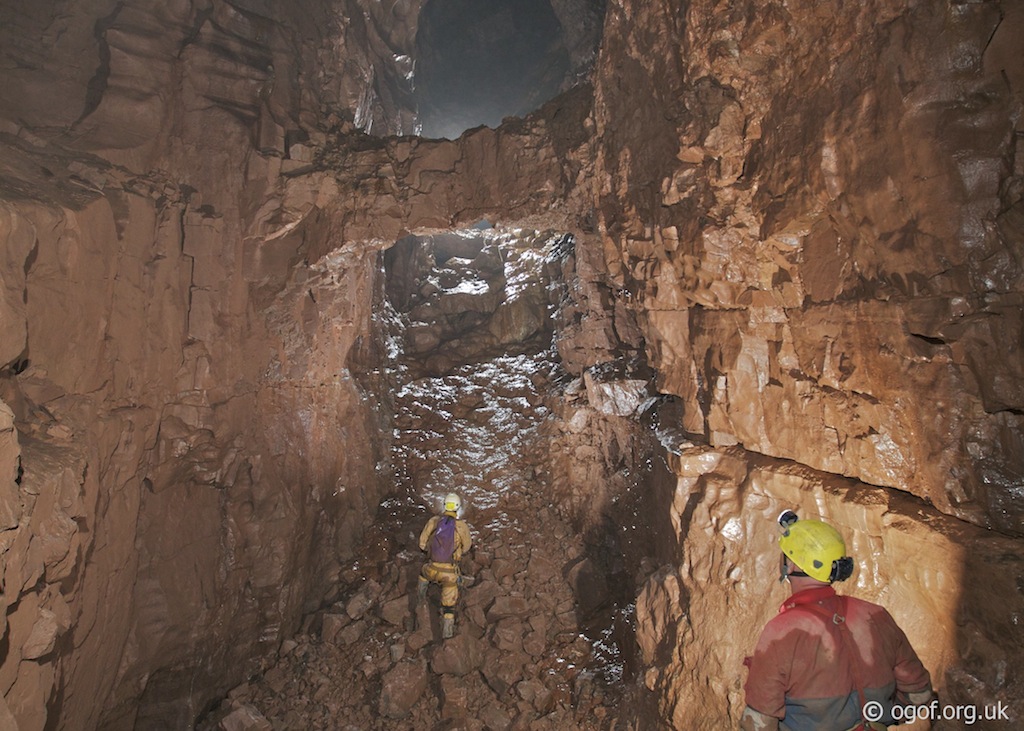
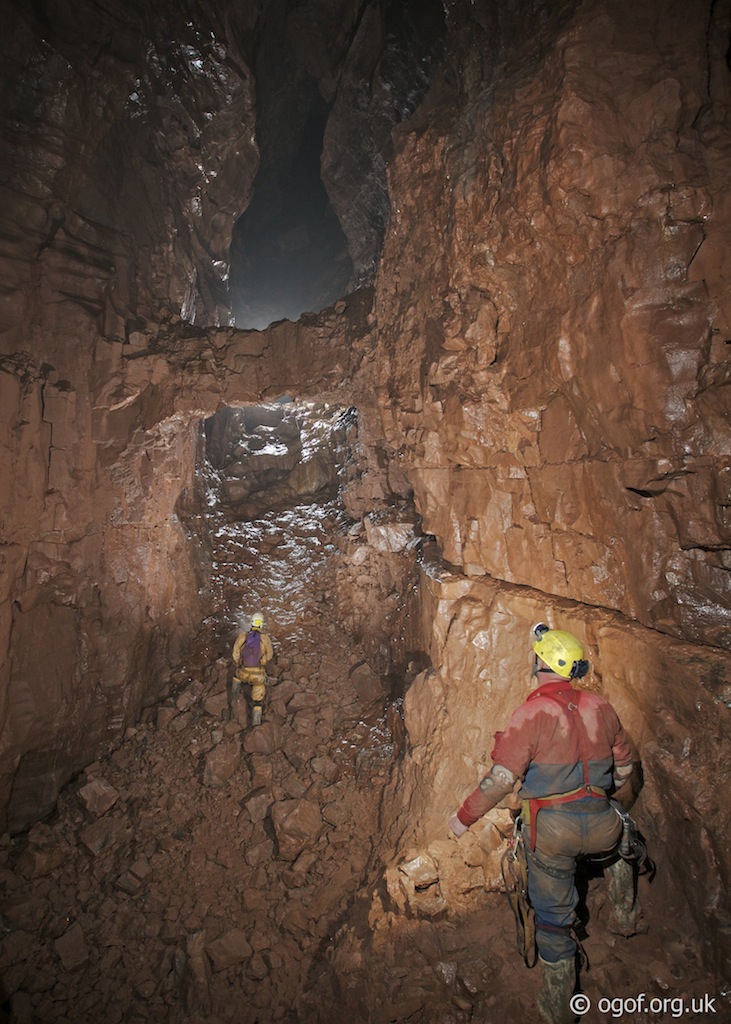
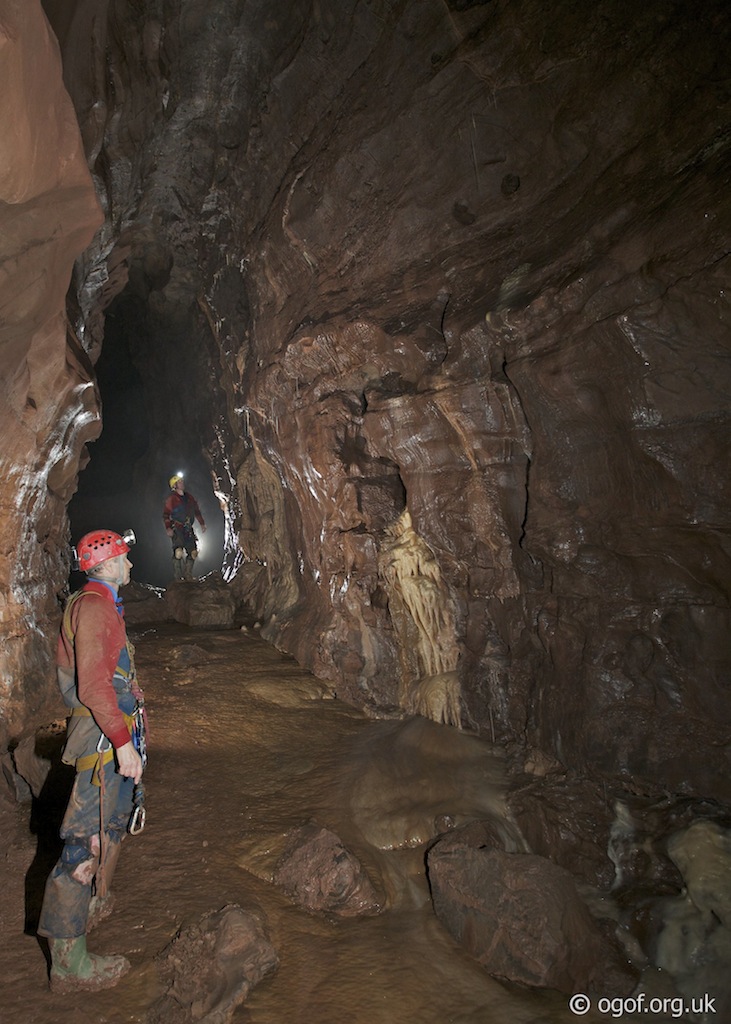
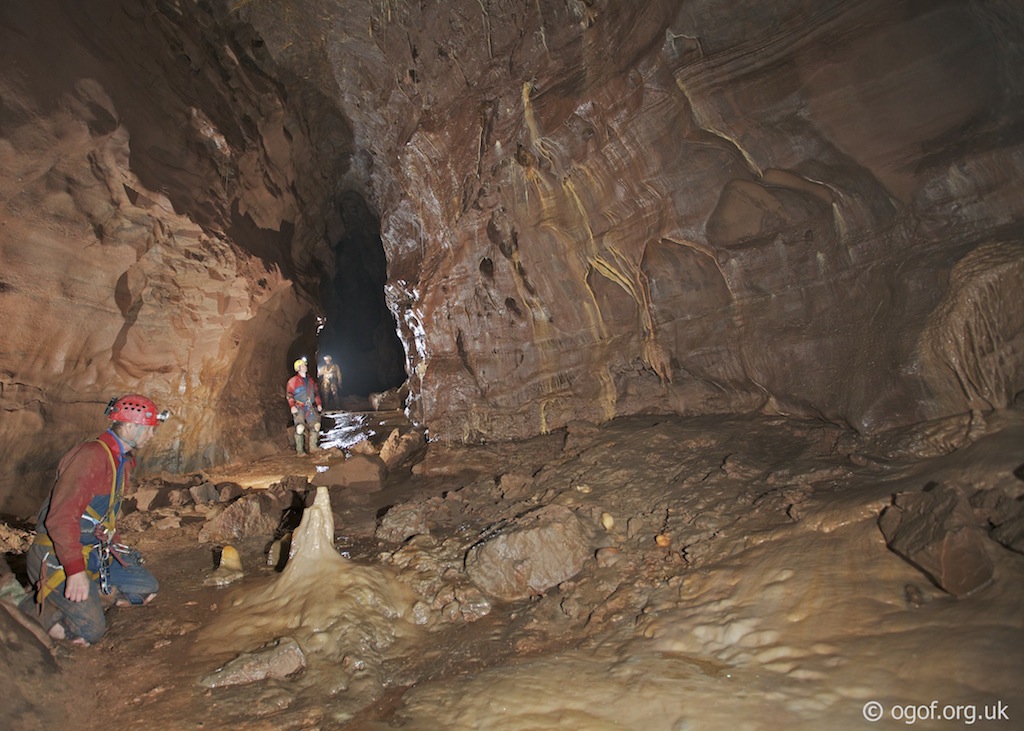
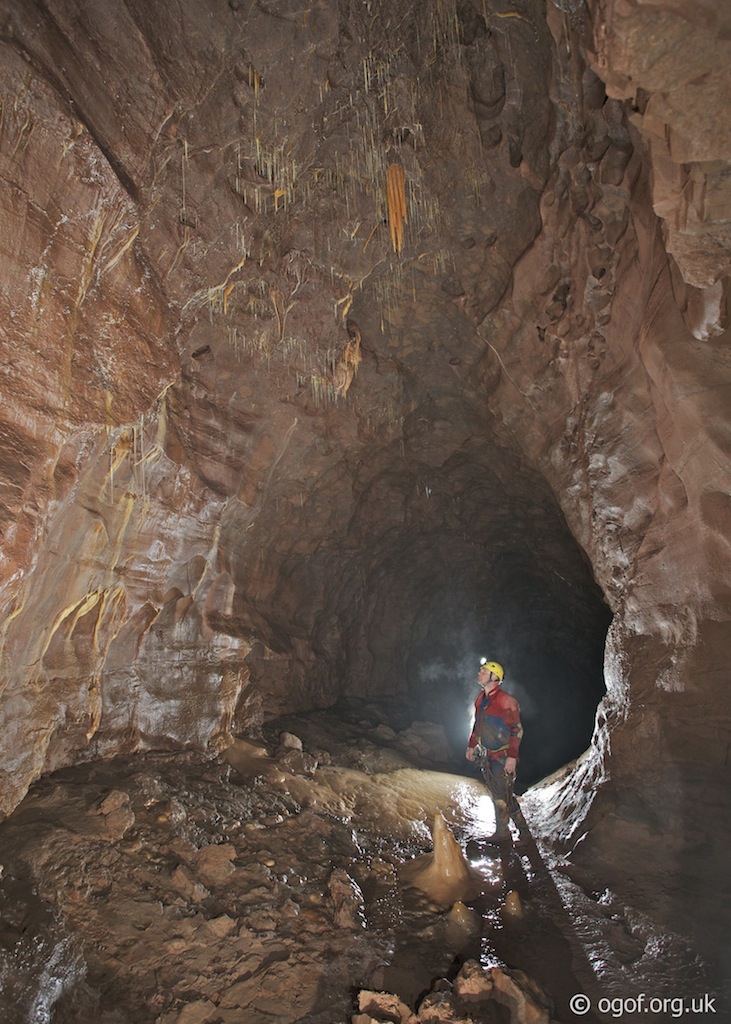
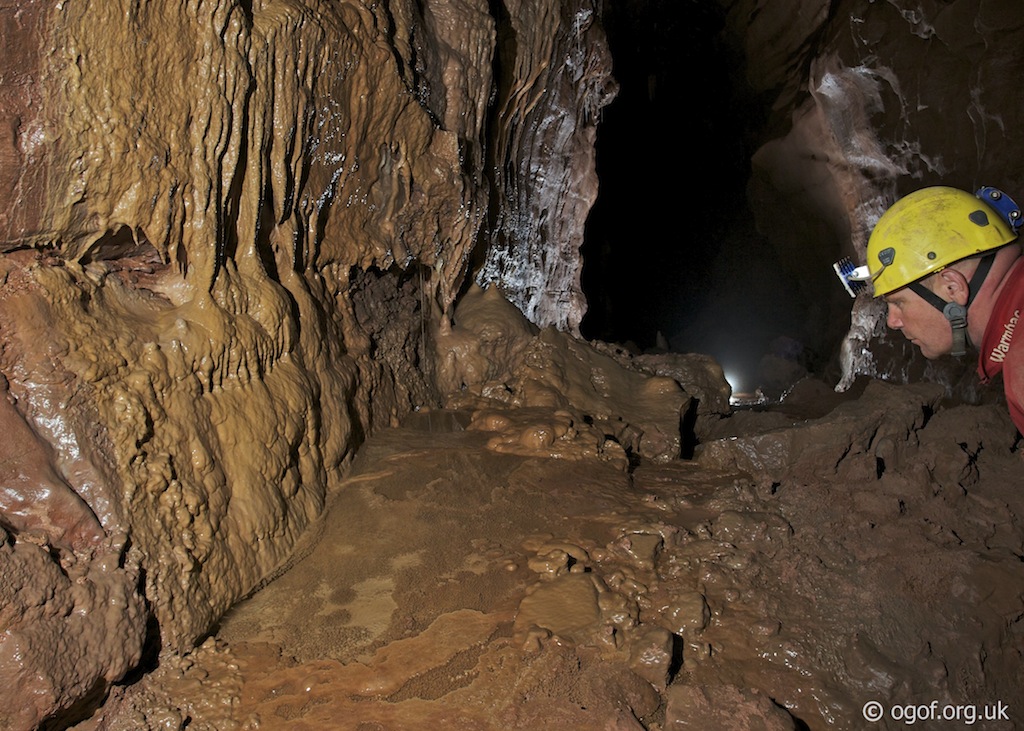
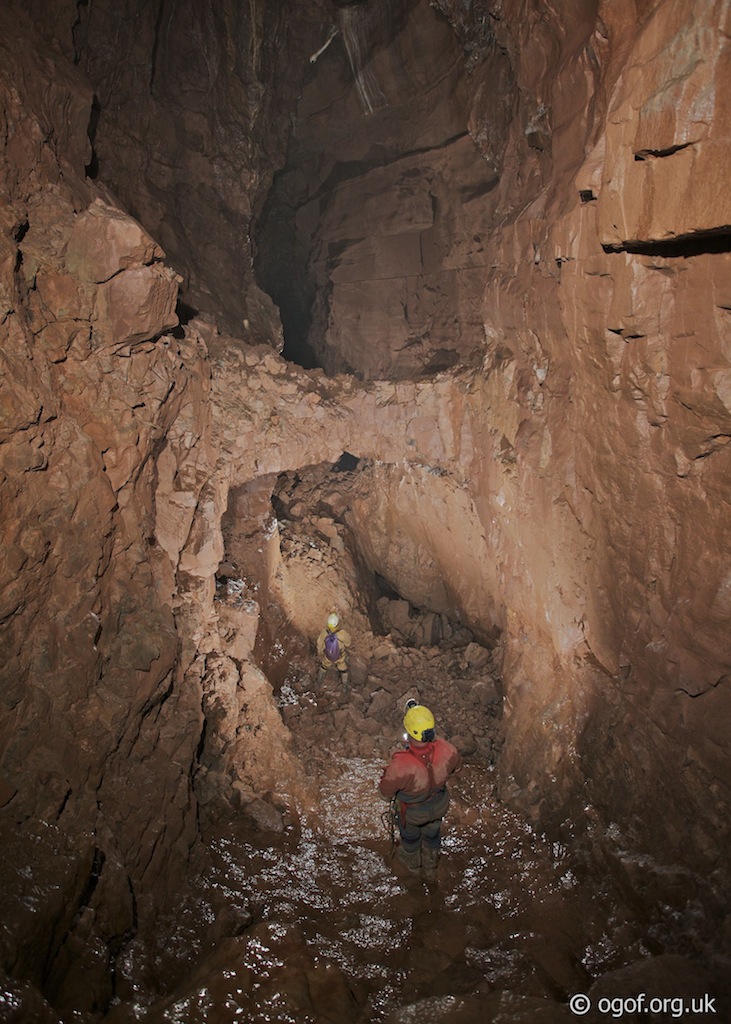
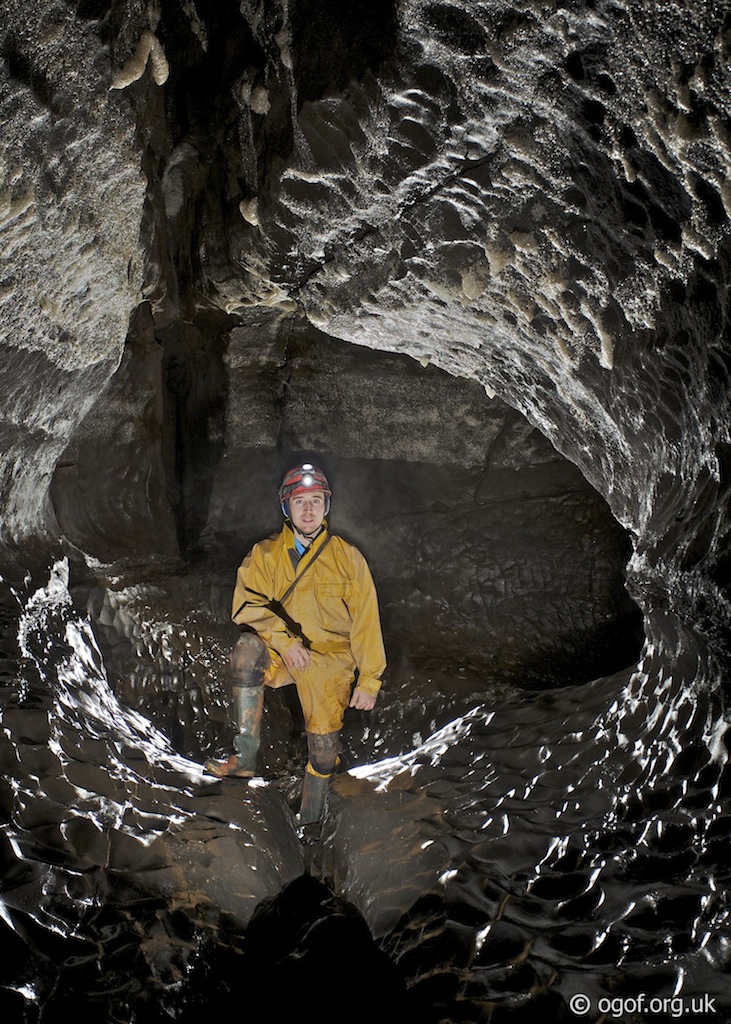
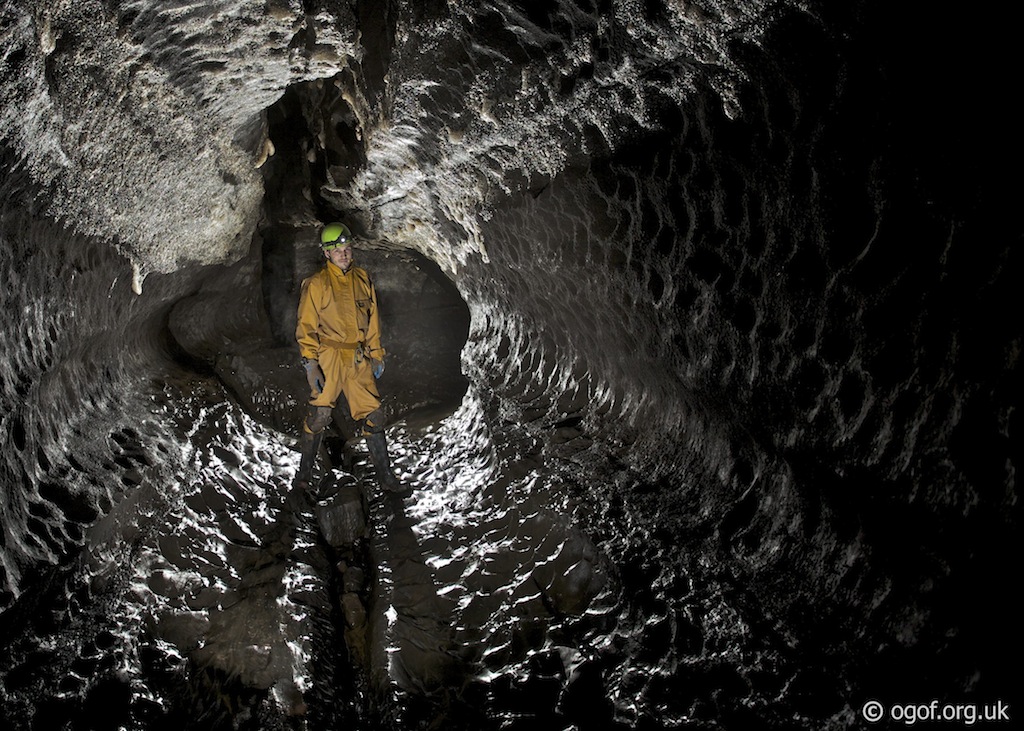
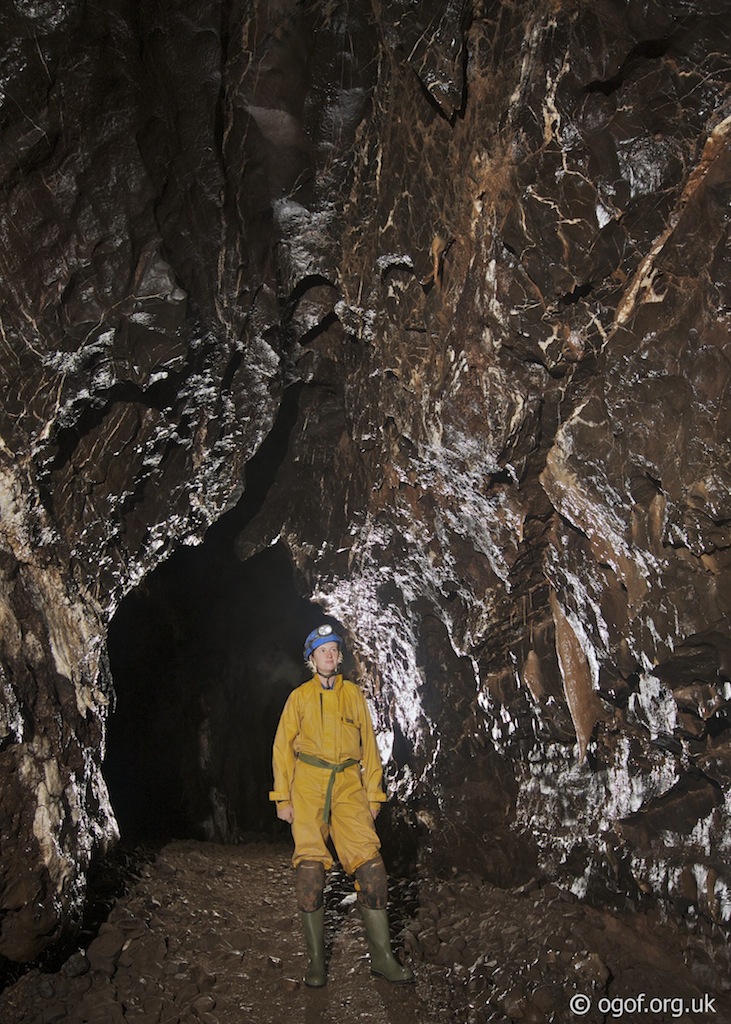
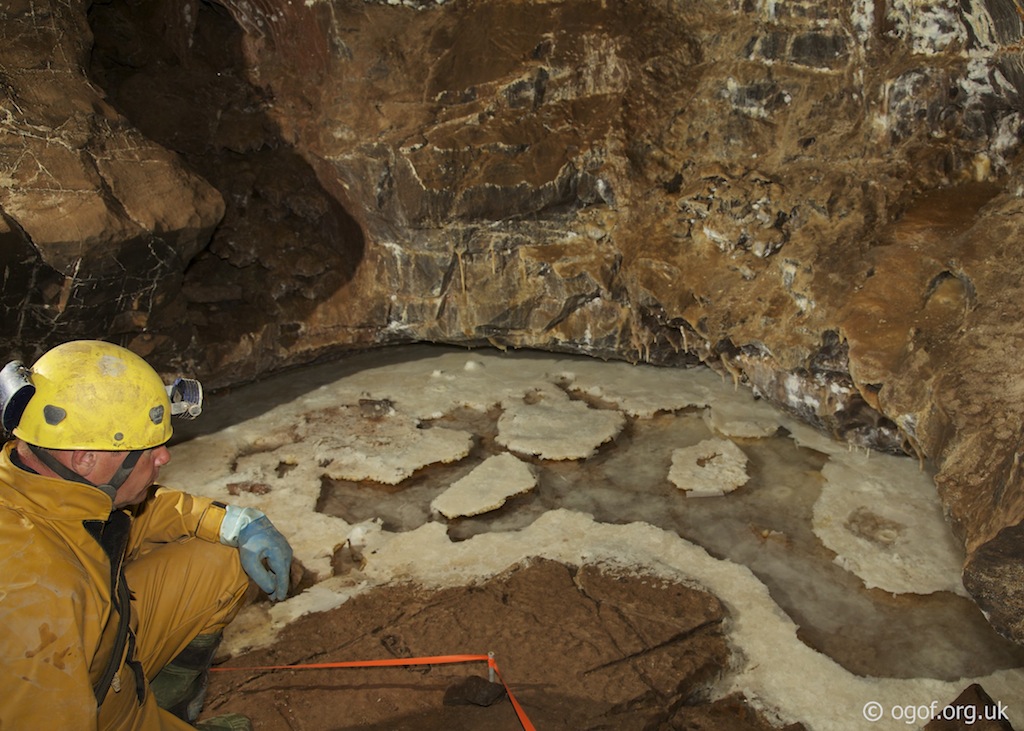
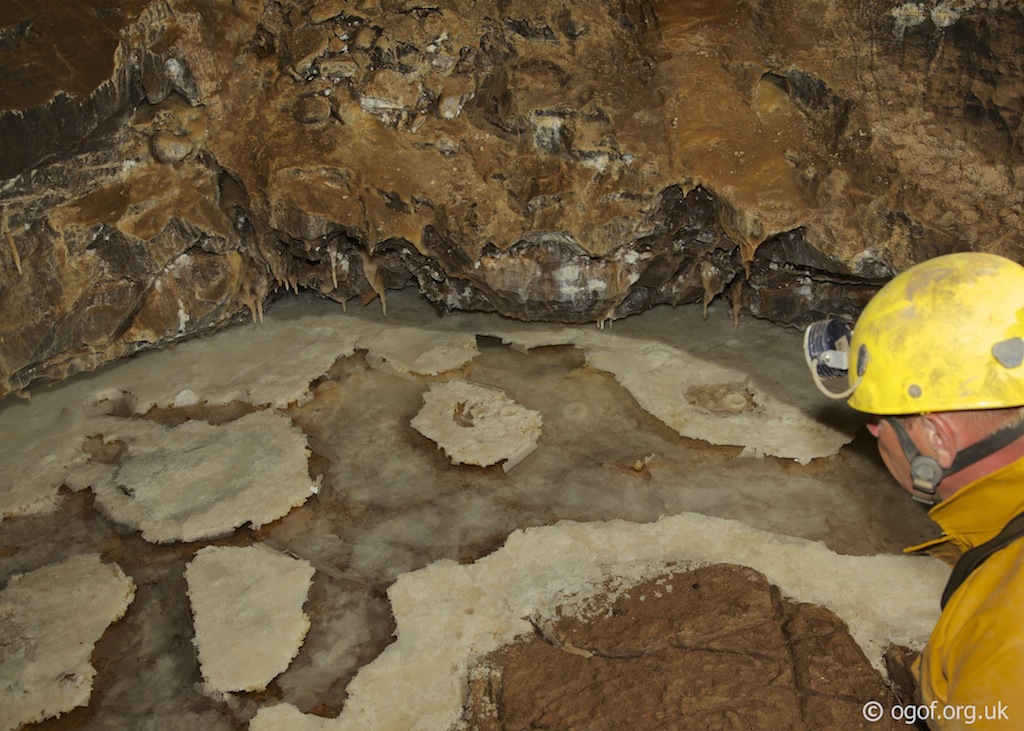
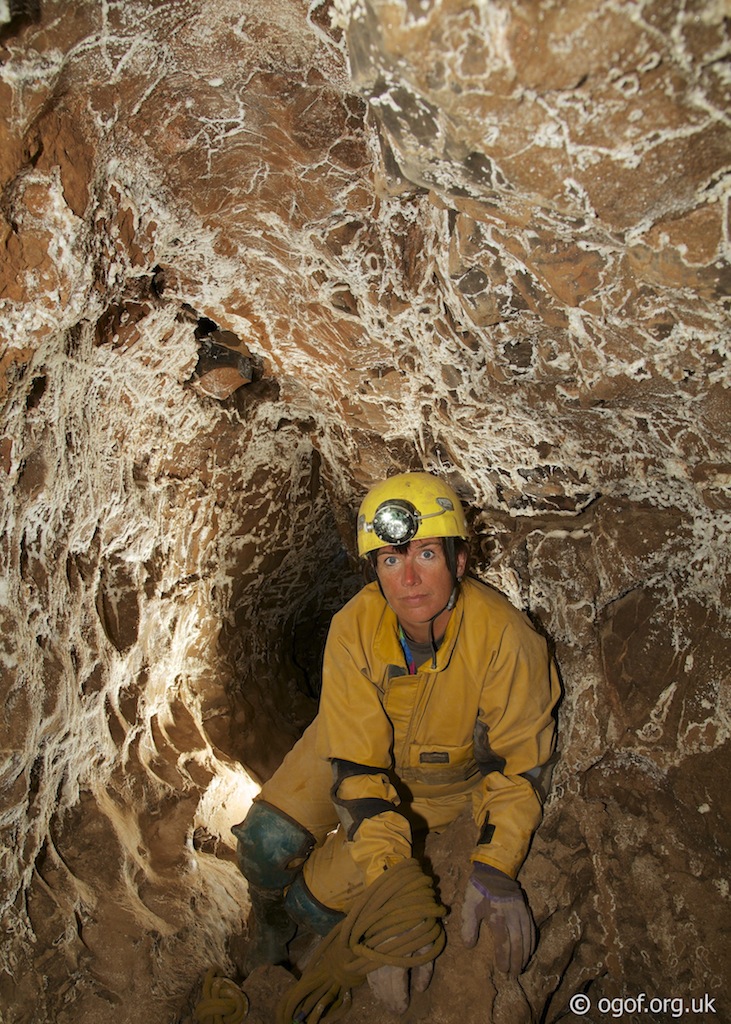
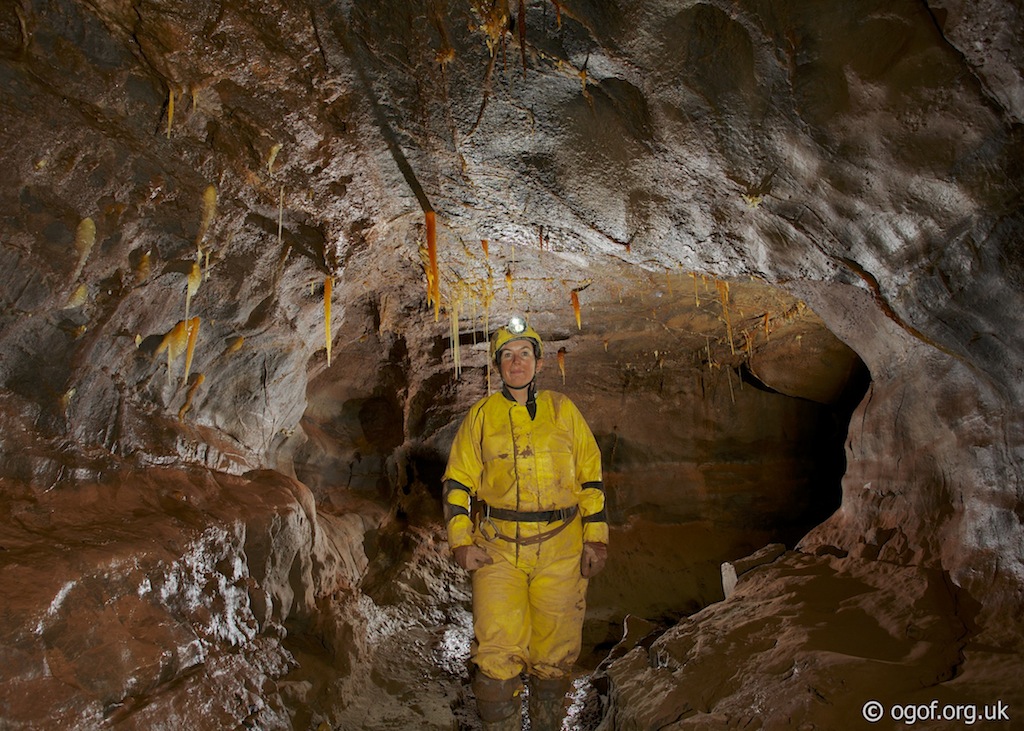
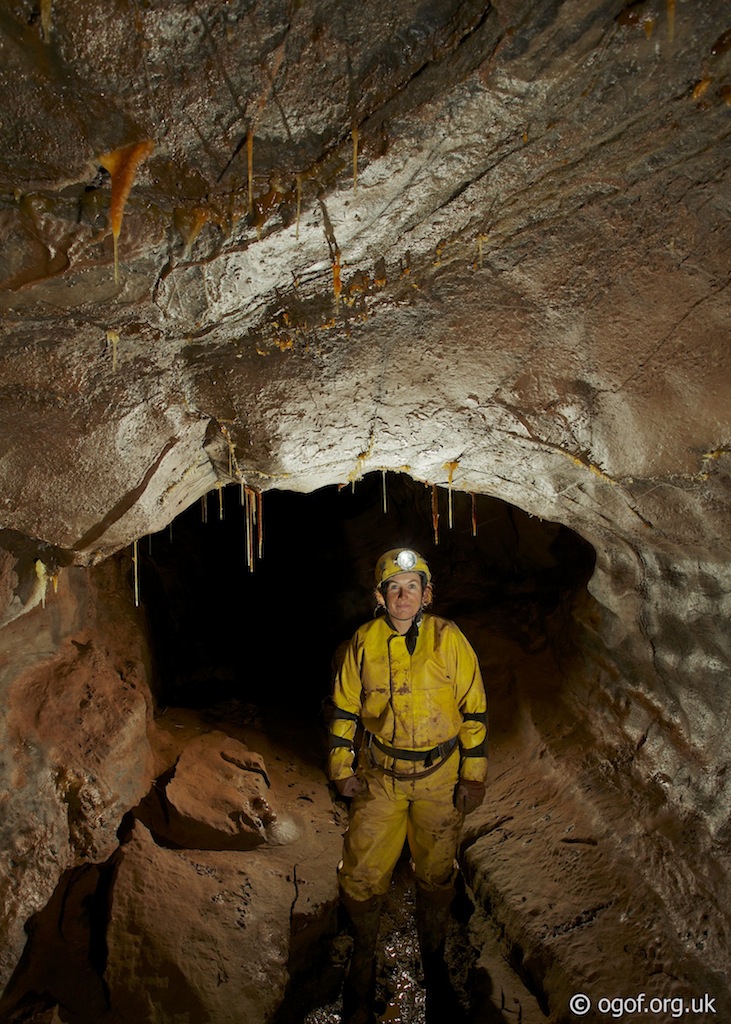
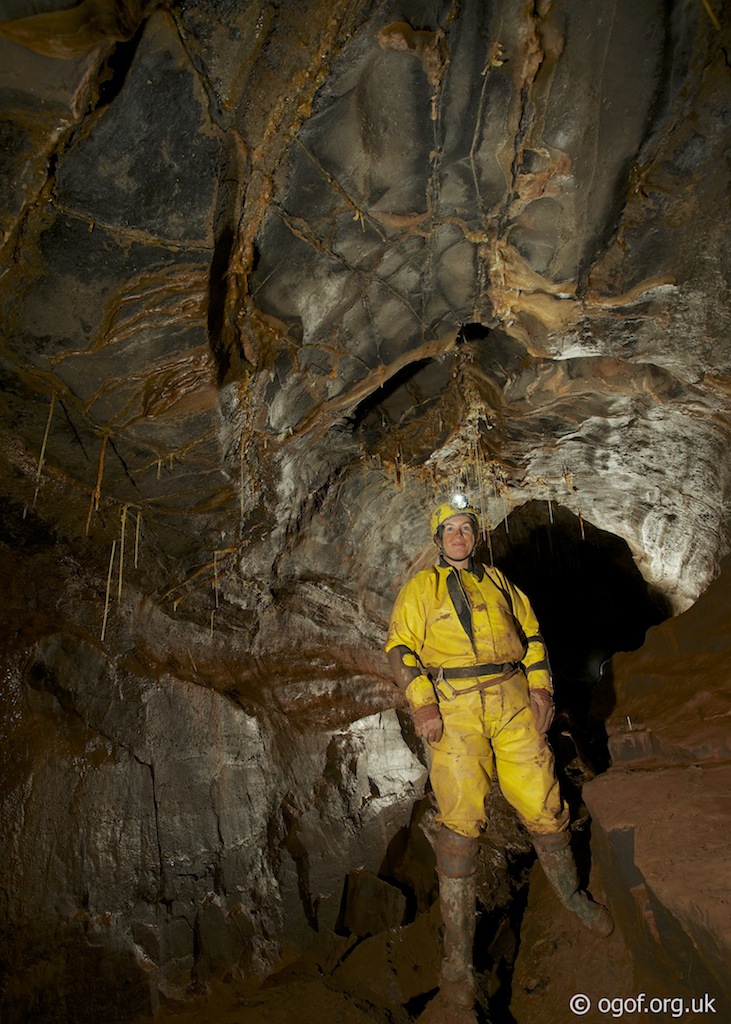
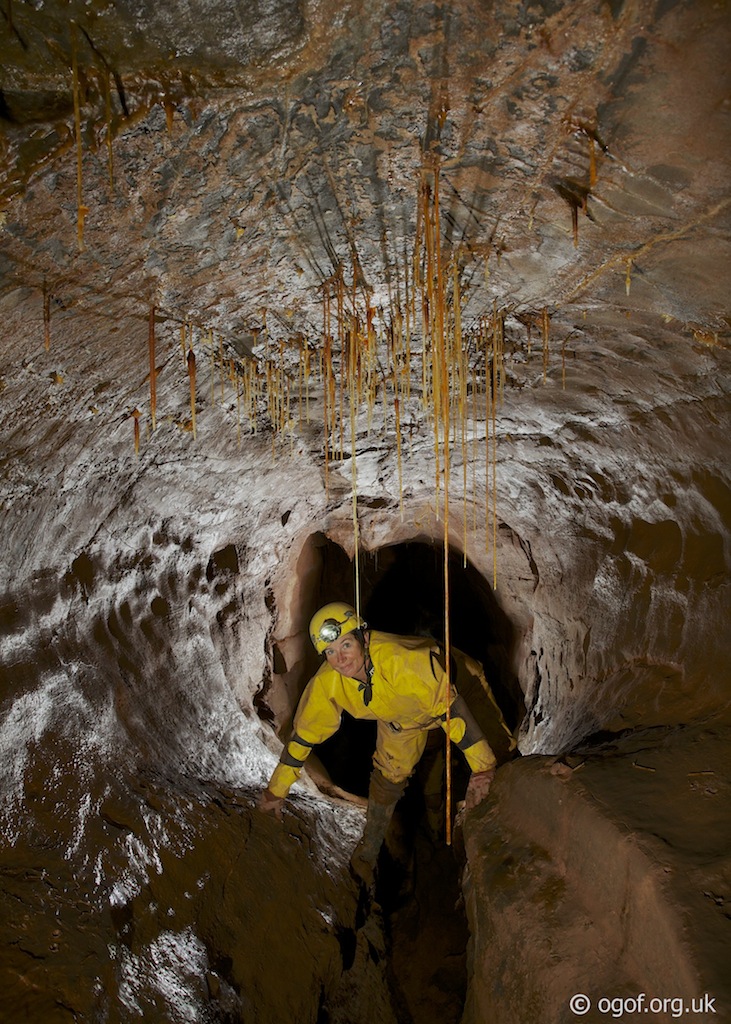
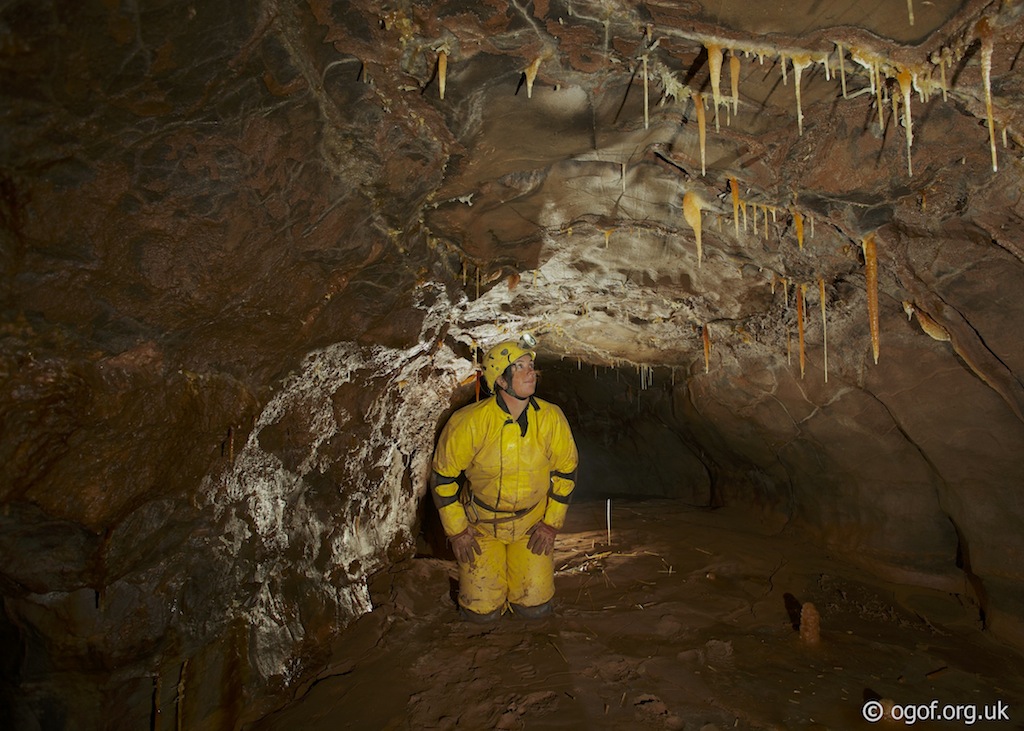
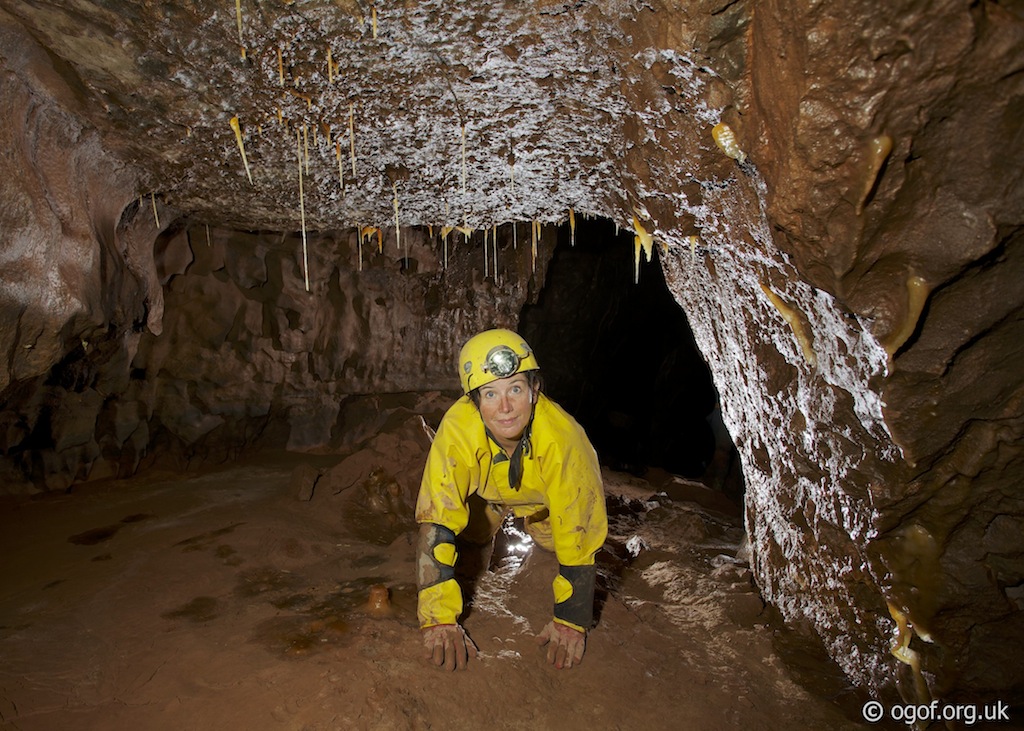
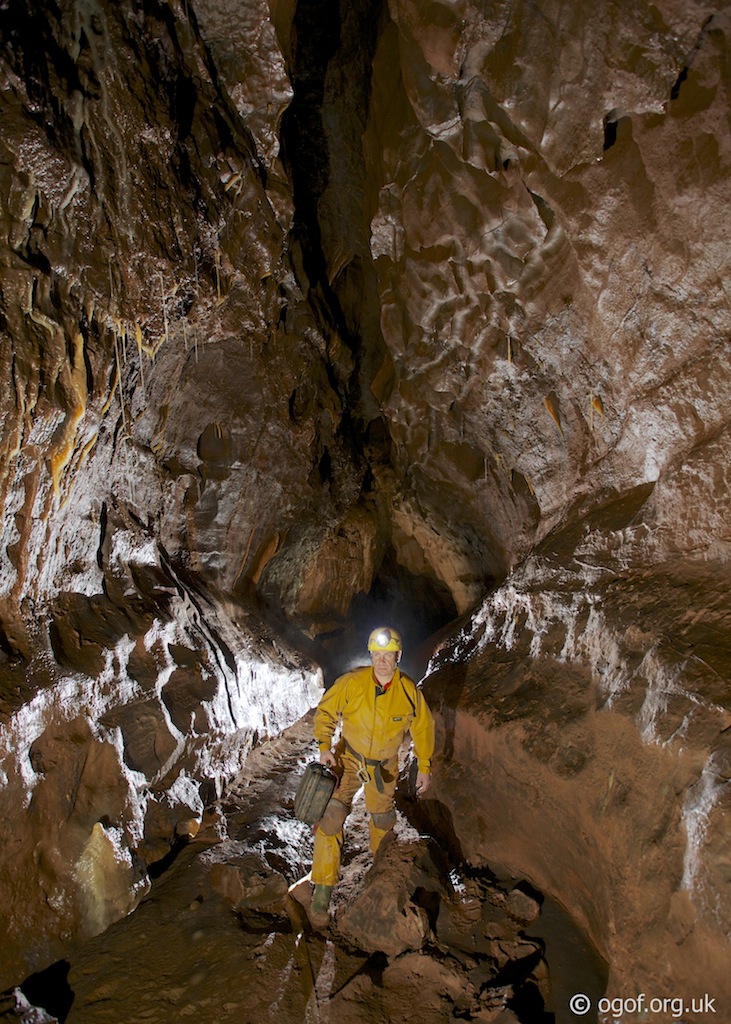
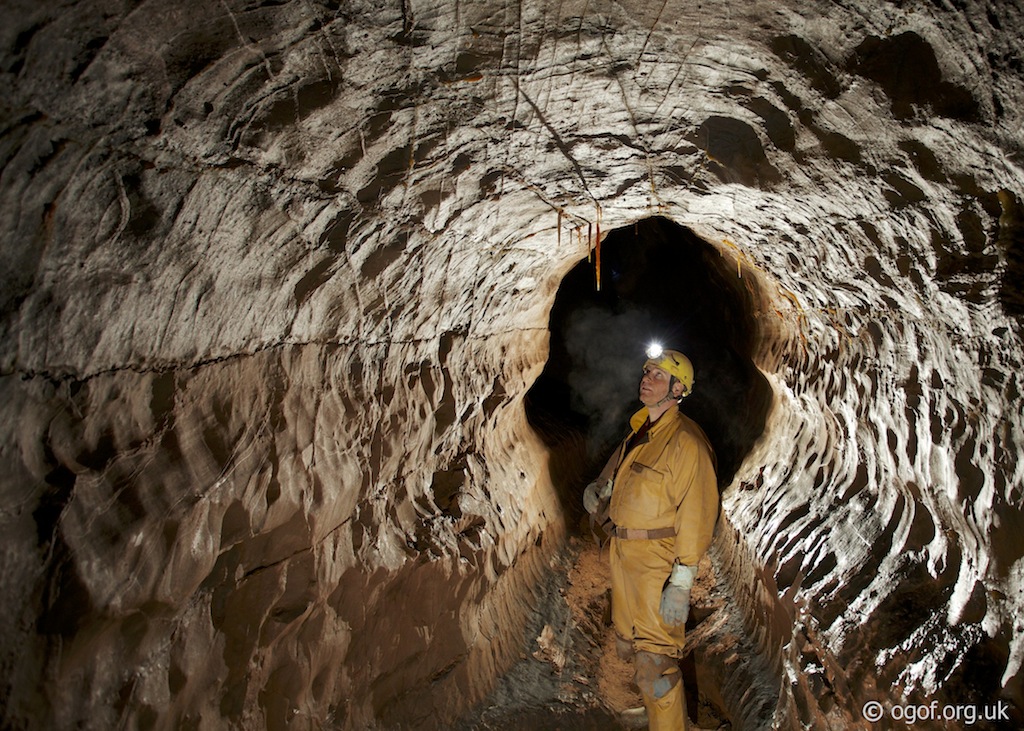
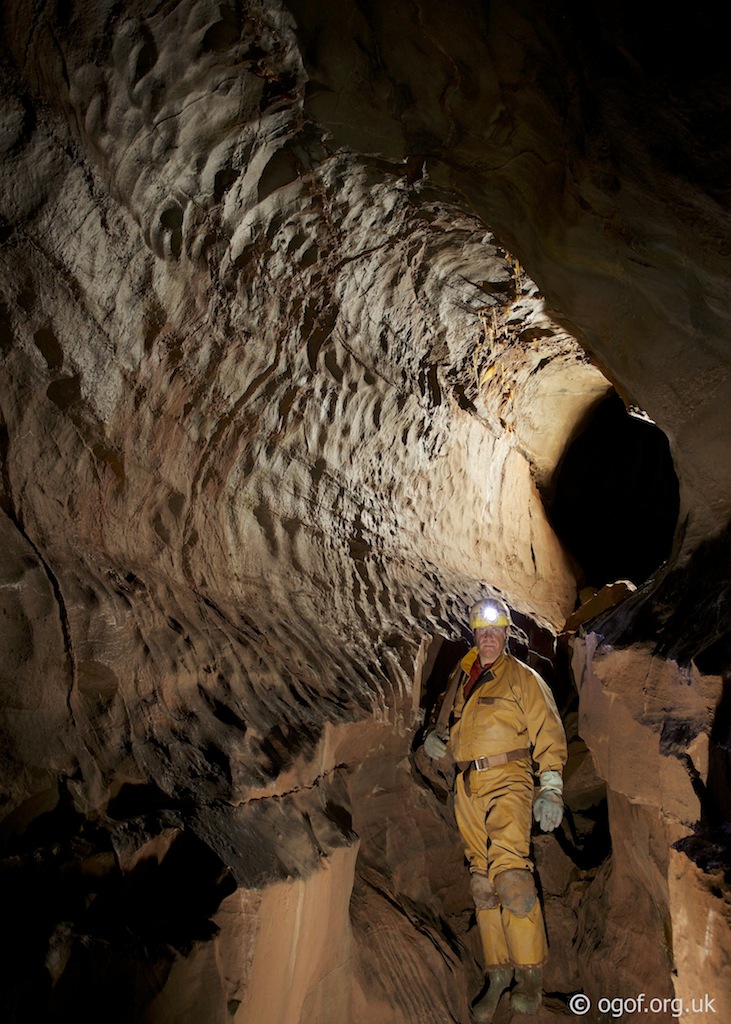
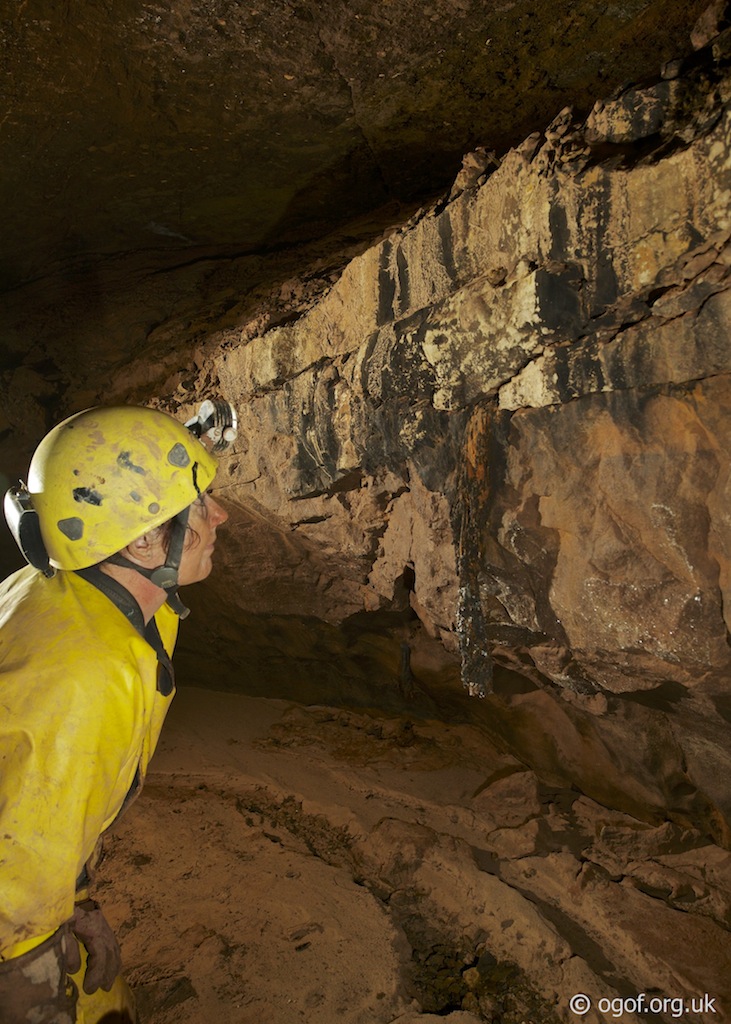
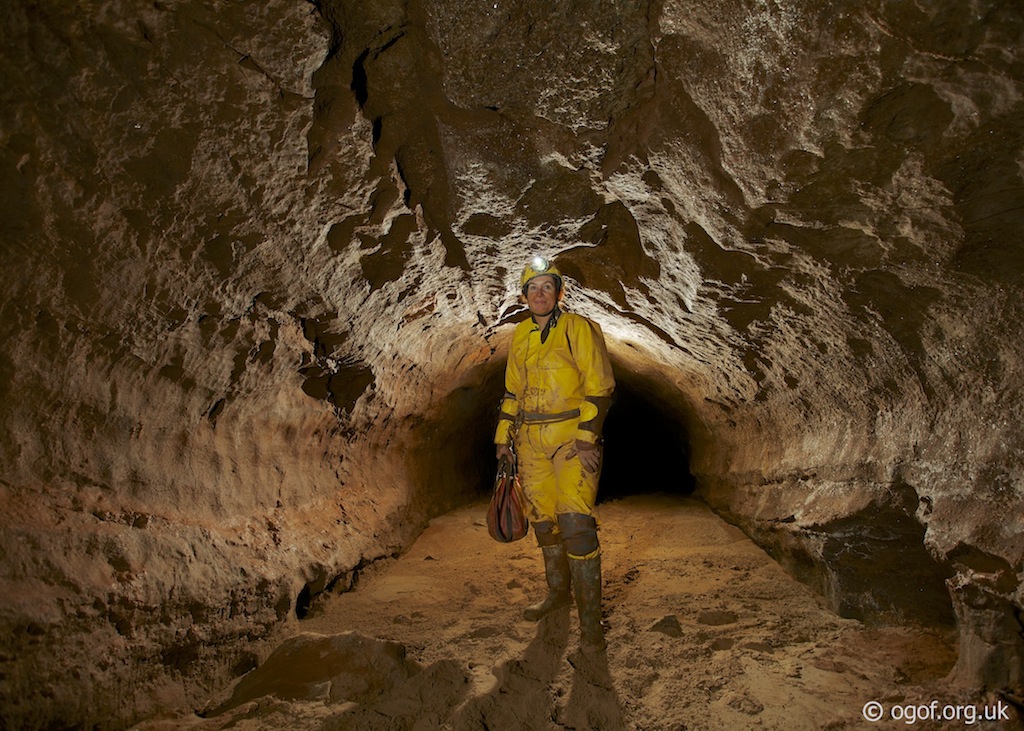
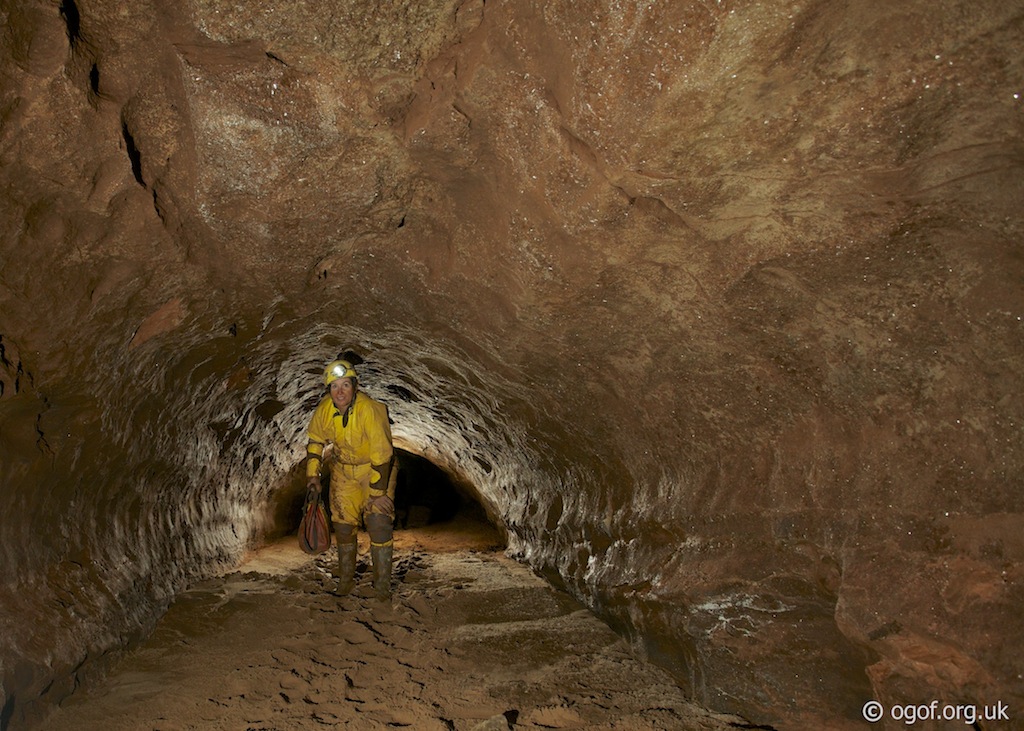
The cave is very extensive with multiple routes to many parts of the cave, this makes description difficult, as too route finding when in the cave. Here the main routes are described, neglecting the minor routes and side passages that can be explored at leisure.The top section of the entrance shaft is lined with concrete pipes and leads to the final section of the climb down a shored shaft. A chamber is entered which closes down quite quickly, the way on being a small passage on the right wall, this leads to a climb down and then a rift passage that soon degenerates into a crawl - Dim Dwr with its very flat out section in the middle. This crawl meets a stream for a short distance before popping out though boulders into Cwm Dwr Jama. This large passage leads to a boulder choke on the right, while to the left it proceeds via climb downs at two intersecting passages to eventually meet the boulder choke. The way into the choke is on the right before the passage closes down, the route through is complex, but polished. This navigational obstacle in the cave is often responsible for rescue call outs when cavers cannot find their way through and exit the cave. Beyond the choke is a sandy passage - with several windows through to Big Shacks on the left. The main route into the cave is a passage on the right, at the first corner in this passage is a steep slope rising upwards that leads to a route into Upper Smithy. Following the main passage leads to some traverses and then a junction with another sandy passage leading left and right. To the right leads to the central level of the Smithy, while to the left the passage loops around to bring you out the other side of the Smithy. Descending the Smithy takes you to the lowest level and a small stream passage carrying the Cwm Dwr stream that leads directly to the Confluence with the main OFD streamway. At the main streamway, right leads to Flood Bypass and to the left leads to the First River Chamber, Fault Aven, Marble Showers and then eventually OFD II. Back at the Smithy a passage up on the right leads to Nether Rawl, a large sandy passage that leads to a junction with the vast sized Piccadilly passage. At this junction to the right is a complex of passages carrying a small stream and a pitch can be found that leads up to access Upper Piccadilly. Following the main passage on the left leads downwards through Piccadilly past its impressive waterfall and then to a junction with three ways off. To the left is the other end of Flood Bypass, the Confluence and streamway. To the right is Heol Eira - the Snow Road, a passage that leads to a fine white ascending flow of formation linked to one of the old limekilns on the surface. The central route leads through to the Diver's Pitch and the connection with OFD I.
Big Shacks Area
The Big Shacks area is located immediately after passing through the Cwm Dwr boulder choke. The sandy passage leaving the choke opens out into the large, lofty and boulder strewn passage of Big Shack 1 where three routes on the left lead into the larger passage of Big Shack 2.


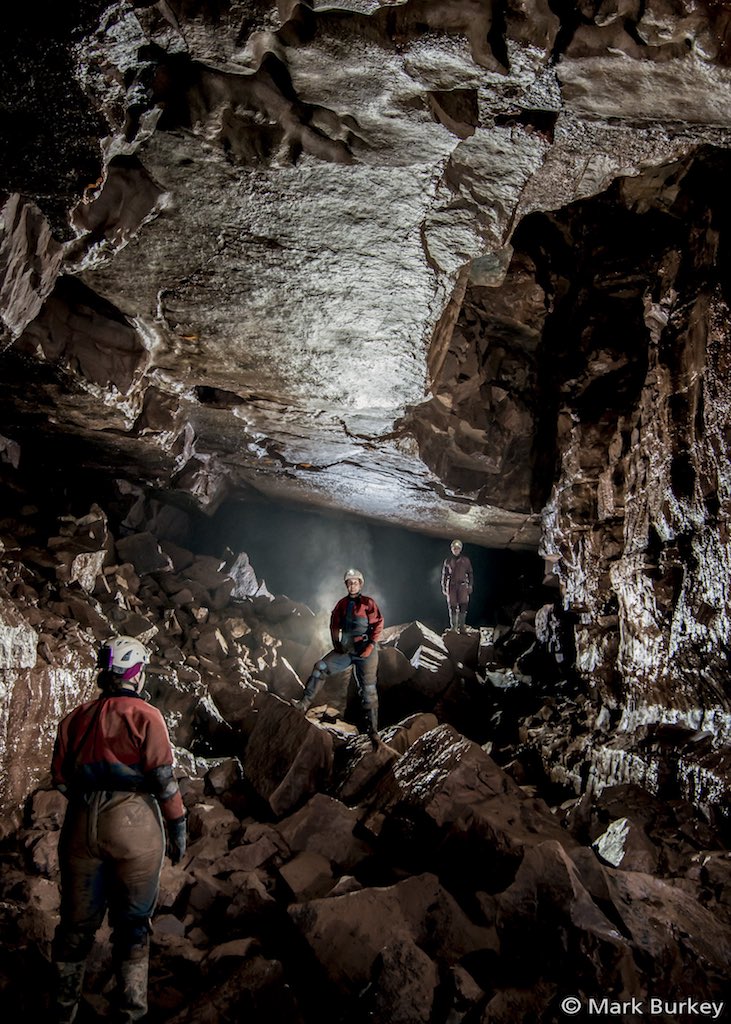
Big Shack 1 is entered directly from the Cwm Dwr boulder choke where a choice of two routes are presented immediately. To the right a climb up over boulders leads to the westerly end of Big Shack 1 where a route can be followed through passage and chambers to eventually lead to the stream that runs through the floor of Piccadilly. The normal route into the cave is on the left where after a short distance a couple of passages on the right lead to the standard route to the Smithy. The easterly end of Big Shack 1 leads to a further route into the cave that can be followed to eventually arrive at the Sand Banks area of the cave. In Big Shack 1 on the left are three small passages located close together that all lead through to the larger passage of Big Shack 2. At the westerly end a choke is met where a route down leads to a section of tight meandering passage in which flows the stream from the main boulder choke. At the easterly end of Big Shack 2, a large passage on the left quickly reaches a large loose choke where water enters. At the far end of Big Shack 2 a short section of sandy floored passage reaches a north-south fault with considerable vertical development. At the north end a 5 metre climb up reaches a short section of rift where a further 5 metre climb up reaches a short passage ending at the bottom of Boudica's Chariot Wheel Aven. In the section of passage between the two climbs a low passage, best entered feet first drops down to a ledge where a short climb down a rift leads to a section of passage leading to a small bouldery chamber.
Fault Aven Series
The Fault Aven area is a series of high level passages above the First River Chamber. This area is unique in that Pom Pom Passage is the only part of the cave to be formed on the southern side of the OFD streamway.


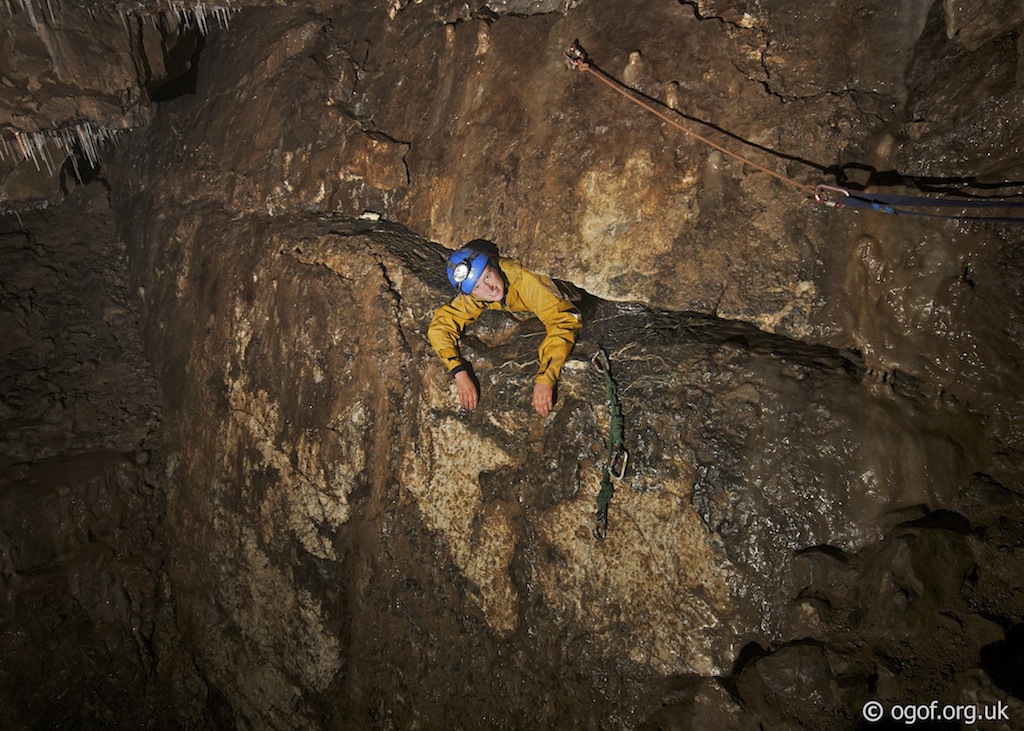
The route into the Fault Aven series is found a short distance upstream of the First River Chamber, where marker tags in the passage indicate the route up and out of the streamway. A scaffold bar assists the climb up into the passage from where an ascent is made to the bottom of an 8m pitch. Here a pull through system with two hangers and mallions at the bottom to rig from, allows a ladder or rope to be rigged on the pitch. The passage at the top of the pitch ascends steeply to meet a crossroads. A bold step across a deep drop leads to the passage ahead which can be followed until a climb-up through a hole leads into the bottom of a passage going two ways. To the west leads to a corner where you climb down under a magnificent false floor. Beyond this corner a traverse over a deep hole leads to a T Junction. Right at the junction leads to a giant sand bank blocking progress, while left takes you to the end of the impressive Fault Aven Chamber. Back at the climb-up, heading east takes you to H Junction where Pom Pom Passage heads south starting as traverses high above the main streamway. From H Junction a passage also heads north which has a couple of side passages that close down, but the main way leads to a climb up after which you appear at the top of the giant sand bank in the passage mentioned earlier.
The Upper Smithy
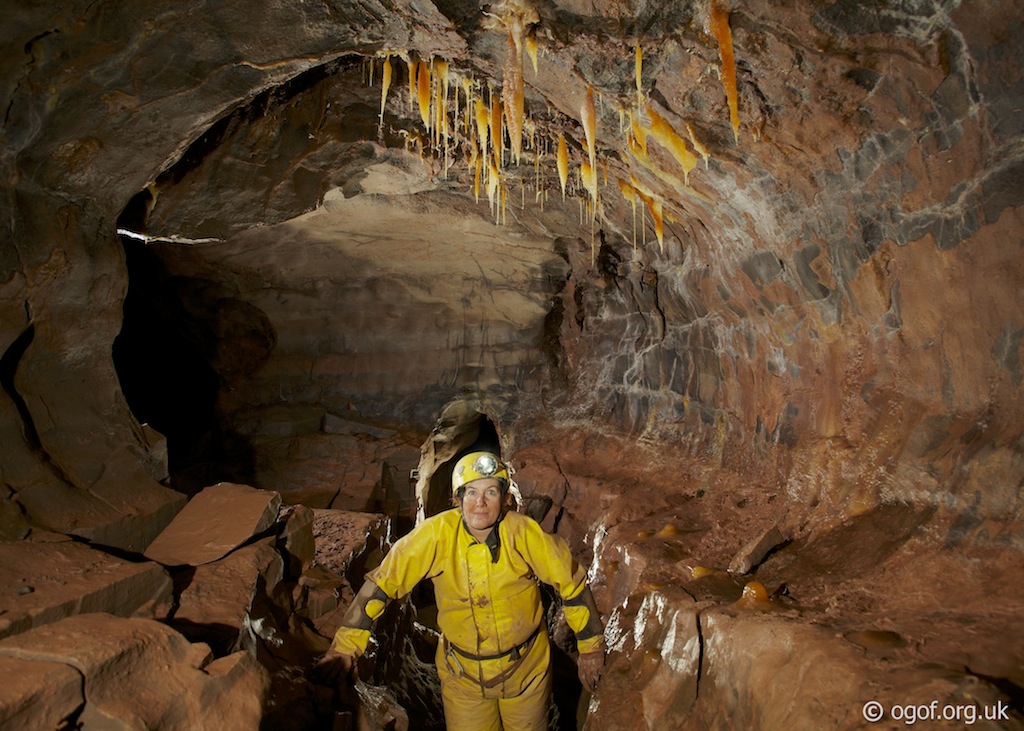
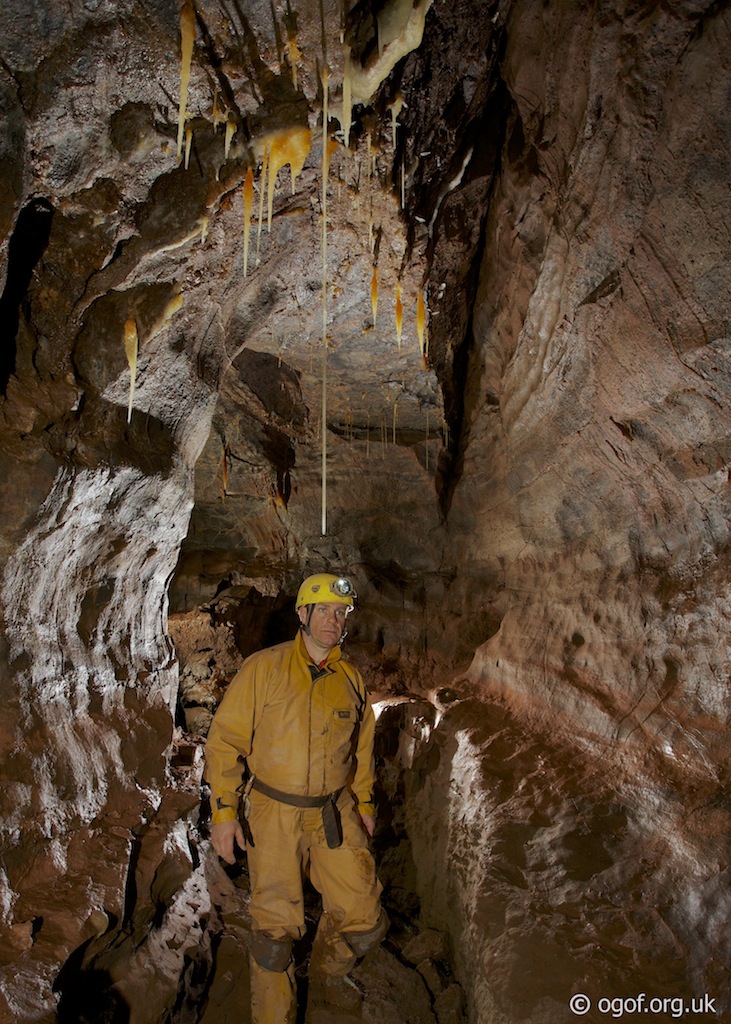
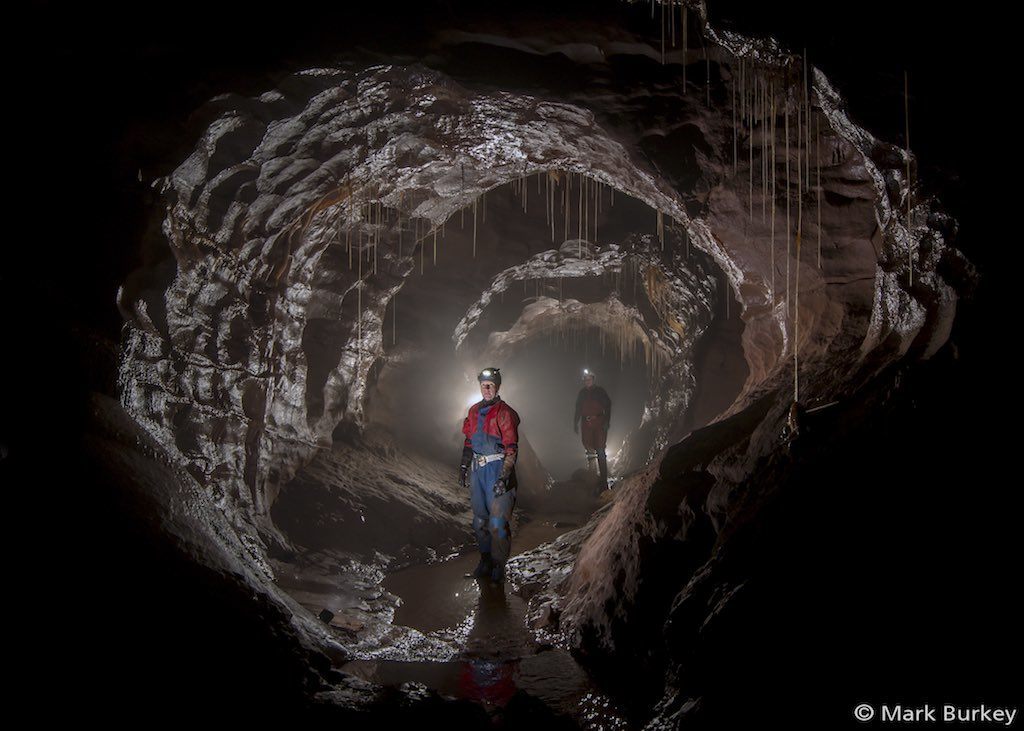
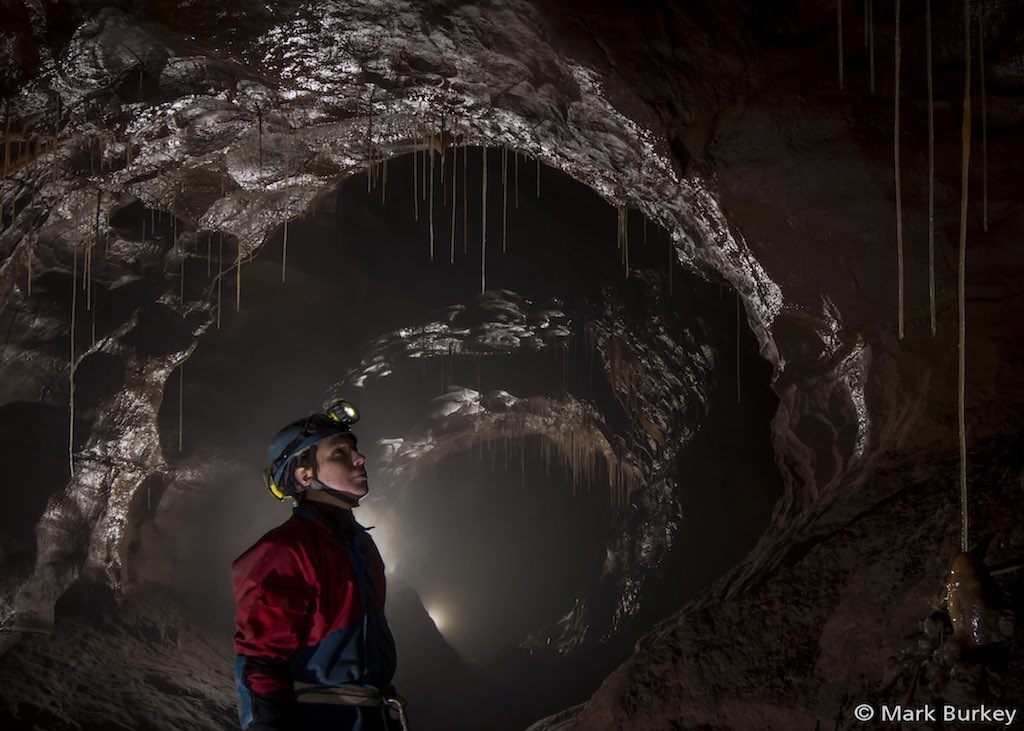
At the heart of Cwm Dwr lies The Smithy, a massive vertical feature that links all levels of the cave around one central hub. High above The Smithy lies a series of little visited passages, the Upper Smithy. These passages are often fine phreatic tubes and in areas well decorated, the effort to reach them is well rewarded.


The Upper Smithy can be approached by two routes, one from the south leading to a short section of passage before a taped off crystal pool in the passage prevents further progress, the more normal route into this area is from the north.
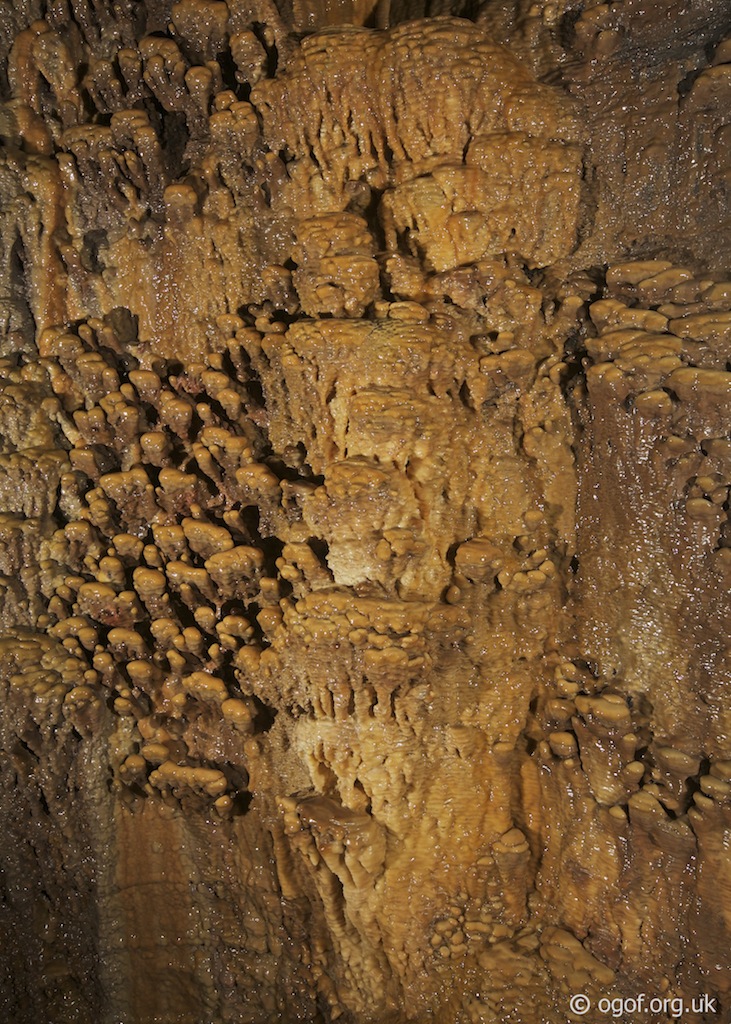
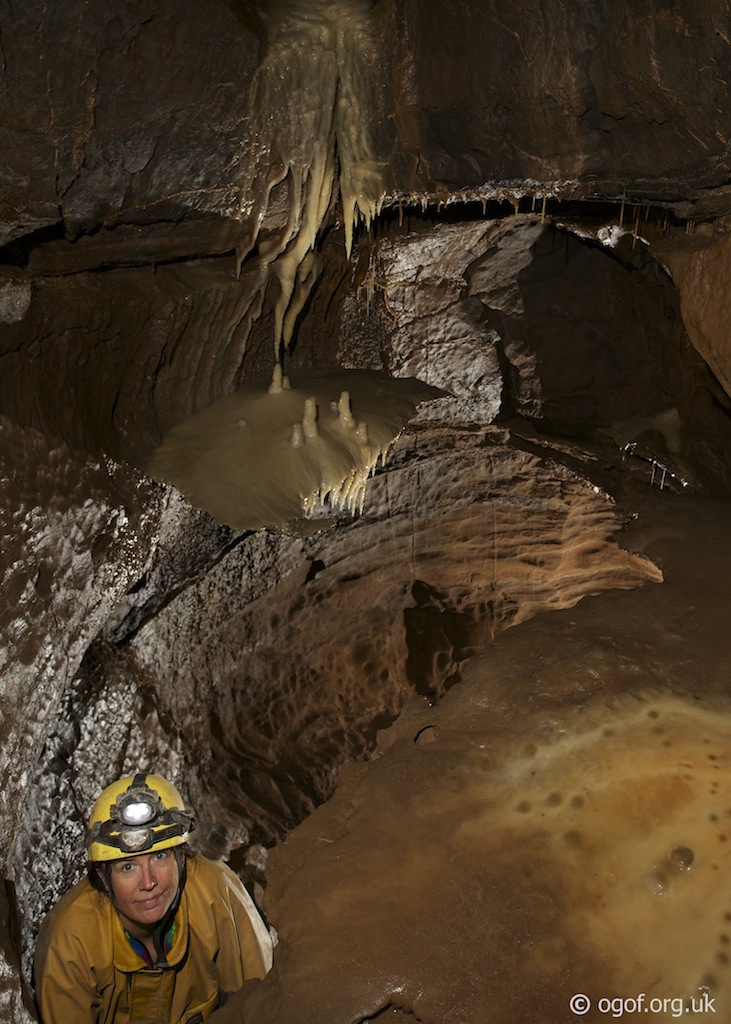
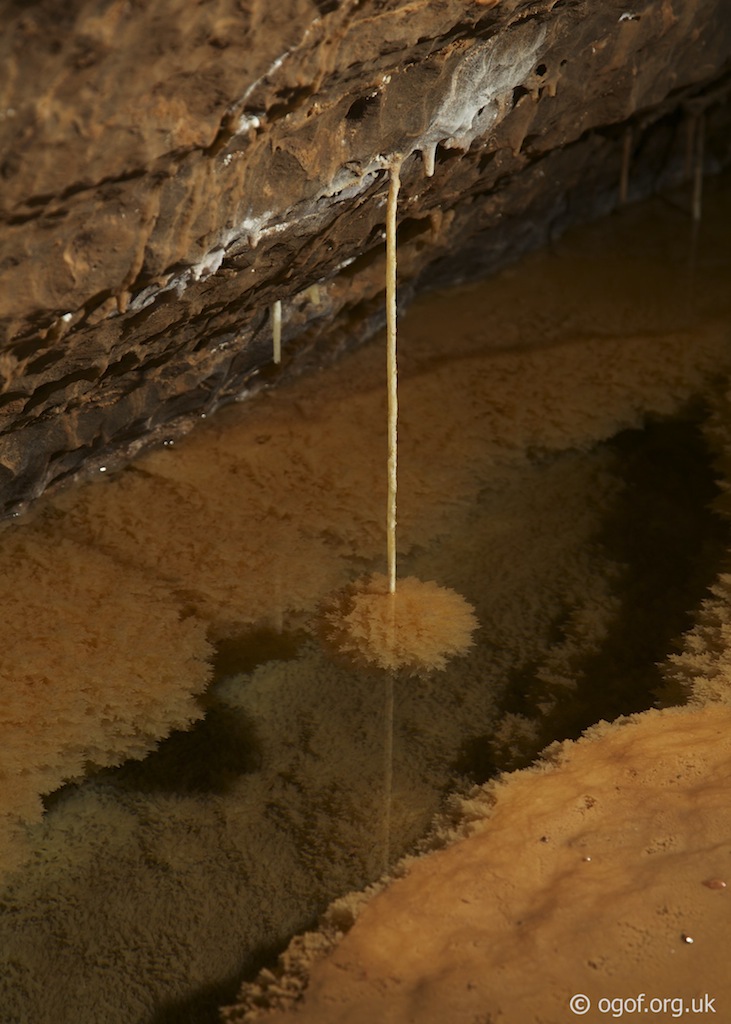
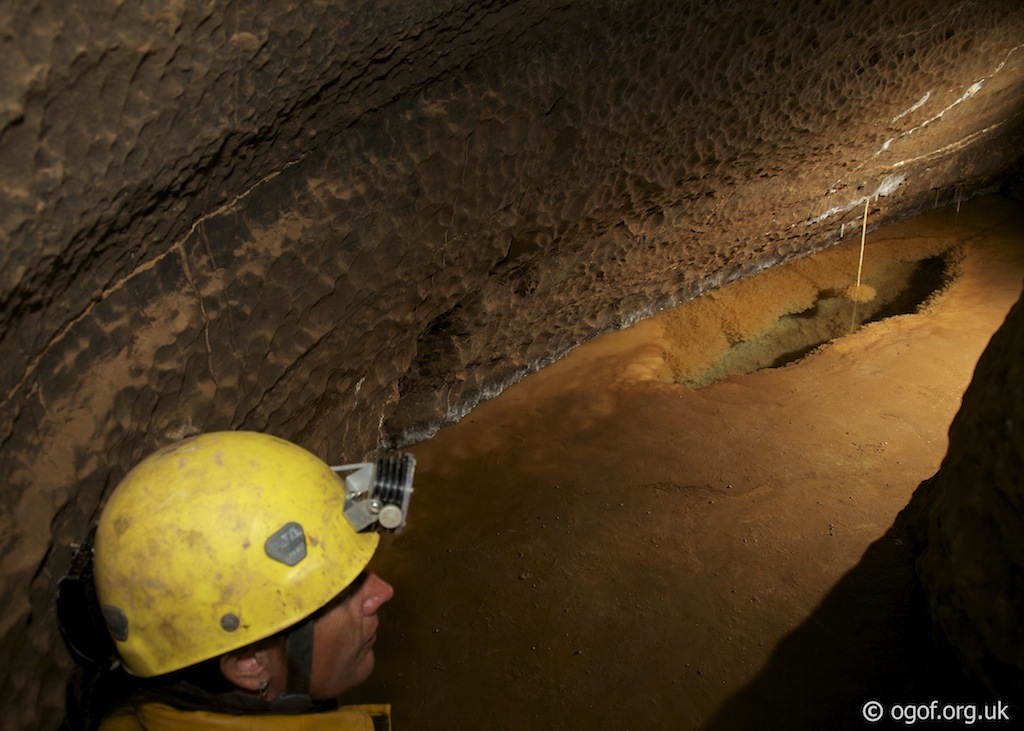
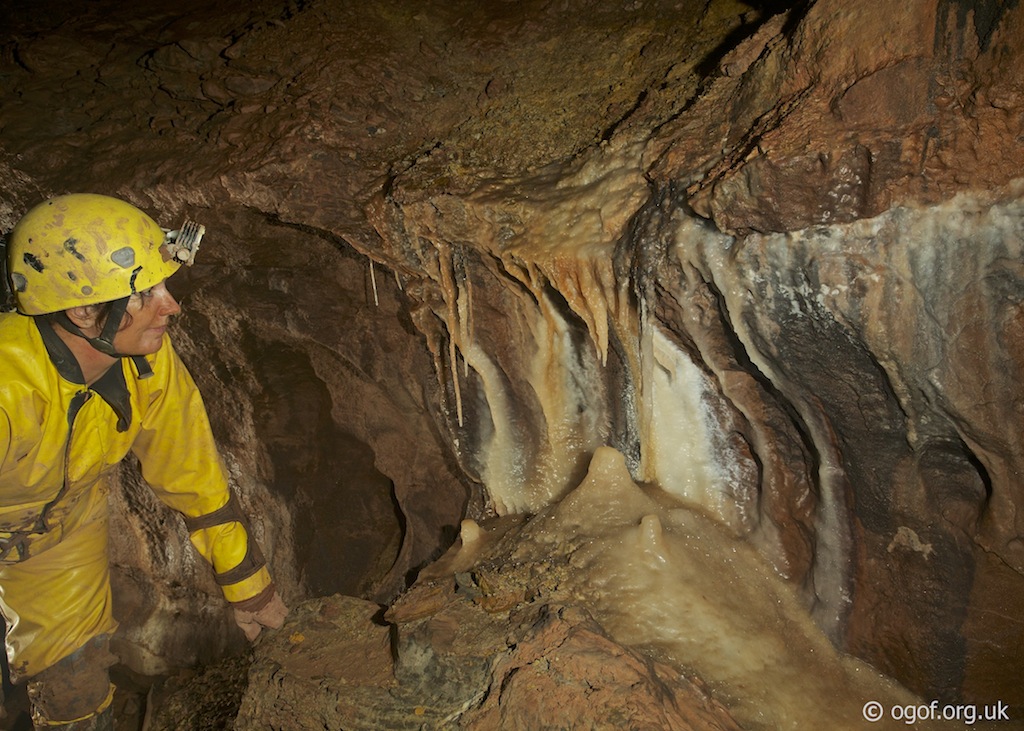
When leaving Big Shacks on the normal route into the cave an ascending slope is seen straight ahead on the bend where you normally go left. This rises for 40m until a rope climb is encountered on the left. An old hawser handline belayed around a calcited boulder assists the 4m climb up into a higher boulder floored passage. From here the passage is followed as it heads of gradually left. In the right hand wall at floor level a passage can be seen that immediately drops into the top of a chamber. The floor of the chamber slopes away from the entrance making the drop look intimidating, sliding out over the large boulder you will find a tape sling around a chock stone just underneath it which allows you to chimney down the 3m rift to enter the chamber. On entering the chamber there are three passages heading off. The first at the bottom of a slope in the floor of the chamber heads down to the Sand Banks area of the cave. The two other located in the right hand wall of the chamber lead to the Upper Smithy. The easiest to enter is the right hand one which ascends to a rifty passage that soon turns left and meets the passage from the other, which requires a 3m climb to enter. The rift is followed to the right from the junction with the other passage and is followed until a 2m climb down into a rift is reached. Here going right leads back via a less pleasant passage to the chamber you have just come from, while left heads to a small chamber. In the roof of the chamber loose boulders can be seen that will be approached from above later. Left in the chamber leads under loose boulders to a choke at the end. The main way on from the chamber is to head round a pile of boulders following the wall on the right, where a squeeze through leads to a rift passage beyond. A right turn that closes down after 10m is passed to break out into a large passage. Just above the point where the rift passage breaks out into the larger passage a climb up leads to the next level of the Upper Smithy described later. Following the main passage you descend over large boulders to a point where the passage swings around to the left and a smaller passage enters on the right. The passage on the right can be followed for a few metres until it is taped off as it meets the other side of the crystal pool that marks the end of the southern section. Back at the junction following the main route, the passage soon lowers to a flat out crawl over a sandy floor, which is followed until it pops out quickly into a well decorated phreatic passage. This passage meanders for a distance until it forms a keyhole profile and starts to descend. On a corner just before it starts to descend is a low passage that leads to a series of muddy crawls and a 5m climb down, these all close down. At the bottom of the keyhole section the passage changes character and turns right as a rift passage that can be followed for 20m. This passage ends at a calcite balcony overlooking the calcite climb that is the way into the southern end of the Upper Smithy.
The higher levels of the Upper Smithy are reached from the climb mentioned earlier where a higher level phreatic tube is reached by a 3m climb. This impressive passage ascends until it reaches a larger passage heading left and right. The passage can be followed to the right for a short distance until a balcony is reached. This overlooks a passage floored with loose boulders. The boulder floor is the roof of the passage entered earlier and should be treated with care. The passage to the left reaches a climb up loose boulders that can be reached from the other direction. Just before the balcony is a climb up on the right that leads to an even higher set of passages, at the top of the climb is a sandy floored passage with interesting black and rusty looking formations oozing from the walls. The crystal covered roof lowers to a section of crawling until it gains height and a traverse on the left above a loose boulder slope is encountered, this is at the top of the loose boulder climb previously mentioned. A climb over large boulders leads to a wider boulder floored section that ascends until you are forced to climb loose boulders on the right. From the top of the boulder climb a traverse to the left over the boulders leads to a section of phreatic passage that meanders and descends gradually until it ends at a window above a large void. A short climb down leads to a muddy balcony which can be traversed to the right to reach a steeply floored chamber. The mud and rock floored chamber rises to the right to reach a choke while heading down it leads to a deep shaft that connects with the top of The Smithy.
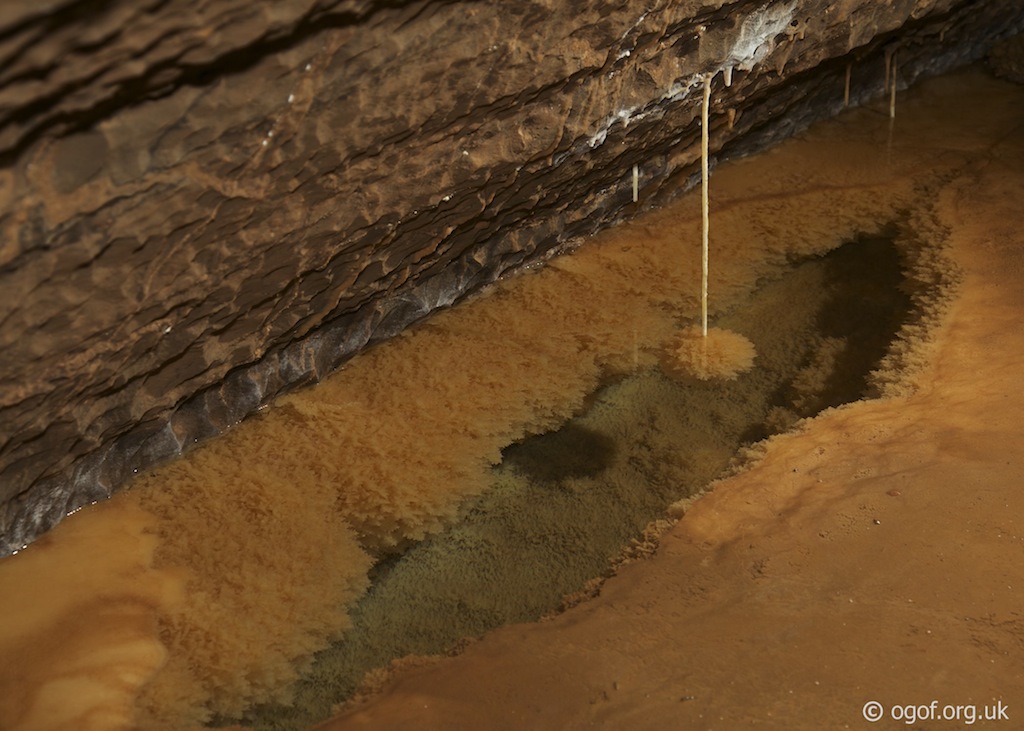
The southern end of the Upper Smithy is reached from The Smithy itself. When entering the cave, just past The Smithy on the right is a small climb up to a passage that is a common route to Nether Rawl. Just before the end of this passage where you traverse around a corner is a calcite slope on the right. This calcite slope can be climbed, a handline is useful for the descent. The calcite slope swings round to the left over the passage and then heads up steeply to reach a lofty passage above. This passage can be followed ahead for 100m until it reaches a choke. Some 40m before the end a smaller passage on the right can be followed for 50m until it is taped off to protect a fine crystal pool that spans the passage.
When leaving Big Shacks on the normal route into the cave an ascending slope is seen straight ahead on the bend where you normally go left. This rises for 40m until a rope climb is encountered on the left. An old hawser handline belayed around a calcited boulder assists the 4m climb up into a higher boulder floored passage. From here the passage is followed as it heads of gradually left. In the right hand wall at floor level a passage can be seen that immediately drops into the top of a chamber. The floor of the chamber slopes away from the entrance making the drop look intimidating, sliding out over the large boulder you will find a tape sling around a chock stone just underneath it which allows you to chimney down the 3m rift to enter the chamber. On entering the chamber there are three passages heading off. The first at the bottom of a slope in the floor of the chamber heads down to the Sand Banks area of the cave. The two other located in the right hand wall of the chamber lead to the Upper Smithy. The easiest to enter is the right hand one which ascends to a rifty passage that soon turns left and meets the passage from the other, which requires a 3m climb to enter. The rift is followed to the right from the junction with the other passage and is followed until a 2m climb down into a rift is reached. Here going right leads back via a less pleasant passage to the chamber you have just come from, while left heads to a small chamber. In the roof of the chamber loose boulders can be seen that will be approached from above later. Left in the chamber leads under loose boulders to a choke at the end. The main way on from the chamber is to head round a pile of boulders following the wall on the right, where a squeeze through leads to a rift passage beyond. A right turn that closes down after 10m is passed to break out into a large passage. Just above the point where the rift passage breaks out into the larger passage a climb up leads to the next level of the Upper Smithy described later. Following the main passage you descend over large boulders to a point where the passage swings around to the left and a smaller passage enters on the right. The passage on the right can be followed for a few metres until it is taped off as it meets the other side of the crystal pool that marks the end of the southern section. Back at the junction following the main route, the passage soon lowers to a flat out crawl over a sandy floor, which is followed until it pops out quickly into a well decorated phreatic passage. This passage meanders for a distance until it forms a keyhole profile and starts to descend. On a corner just before it starts to descend is a low passage that leads to a series of muddy crawls and a 5m climb down, these all close down. At the bottom of the keyhole section the passage changes character and turns right as a rift passage that can be followed for 20m. This passage ends at a calcite balcony overlooking the calcite climb that is the way into the southern end of the Upper Smithy.
The higher levels of the Upper Smithy are reached from the climb mentioned earlier where a higher level phreatic tube is reached by a 3m climb. This impressive passage ascends until it reaches a larger passage heading left and right. The passage can be followed to the right for a short distance until a balcony is reached. This overlooks a passage floored with loose boulders. The boulder floor is the roof of the passage entered earlier and should be treated with care. The passage to the left reaches a climb up loose boulders that can be reached from the other direction. Just before the balcony is a climb up on the right that leads to an even higher set of passages, at the top of the climb is a sandy floored passage with interesting black and rusty looking formations oozing from the walls. The crystal covered roof lowers to a section of crawling until it gains height and a traverse on the left above a loose boulder slope is encountered, this is at the top of the loose boulder climb previously mentioned. A climb over large boulders leads to a wider boulder floored section that ascends until you are forced to climb loose boulders on the right. From the top of the boulder climb a traverse to the left over the boulders leads to a section of phreatic passage that meanders and descends gradually until it ends at a window above a large void. A short climb down leads to a muddy balcony which can be traversed to the right to reach a steeply floored chamber. The mud and rock floored chamber rises to the right to reach a choke while heading down it leads to a deep shaft that connects with the top of The Smithy.
The southern end of the Upper Smithy is reached from The Smithy itself. When entering the cave, just past The Smithy on the right is a small climb up to a passage that is a common route to Nether Rawl. Just before the end of this passage where you traverse around a corner is a calcite slope on the right. This calcite slope can be climbed, a handline is useful for the descent. The calcite slope swings round to the left over the passage and then heads up steeply to reach a lofty passage above. This passage can be followed ahead for 100m until it reaches a choke. Some 40m before the end a smaller passage on the right can be followed for 50m until it is taped off to protect a fine crystal pool that spans the passage.
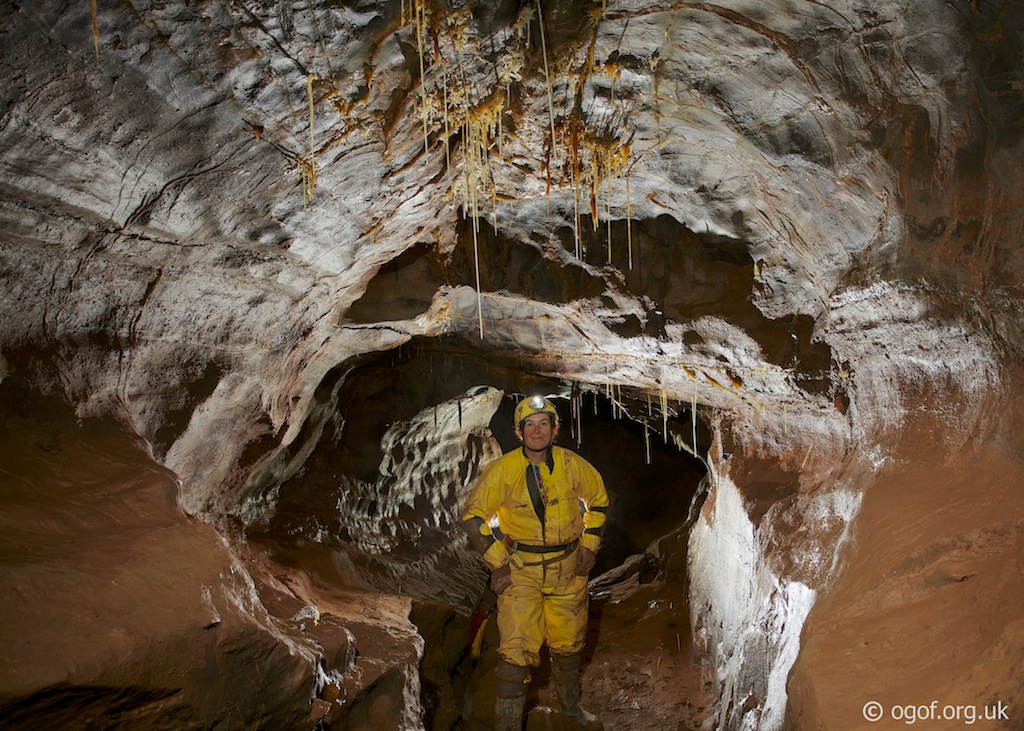
Piccadilly Area
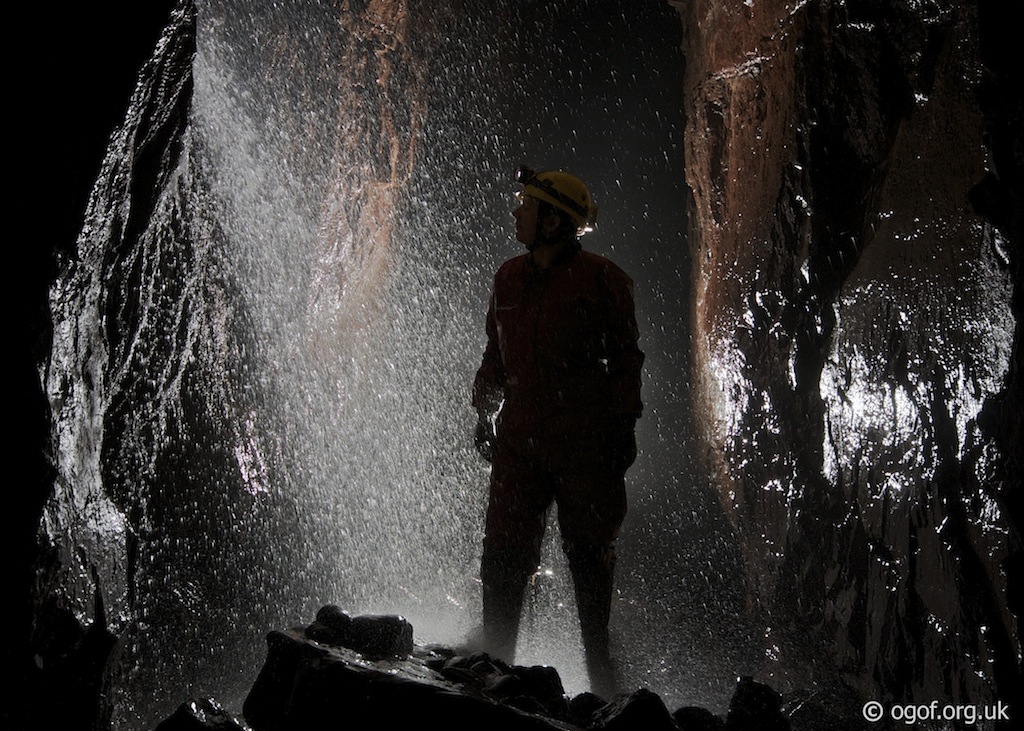
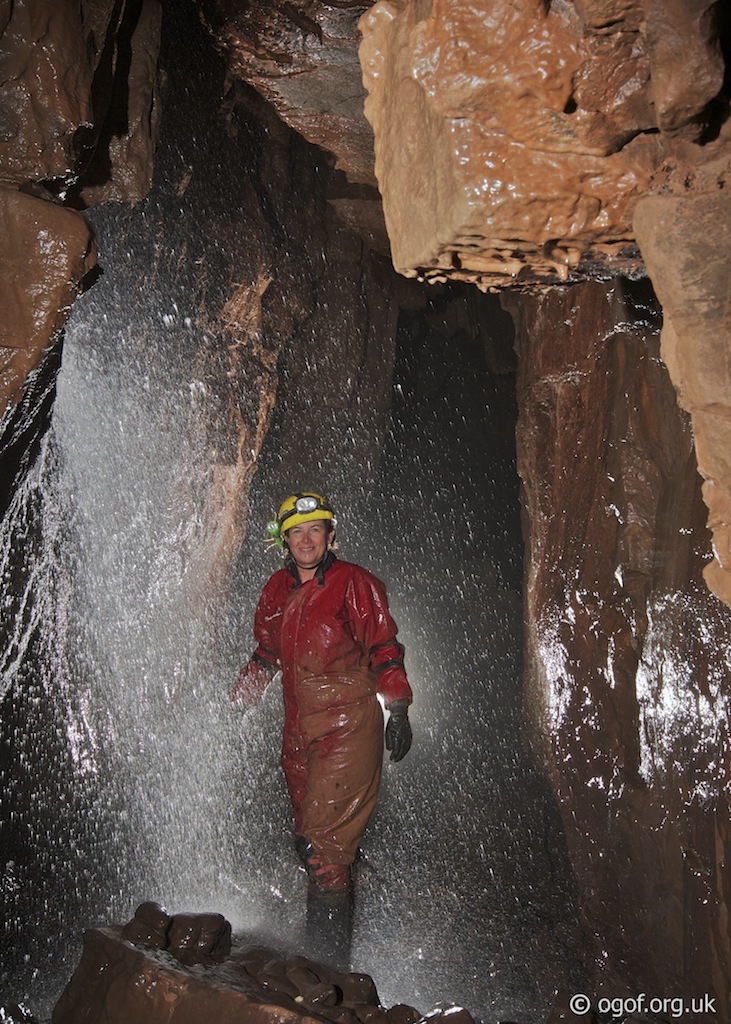
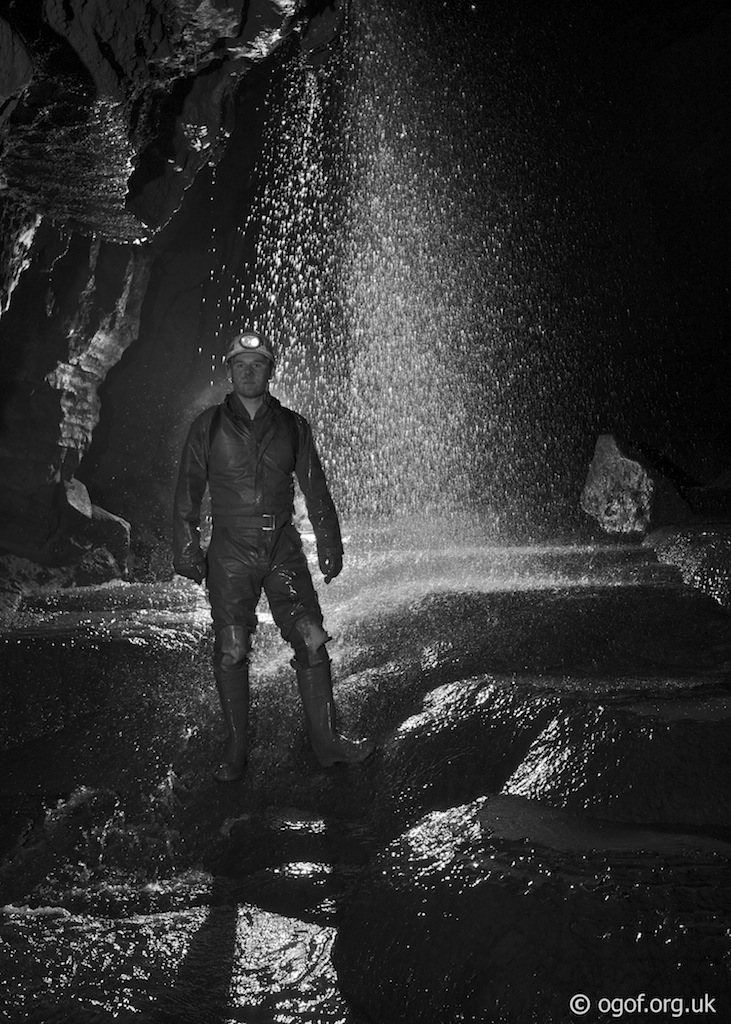
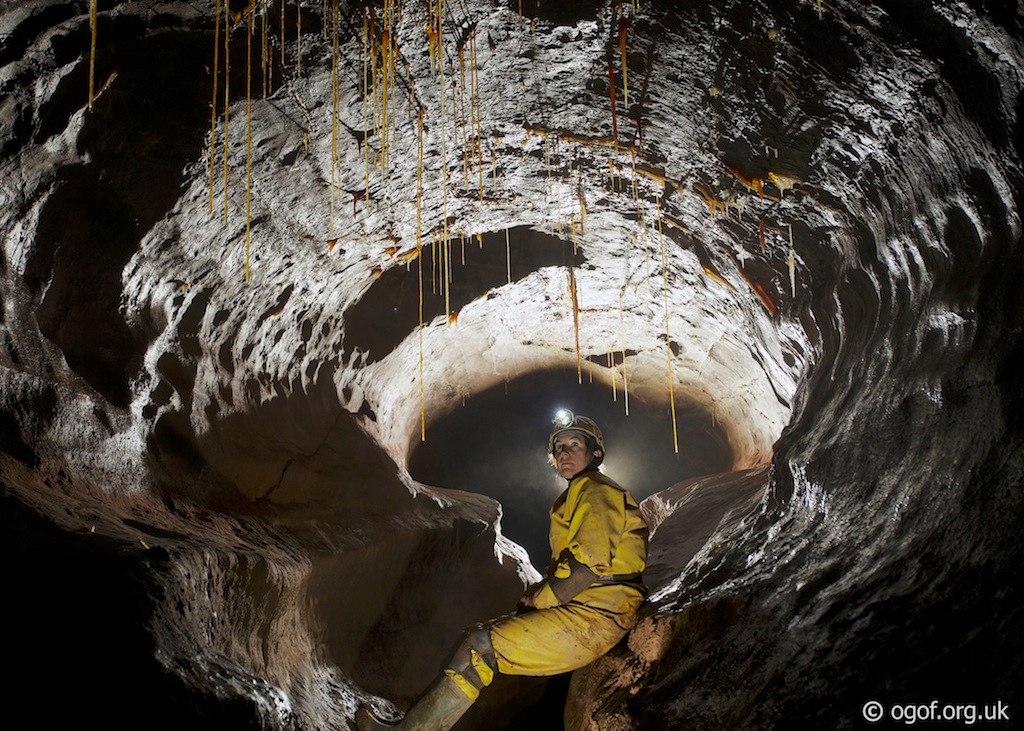
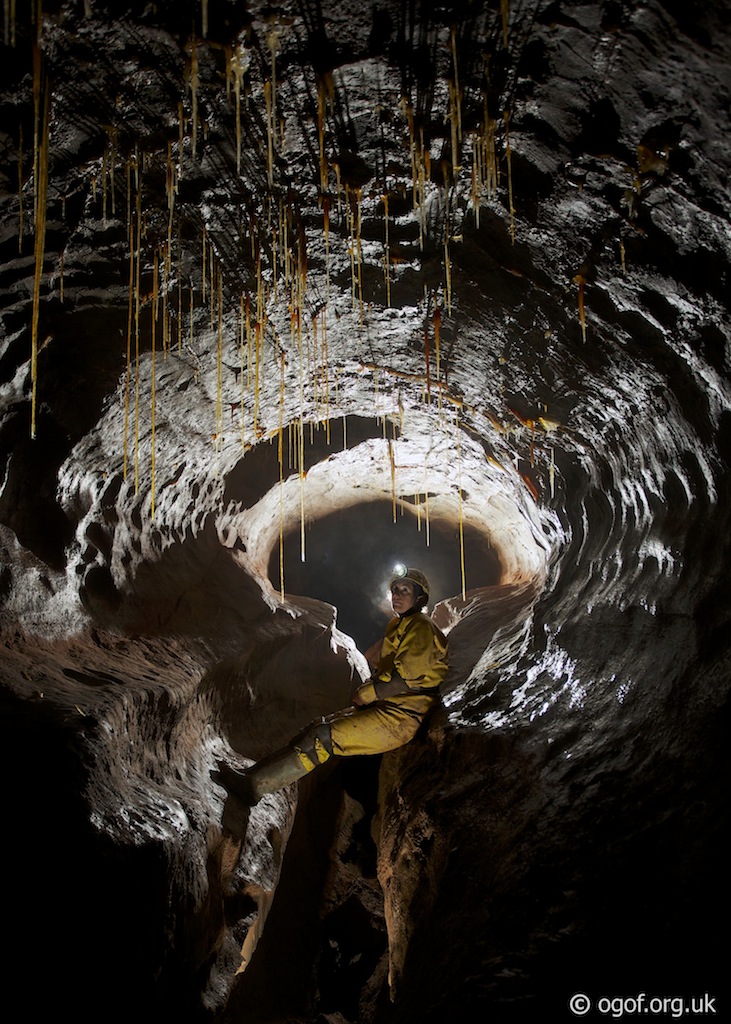
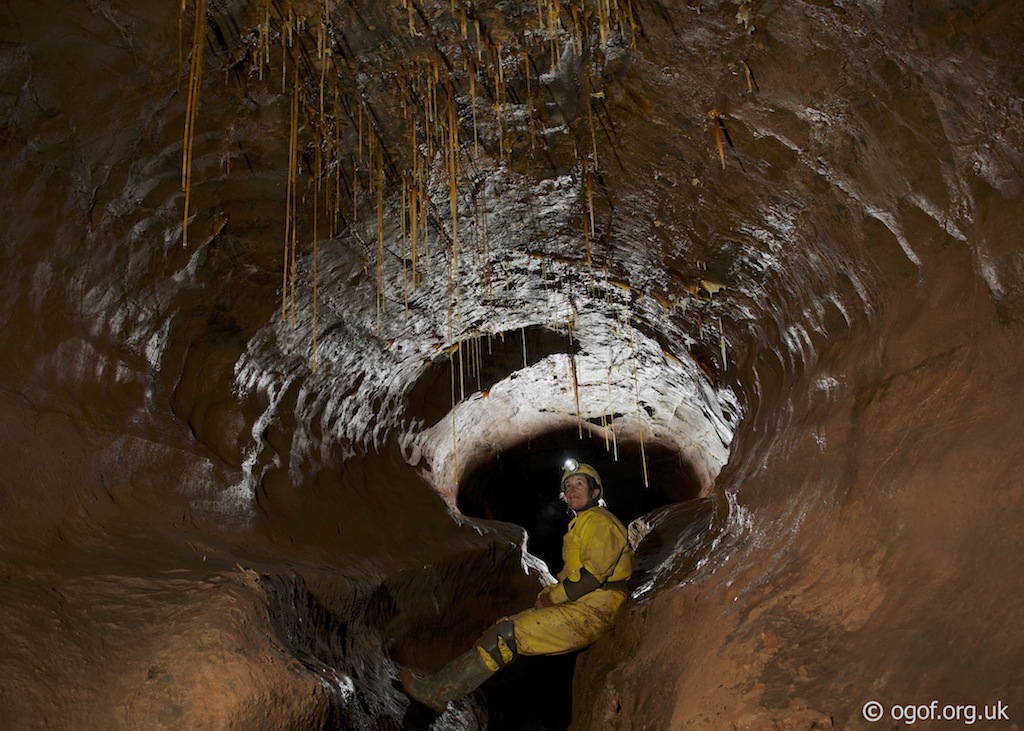
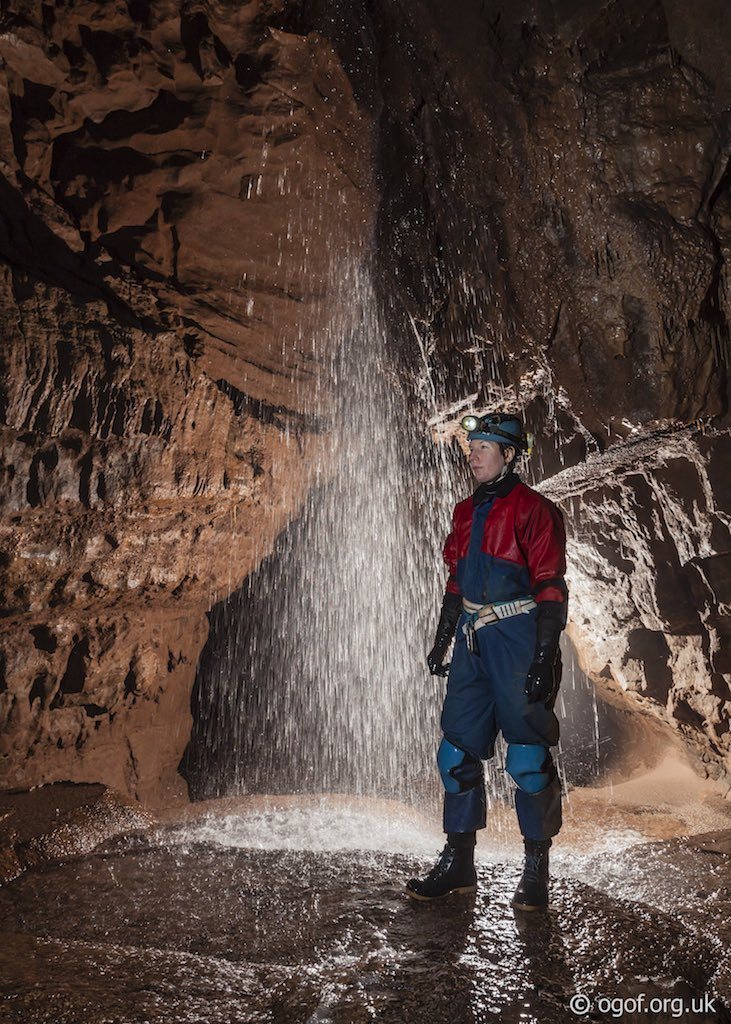
Piccadilly is a massive passage at the heart of Cwm Dwr, in its lower reaches a magnificent waterfall cascades down into the lofty passage creating an iconic feature in this part of the Ogof Ffynnon Ddu system.


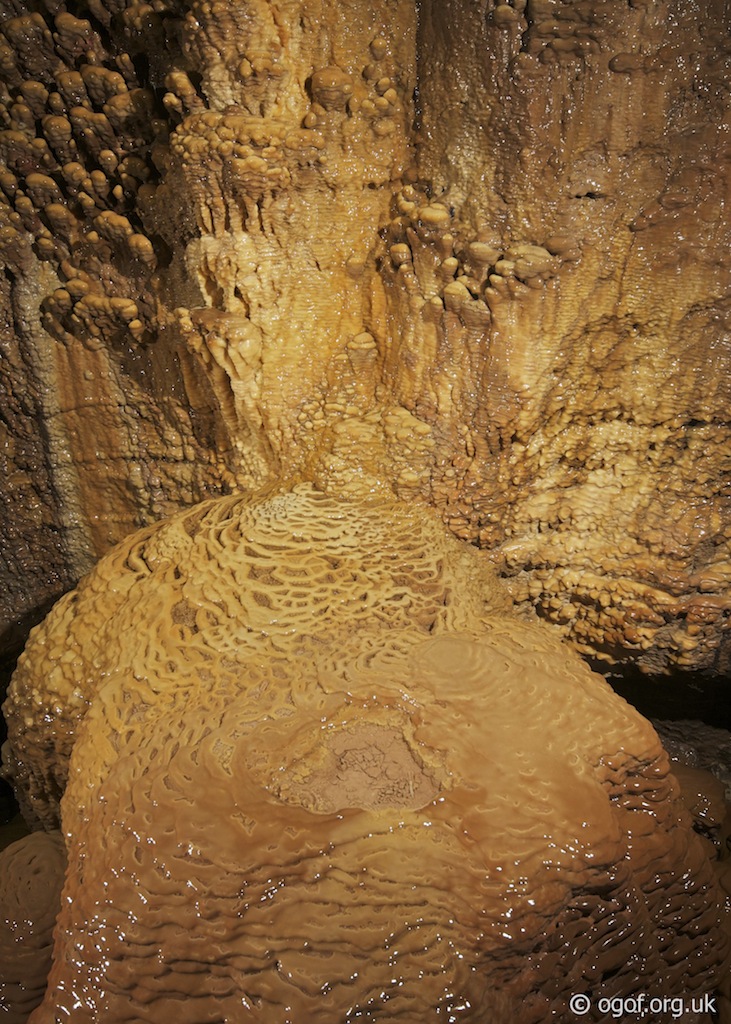
From the Smithy two routes lead to Nether Rawl - a large passage that becomes increasingly lofty as it reaches a junction and the start of Piccadilly. Here a stream flows from the right down a calcite covered floor from the Upper Piccadilly area of the cave. Piccadilly Passage meanders gently following the water downstream, past a climb over a few fallen boulders to an area where it reaches massive proportions. Here it begins to descend steeply down a calcite covered slope as it passes a waterfall inlet on the right, which in wet weather is very impressive. Then the slope swings gently to the right and becomes more bouldery as a junction at the bottom is reached. In the lower section of the passage high up in the roof the bottom end of the Upper Piccadilly Bridge Passage overlooks this lower area. At the bottom of Piccadilly Passage three ways lead off, the higher route leads to Heol Eira, the middle route to the Diver's Pitch and OFD 1 and a climb down to the lower passage is the route to Flood Bypass and the streamway to OFD 2.
Above the Piccadilly waterfall is a large phreatic passage, that can only be reached by climbing the 8 metre sheer vertical wall with a maypole, no belays are available at the top. The passage at the top is about 4m diameter and meanders gently with mud banks flanking a gently flowing stream. This ends abruptly after about 40 metres where the water emerges from a low slot.
Above the Piccadilly waterfall is a large phreatic passage, that can only be reached by climbing the 8 metre sheer vertical wall with a maypole, no belays are available at the top. The passage at the top is about 4m diameter and meanders gently with mud banks flanking a gently flowing stream. This ends abruptly after about 40 metres where the water emerges from a low slot.
Tackle
Upper Piccadilly Pitch A pull-through cord allows rigging from the bottom of the pitch approx 12m - 30m rope needed. WARNING This is not an adopted fixed aid.The pull through on the Upper Piccadilly pitch runs through only one eyebolt which moves!
Fault Aven Pitch A pull-through cord allows rigging from the bottom of the pitch approx 8m - 20m rope needed.
Video


References
Cambrian Cave Registry Entry for Cwm Dwr UKcaving Wiki Entry for Cwm Dwr
Caves of South Wales | Tim Stratford | ISBN: 1-871890-03-9 | Published by Cordee
Selected Caves of Britain and Ireland | Des Marshall - Donald Rust | ISBN: 1-871890-43-8 | Cordee
OFD Survex Data | Brian Clipstone's survey data page
OFD Survey PDF - Low res | Brian Clipstone's survey page
Warnings
The streamway will become impassable after heavy rain.Navigation, particularly through the boulder choke can prove a challenge. This being the single biggest cause of lost or overdue parties in the cave.
Disclaimer
The photographs and information of this page has been provided to help cavers planning trips. Caving can be a dangerous activity, if you are interested in exploring caves please join a caving club so you can enjoy a safe introduction to this sport. Local caving clubs are listed on the links page or you can visit the 'New To Caving' website for more options.If you feel that any of the information is incorrect or should be updated please contact us.
Cave Conservation Code
- Cave with care and thought for the environment.
- Disturb nothing whether living or geological.
- Avoid touching formations.
- Keep to marked routes and never cross conservation tapes.
- Take nothing but photographs.
- Do not pollute the cave, leave nothing behind.
british-caving.org.uk
Download leaflet
