


Overview
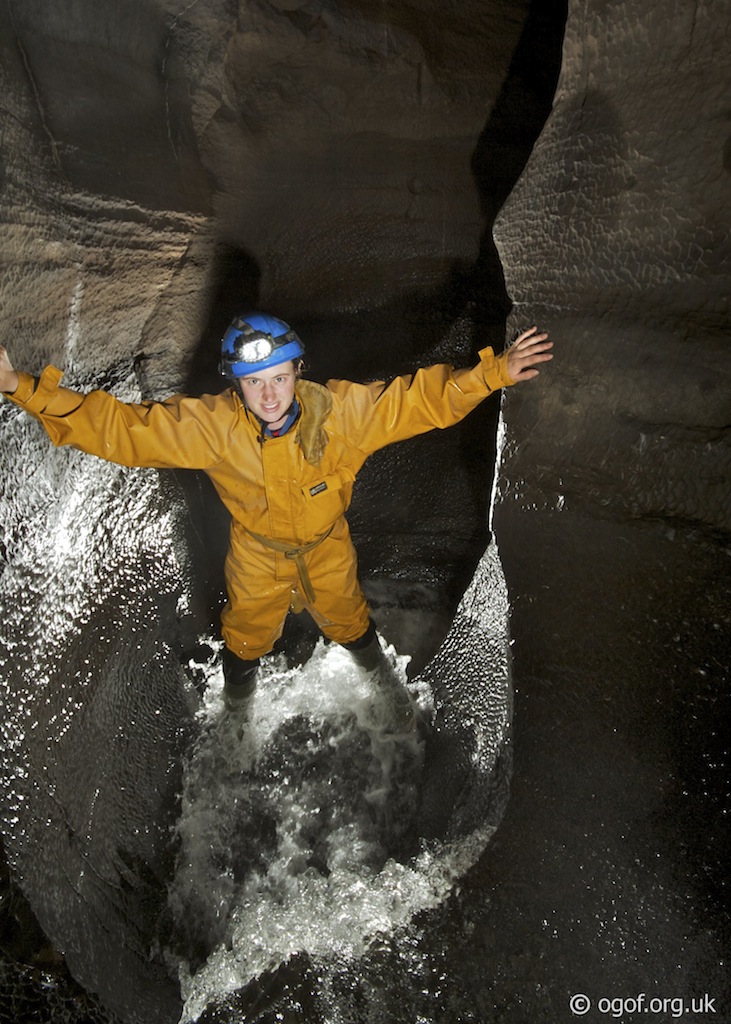
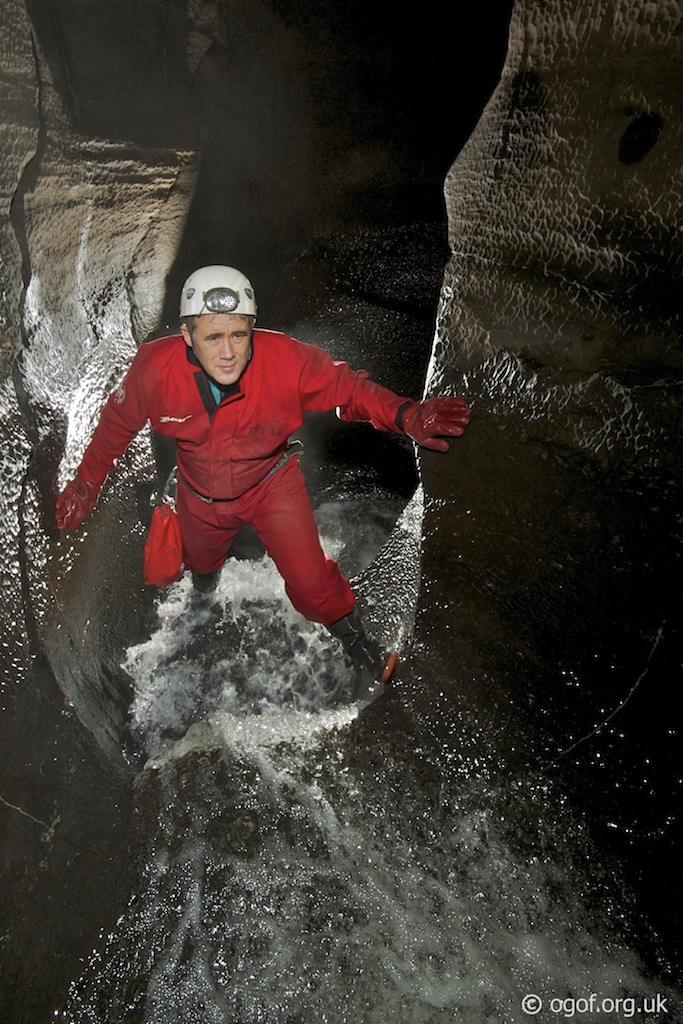
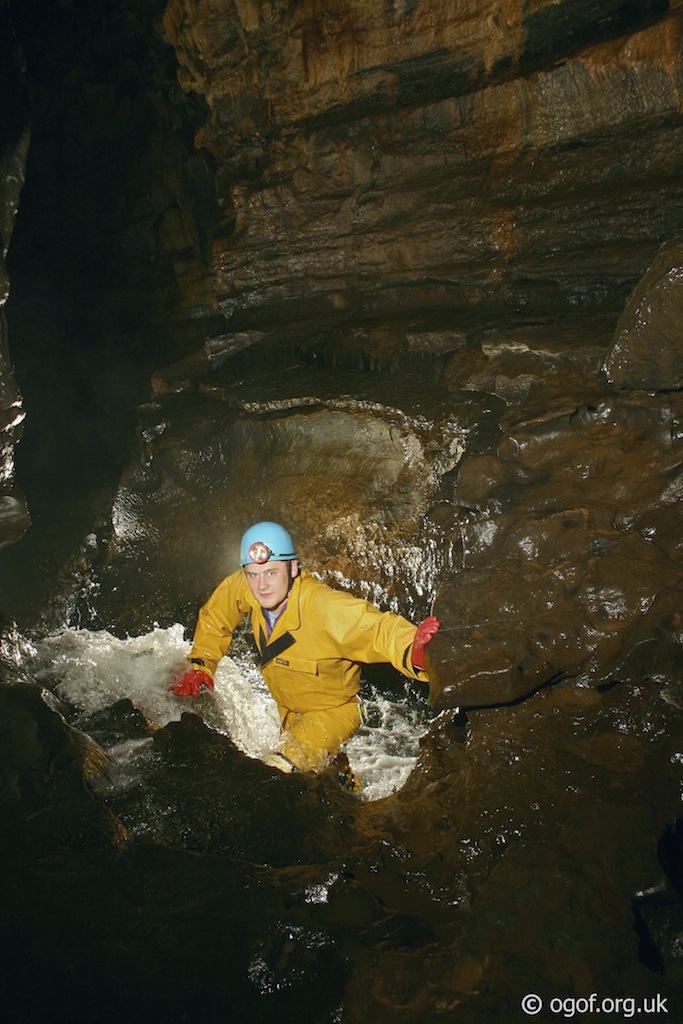
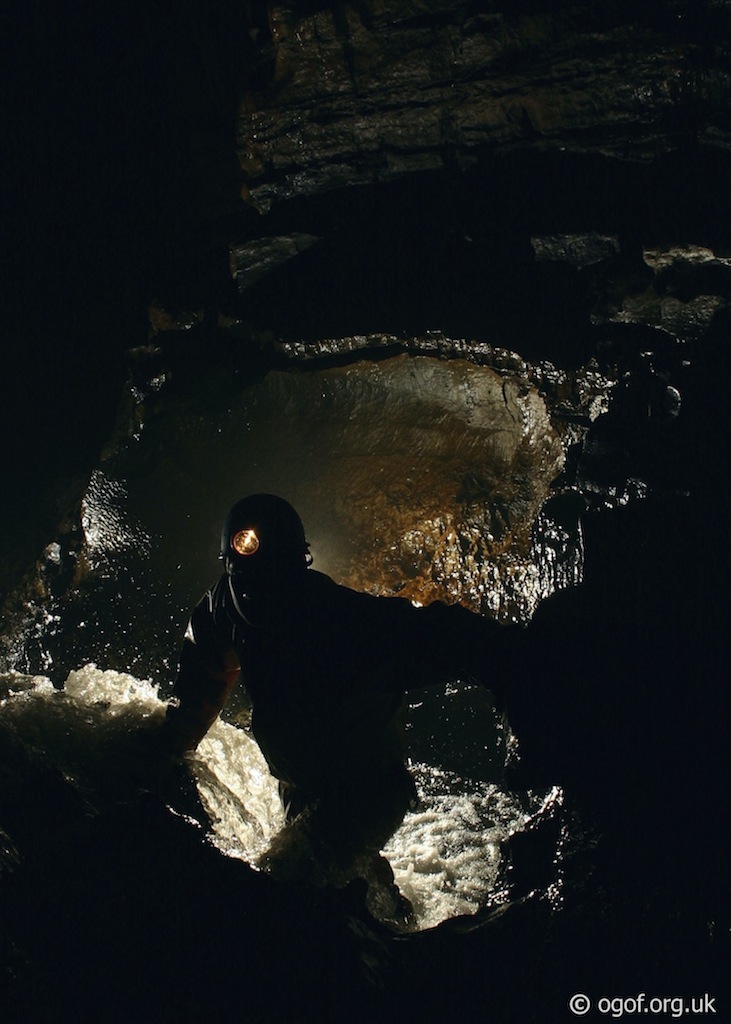
Ogof Ffynnon Ddu II or OFD2 as it is often referred to is the most complex and extensive sections of the OFD cave system. The entrance is located on the mountainside above Penwyllt and gives access to a vast maze of passages formed on three distinct levels. The large amount of dry fossil passages make this cave a very popular location in wet weather as there are numerous areas of cave to explore without entering the streamway. In normal weather the magnificent streamway can be reached and provides the route to Cwm Dwr and OFD1 allowing the most impressive through trips in the country.Length 60,600m - approximate length of the entire OFD system
Altitude 432m
Grid SN 86361 15882
History
The search for Ogof Ffynnon Ddu 2 was very long, running from the discovery of Ogof Ffynnon Ddu in 1946 until the divers first set foot in this area of the cave in 1966.
During the final 10 years there were digging trips every weekend trying to find a connection to the cave that lay beyond the boulder chokes and sumps. In July 1966 divers first passed the sumps to find the dry passages of OFD2 and Cwm Dwr. Divers exploring the high level passages in Cwm Dwr heard the unmistakable sound of explosive being detonated by the diggers trying to reach the cave from Cwm Dwr Quarry. Following the fumes from the explosive they located the end of the dig from inside the cave and then cleared it to make their exit via Cwm Dwr and to complete the first through trip in the cave. In 1967 a dry connection from OFD 1 to OFD2 was made to bypass the sumps. On the 16th September 1967 radio location of a passage in the higher levels of OFD 2 identified it's location on the surface and within a few hours of digging from surface and inside the cave the "Top Entrance" to OFD was created.
Location
OFD 2 is located on the mountainside above the Penwyllt Headquarters of the South Wales Caving Club.The gate beside the SWCC headquarters leads to a footpath and then an old tramroad that heads up the mountainside. After a long straight section the tramroad passes through a cutting. 20 metres beyond the end of the cutting a path branches off on the right and after 120m the cave entrance is found located in a small hollow.
Swansea Valley Google map showing the location of Ogof Ffynnon Ddu 2 and other caves in the area.
Location map - click marker to show entrance photo
Access
The cave is gated and governed by a permit system, administered by the South Wales Caving Club on behalf of Natural Resources Wales.
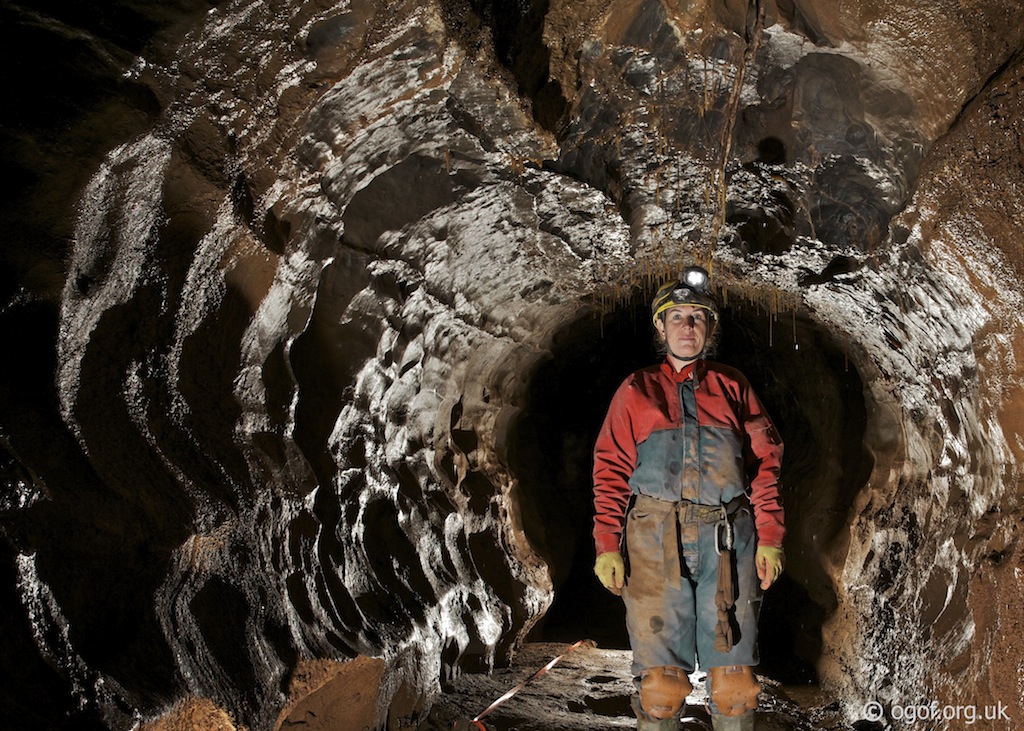
Description
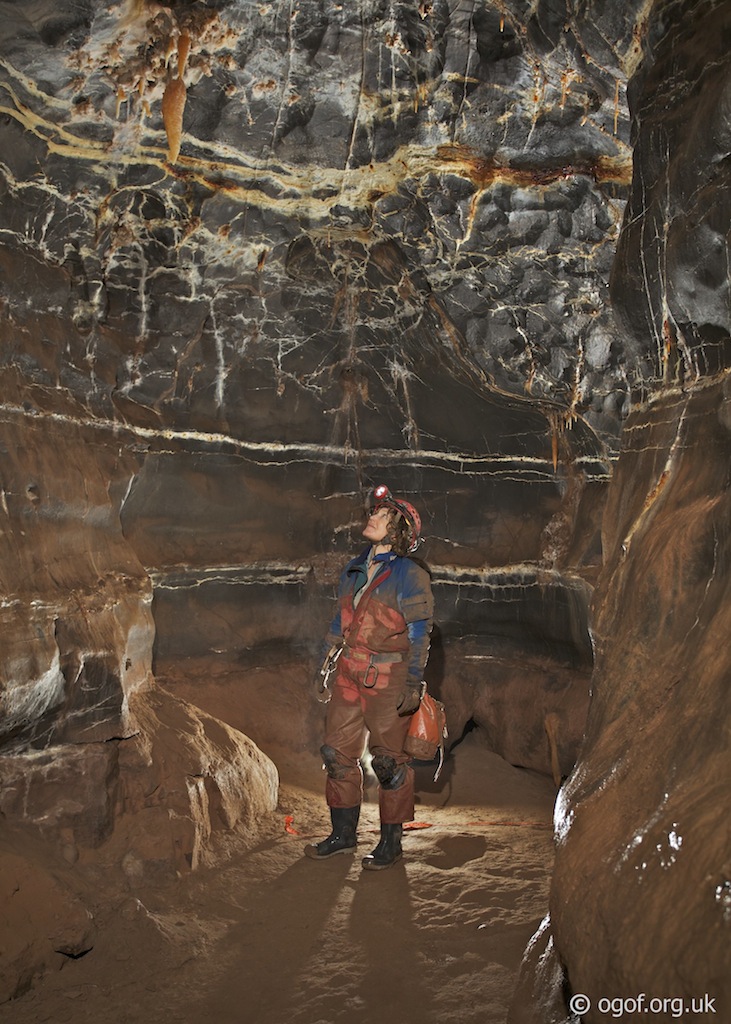
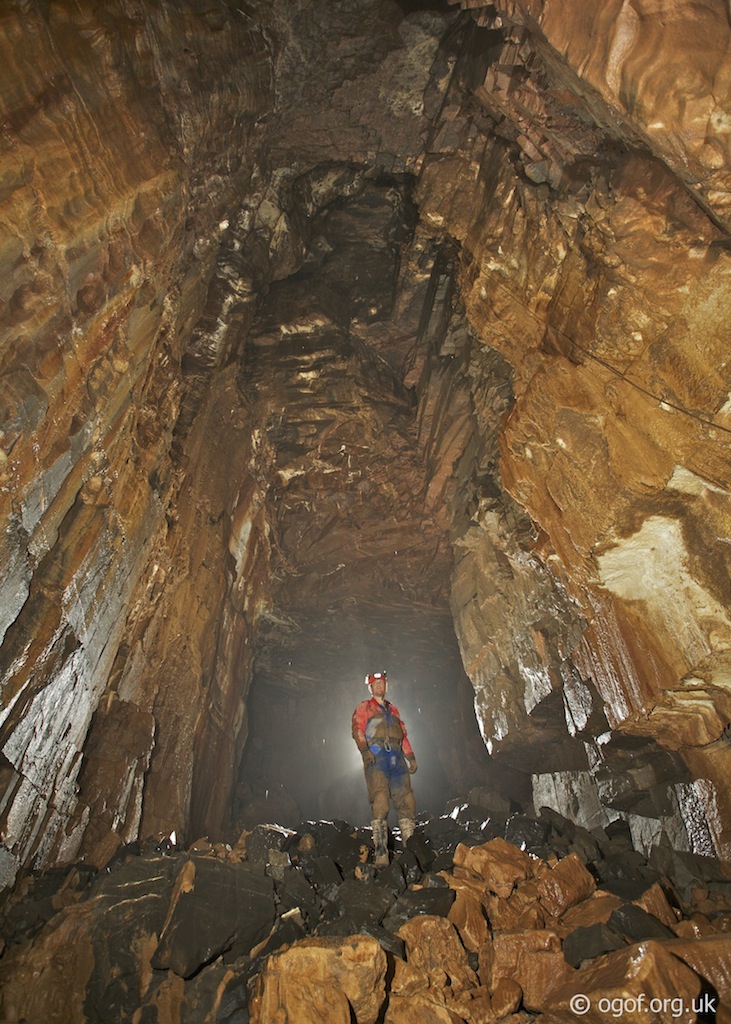
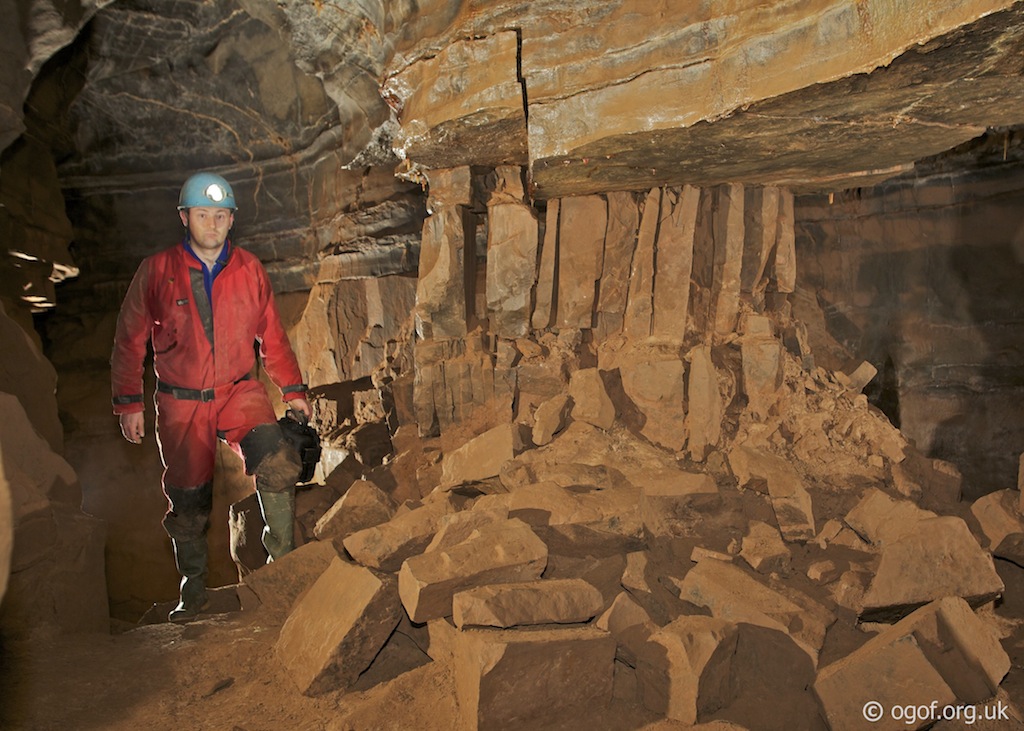
OFD2 is a very extensive and complex system so a detailed description is not given here. Some of the key features of the cave are covered below.Entrance Area
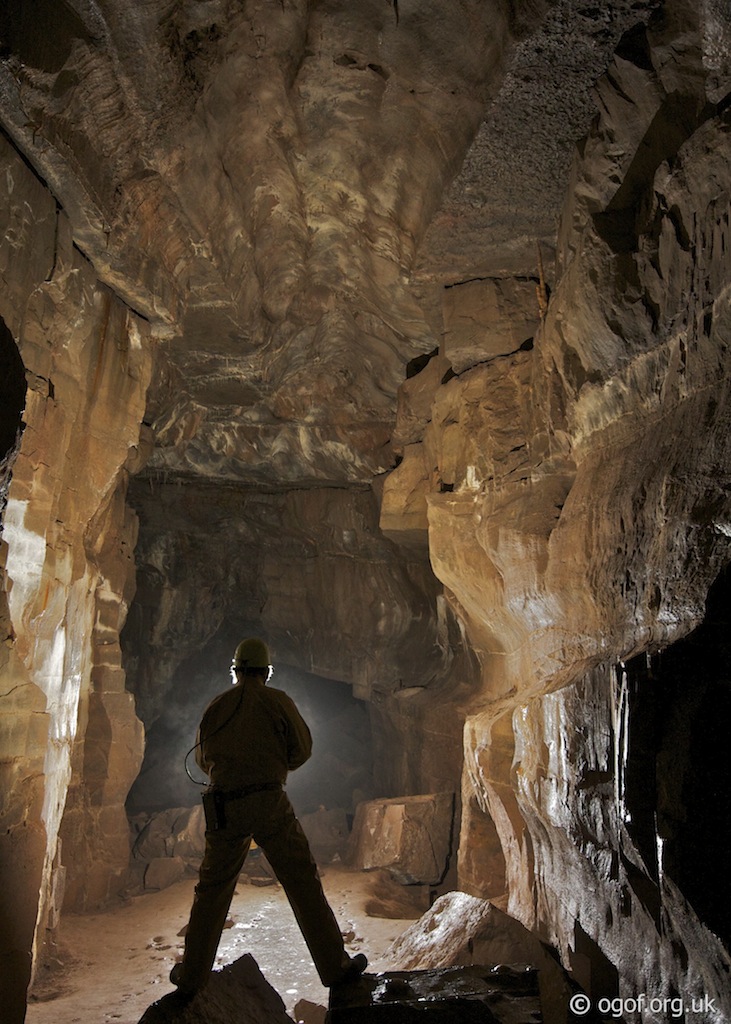
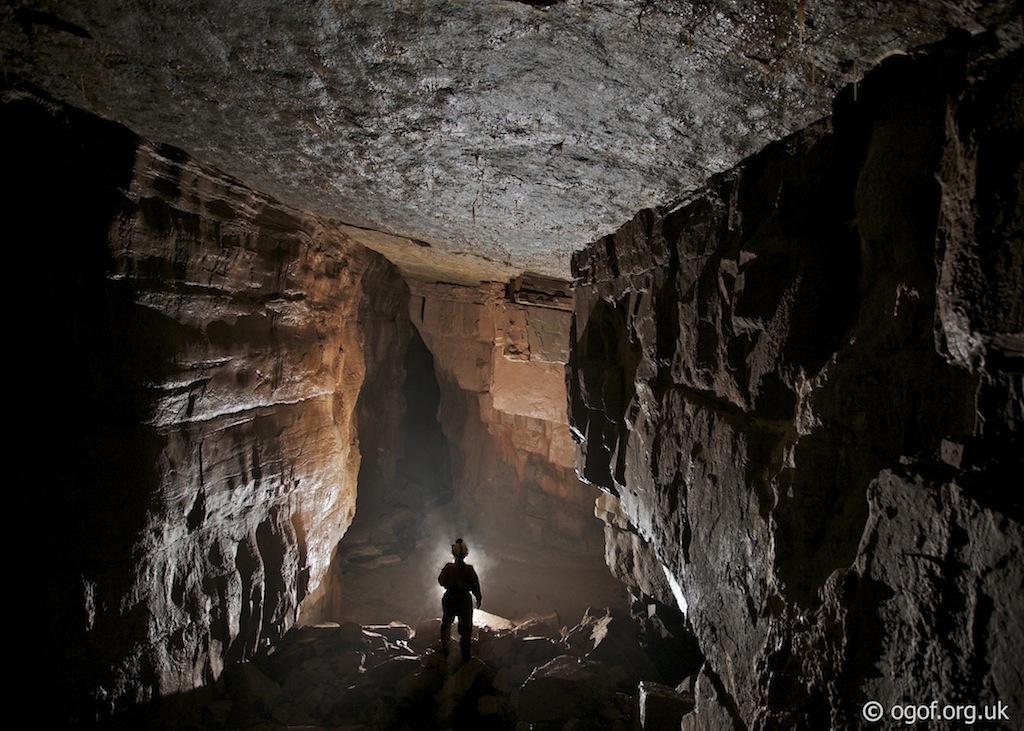
Top Entrance leads immediately into some very large and well travelled passage. This is a very complex area of the cave and you could spend an entire day's caving being only 10 minutes away from the entrance at any one time.

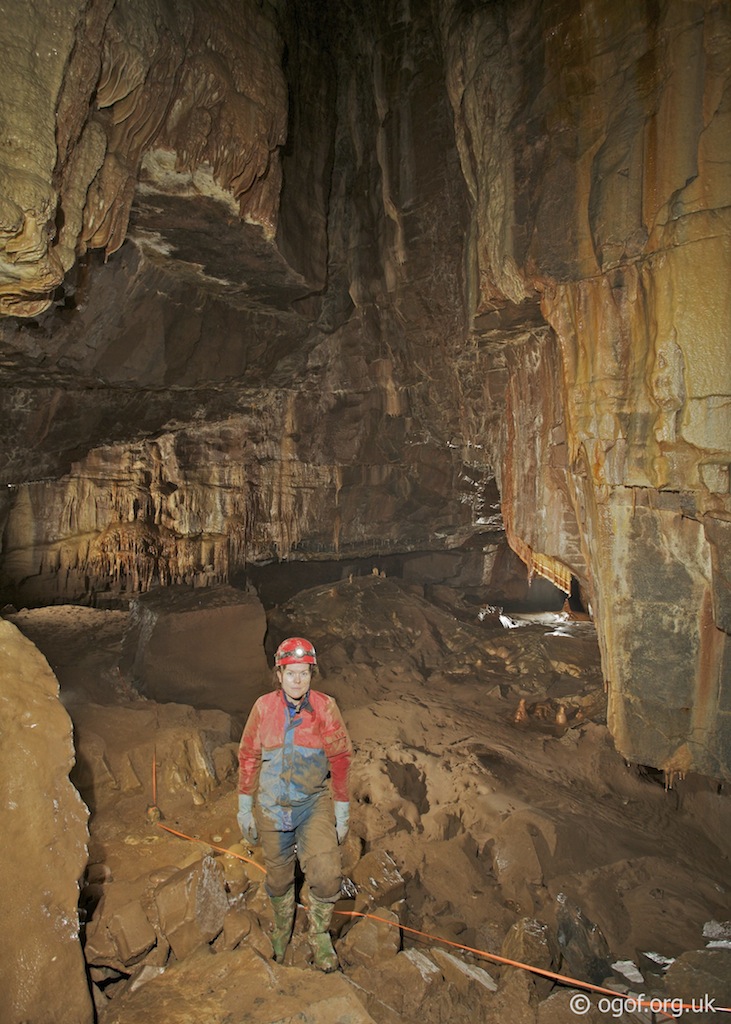
Immediately on the left is a small passage that leads to an 8m climb up to passages leading to the Mini Columns. Further along the main passage a large route heads off on the left, this leads to Big Chamber Near The Entrance. A short distance further down the main passage a second route into Big Chamber Near The Entrance is located again on the left. A passage on the right opposite this leads to some high level passages that connect to the Bedding Chambers and also to the Mini Columns. A shower inlet is passed and ahead an area of large blocks - The Brickyard, this can be climbed over to reach a continuation of the passage beyond. Keeping to the main passage will take you to the start of Gnome Passage. There are numerous routes between the entrance and Gnome Passage, it is worth spending some time here to learn the different routes as this is one of the more complex areas of the cave, and the survey is not always helpful here.
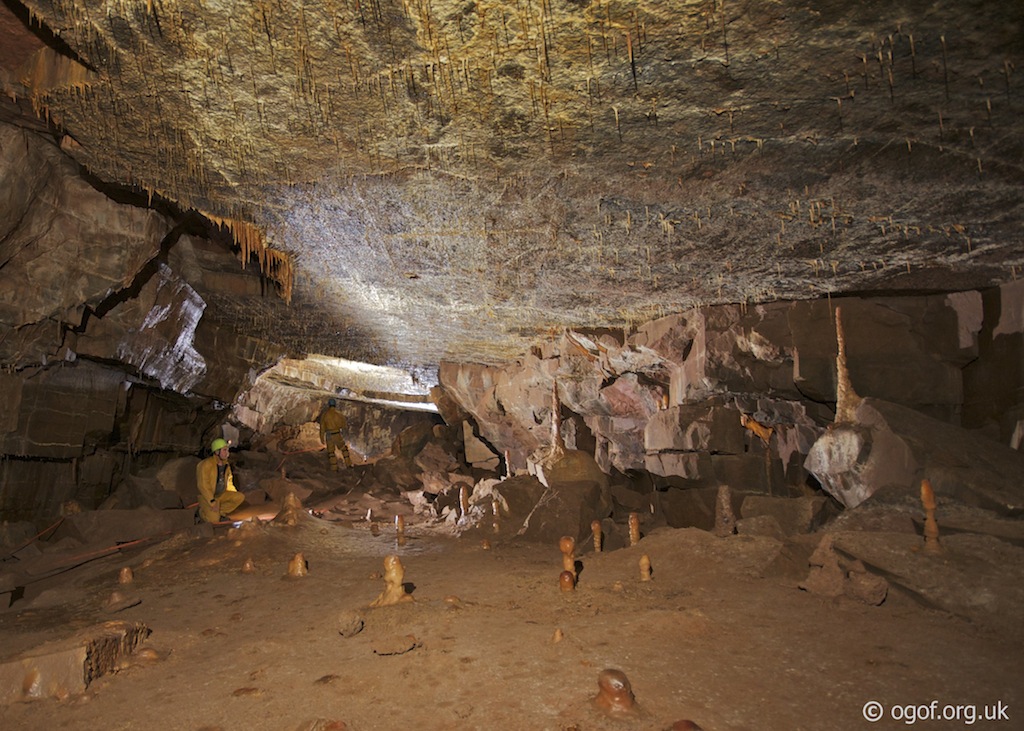
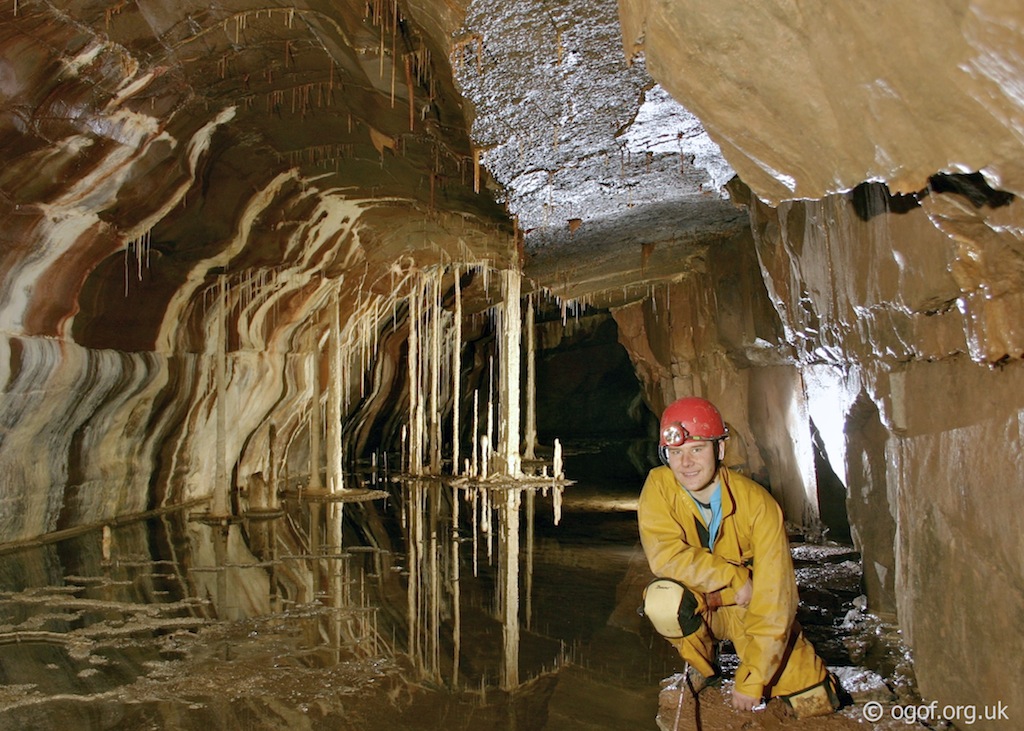
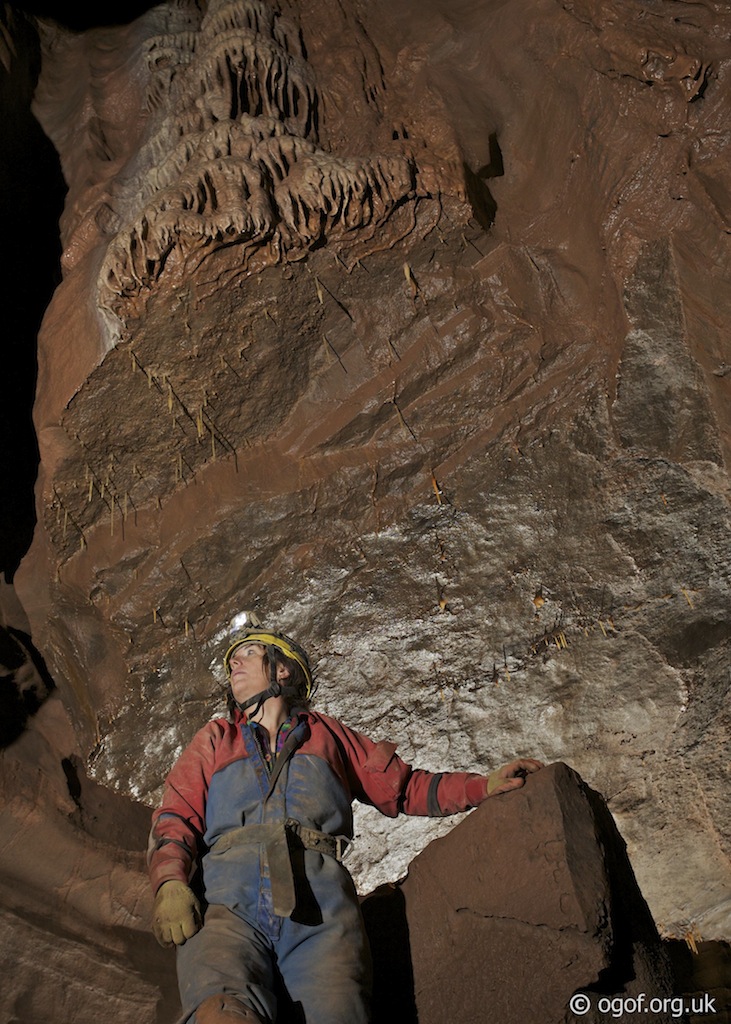
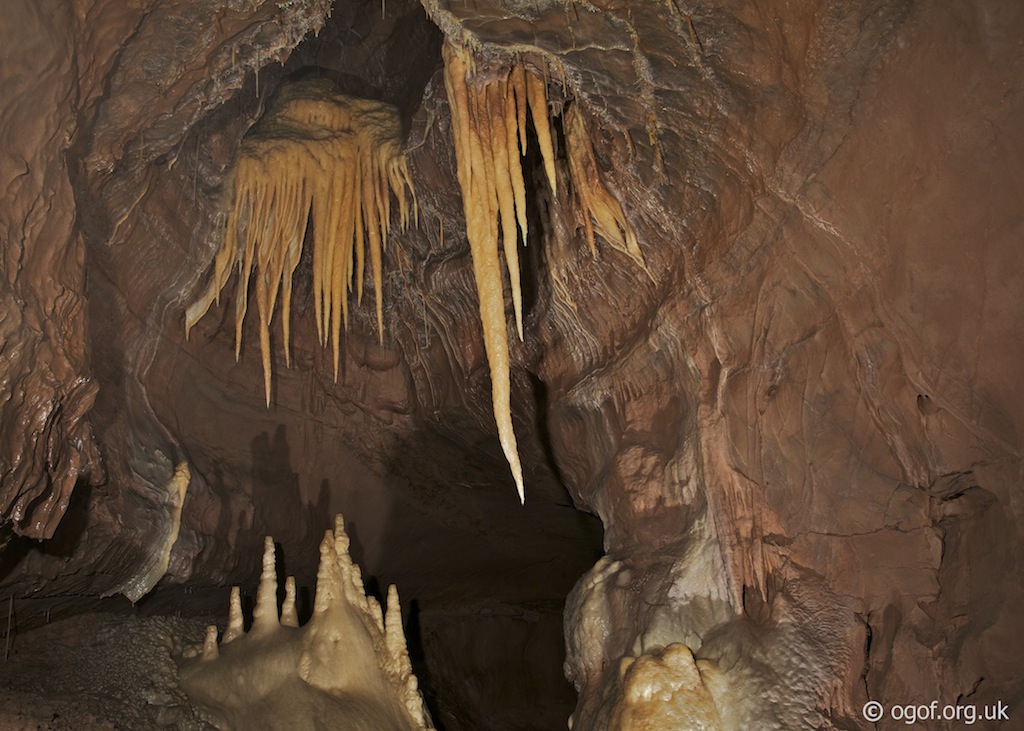
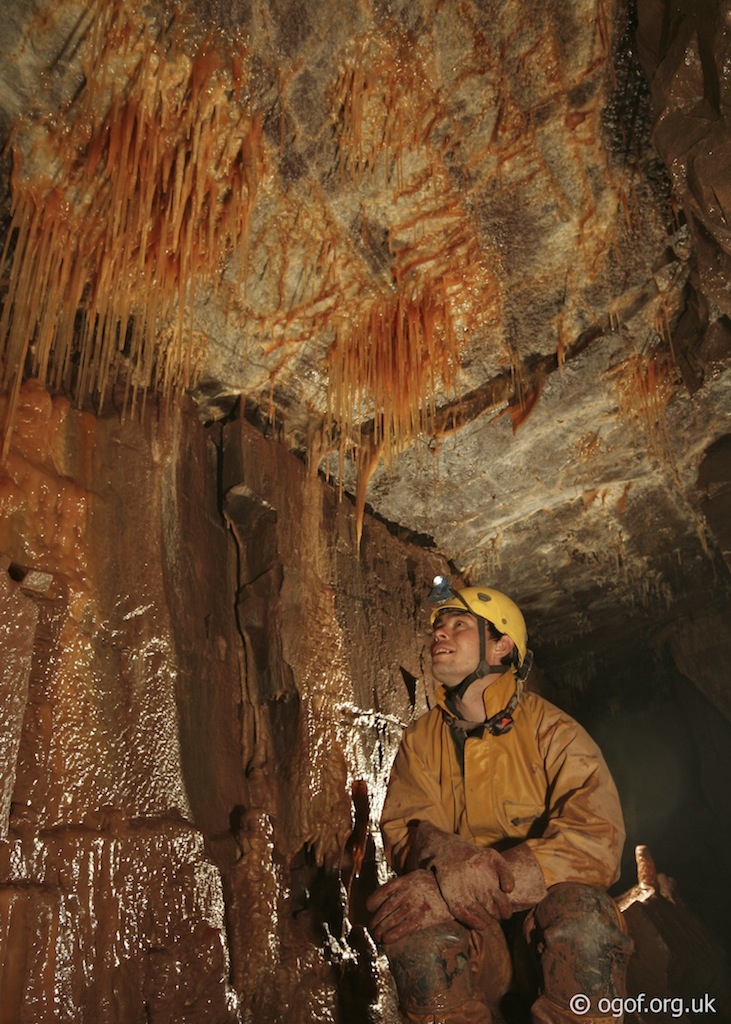
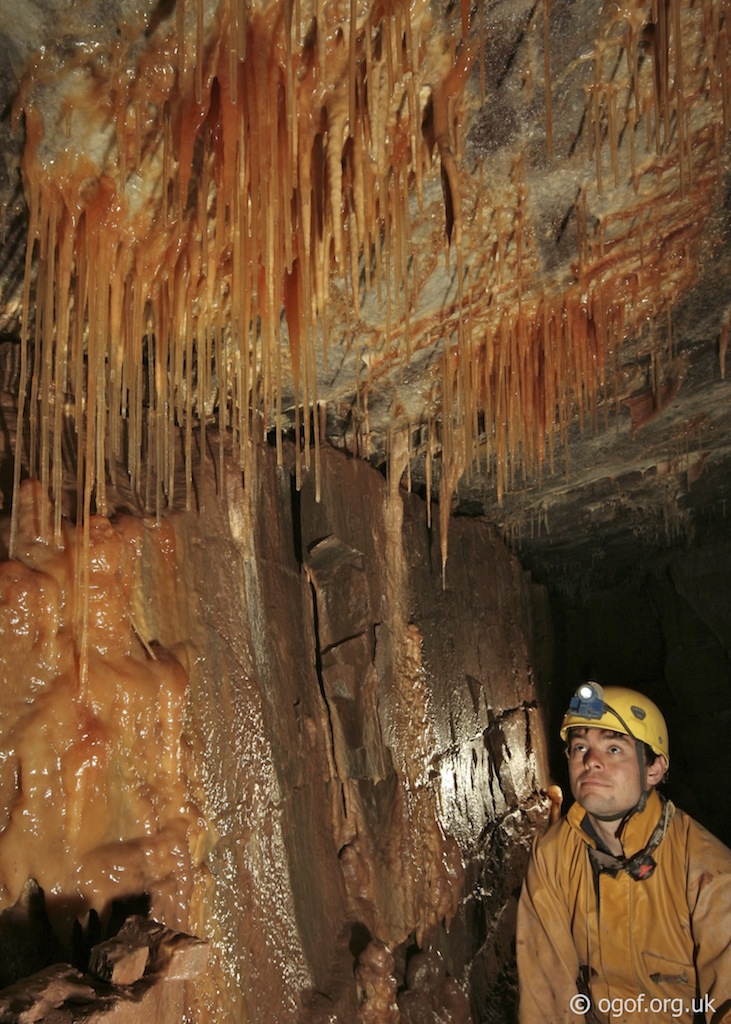
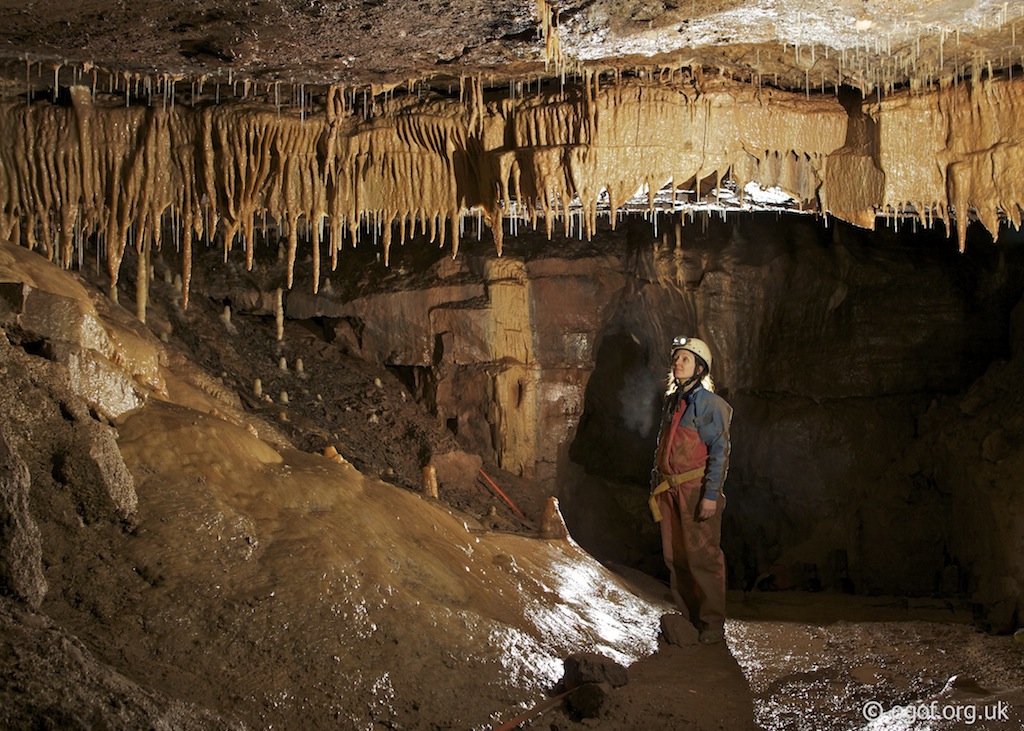
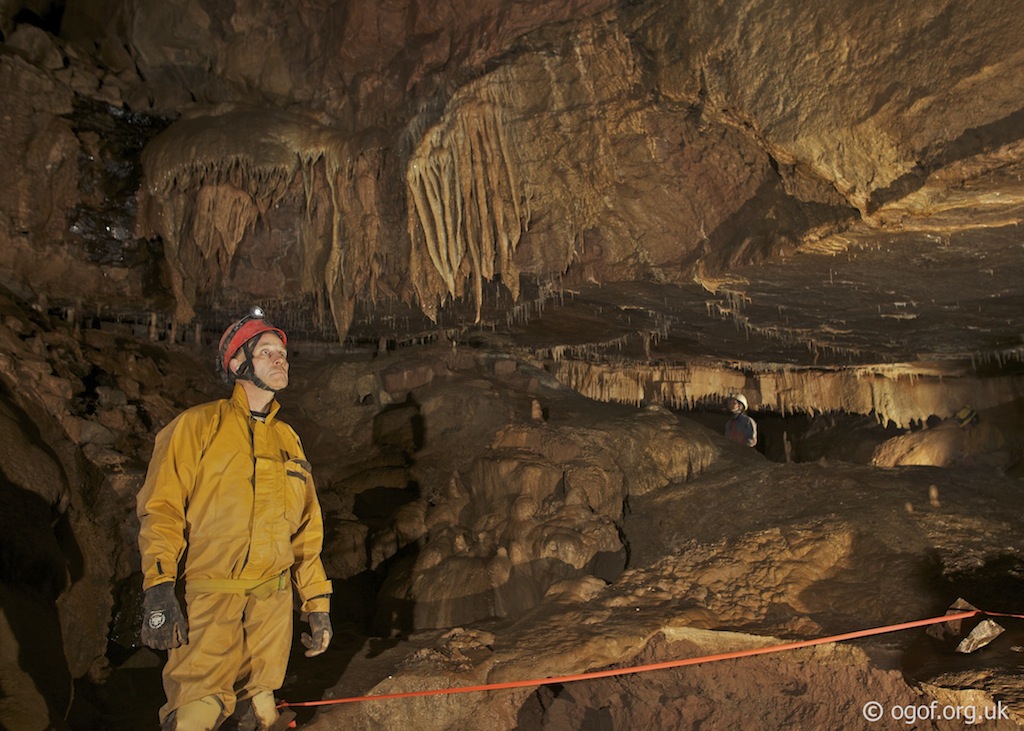
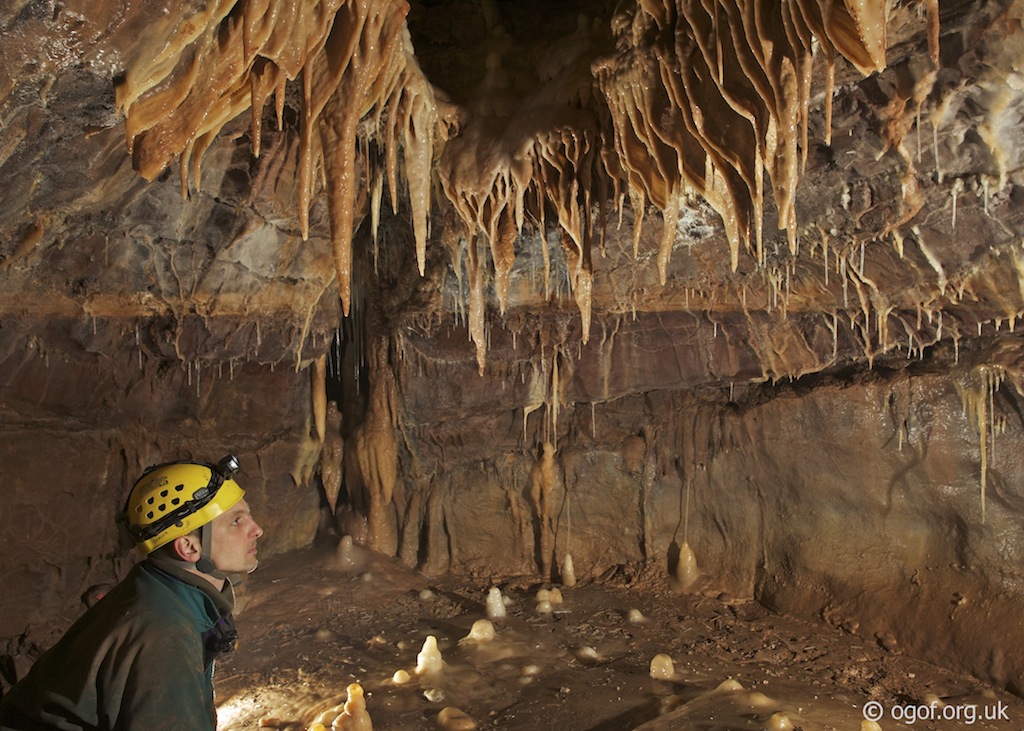
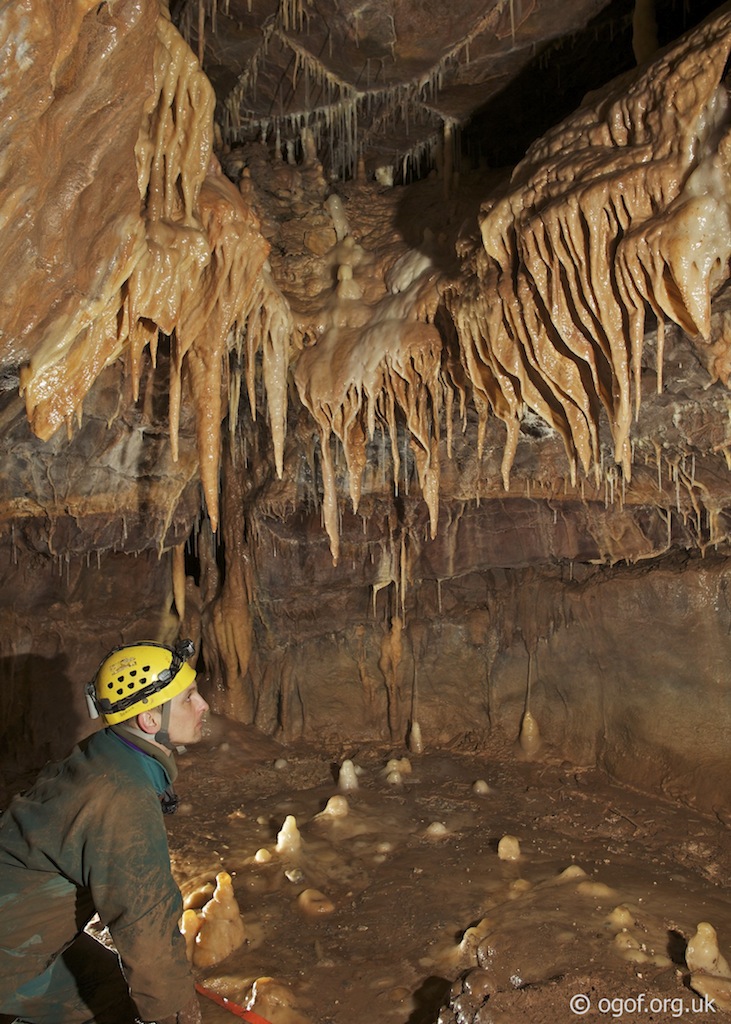
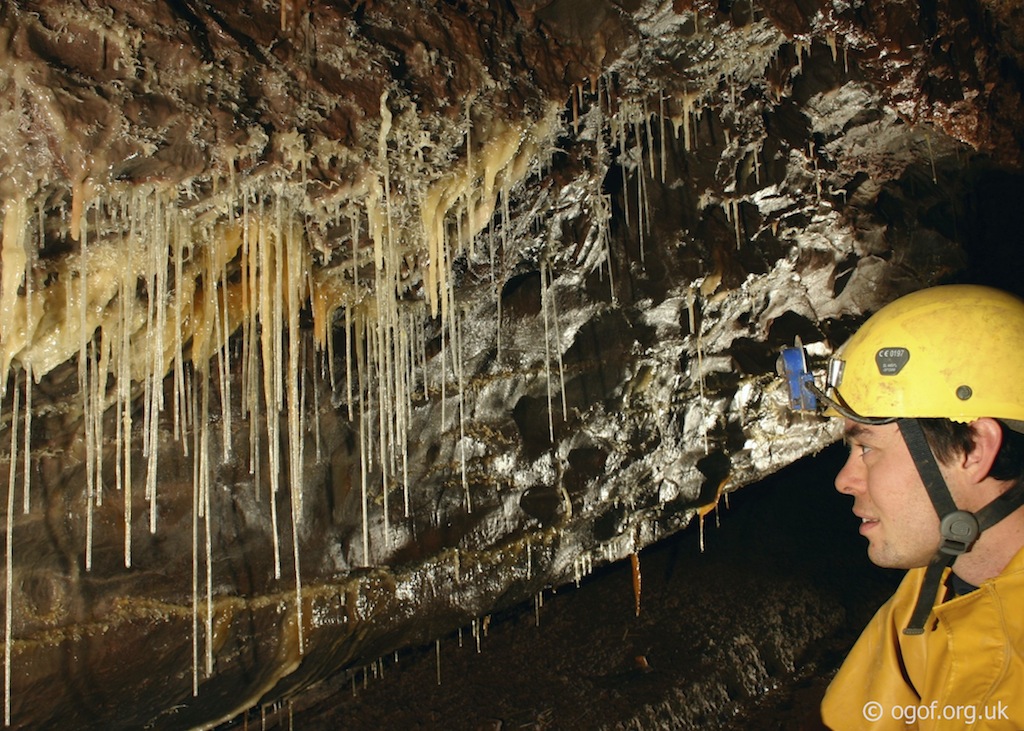
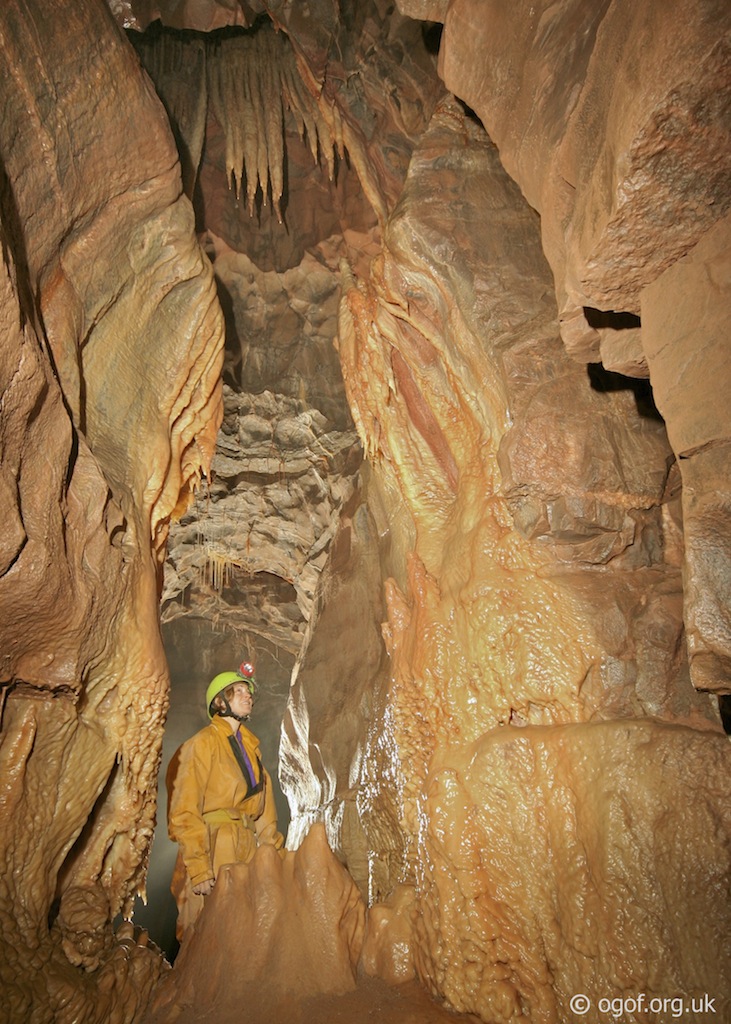
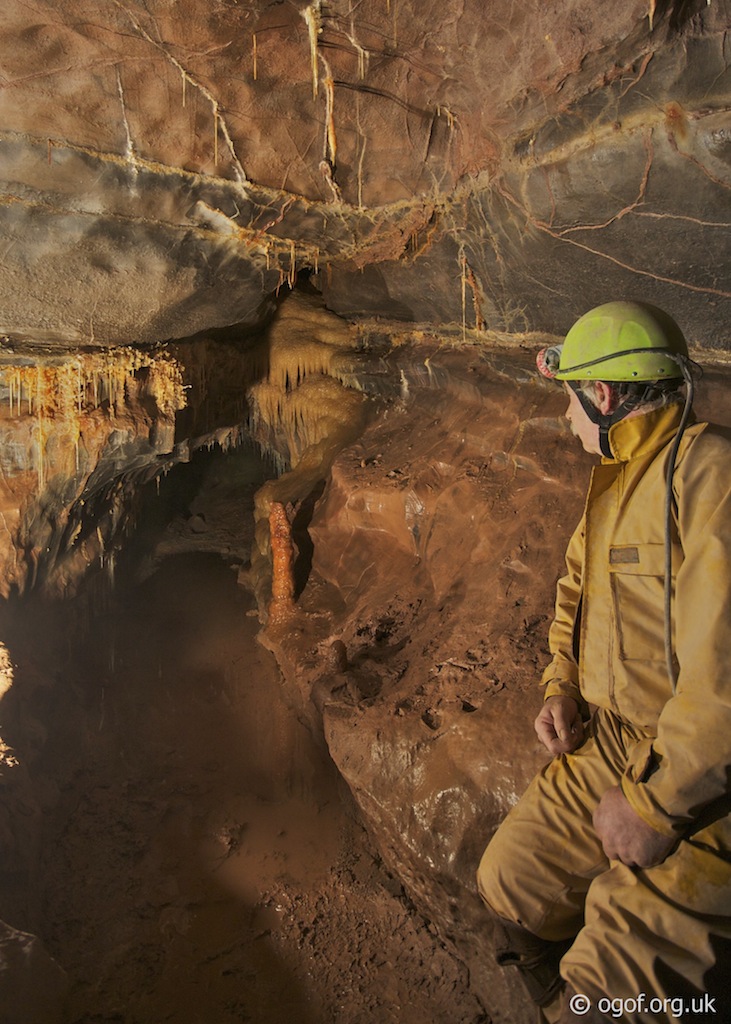
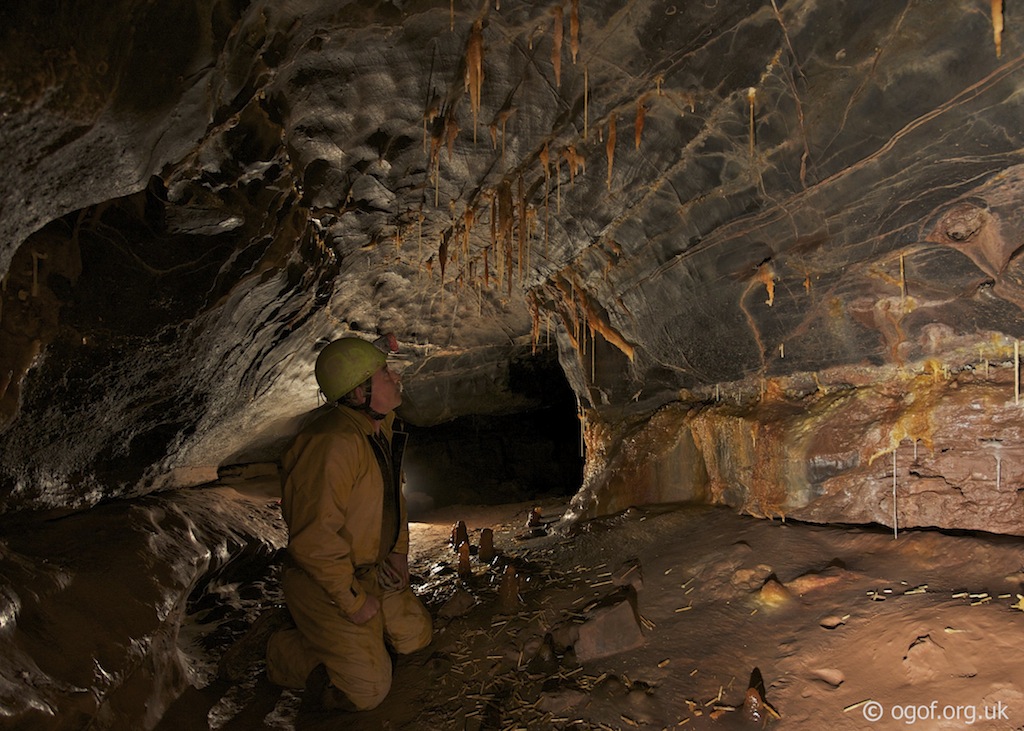
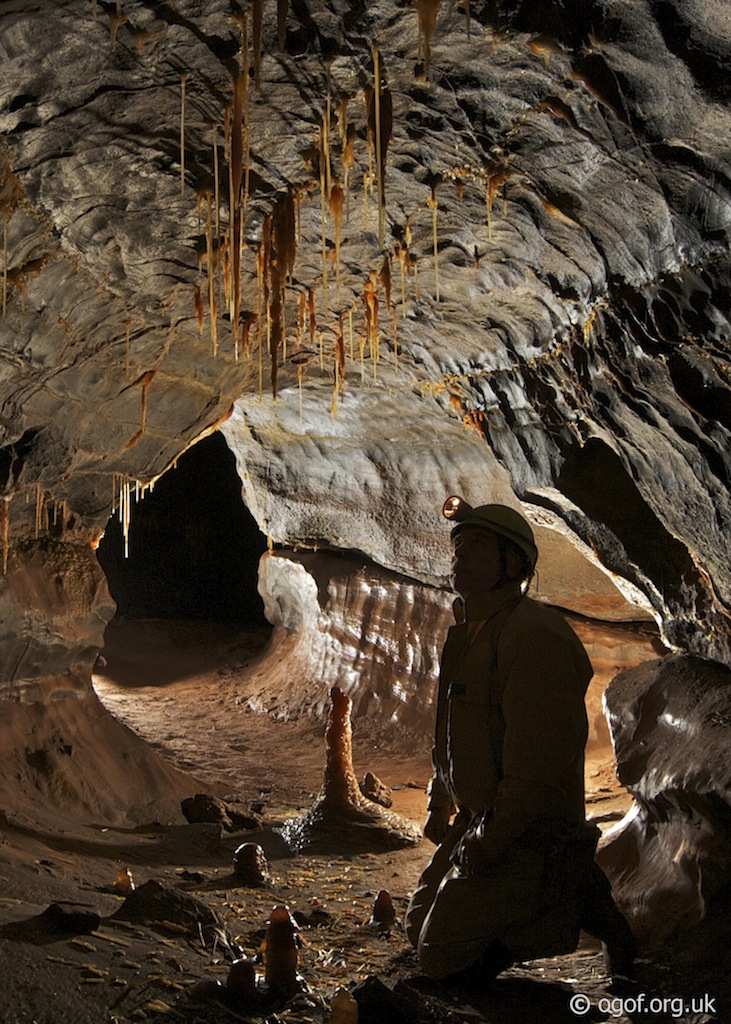
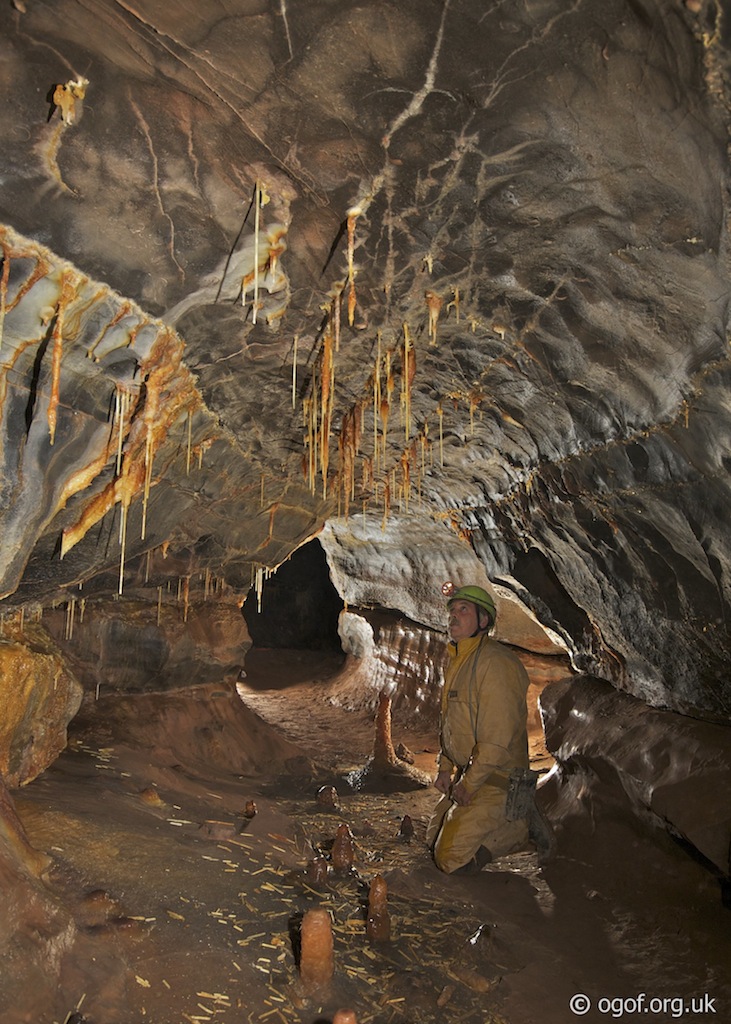
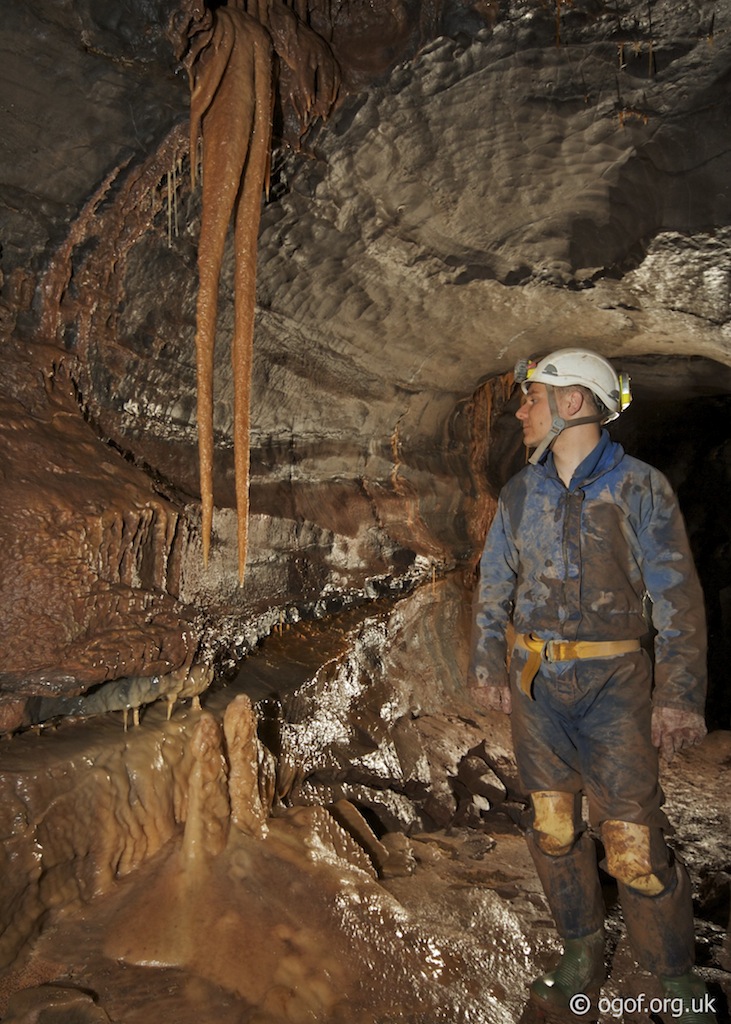
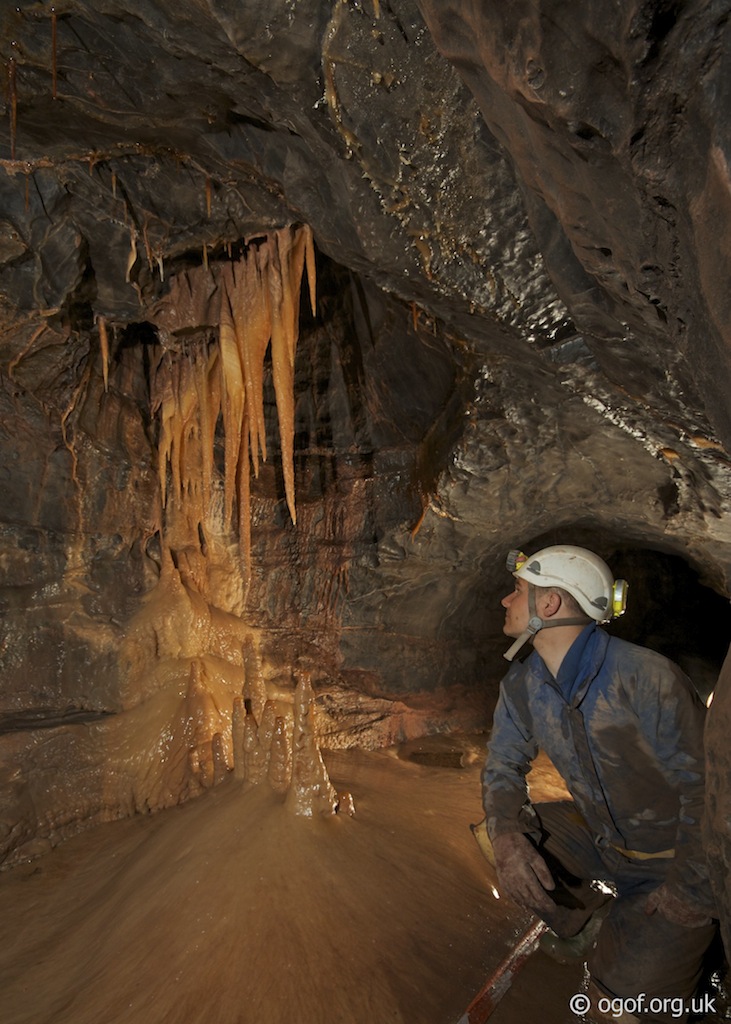
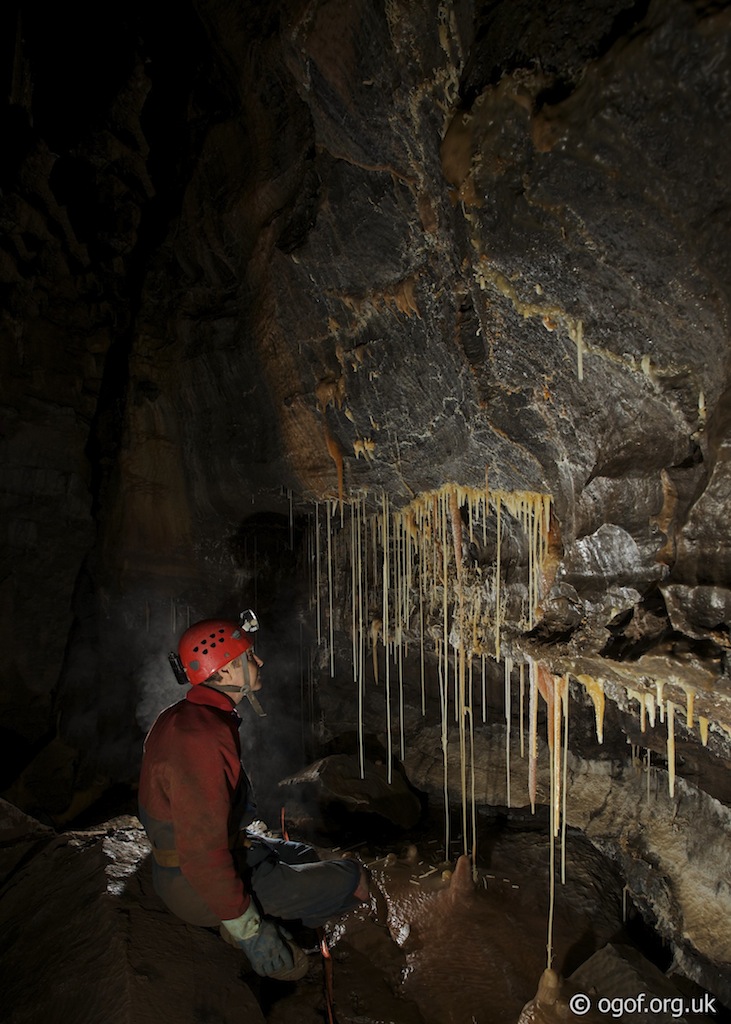
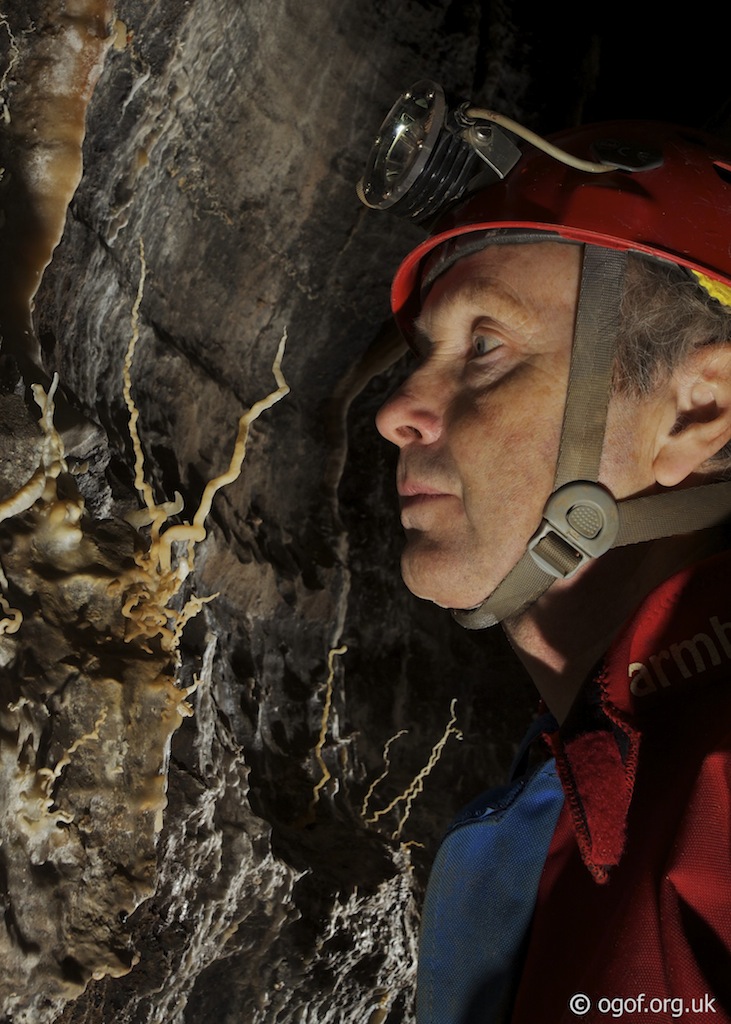
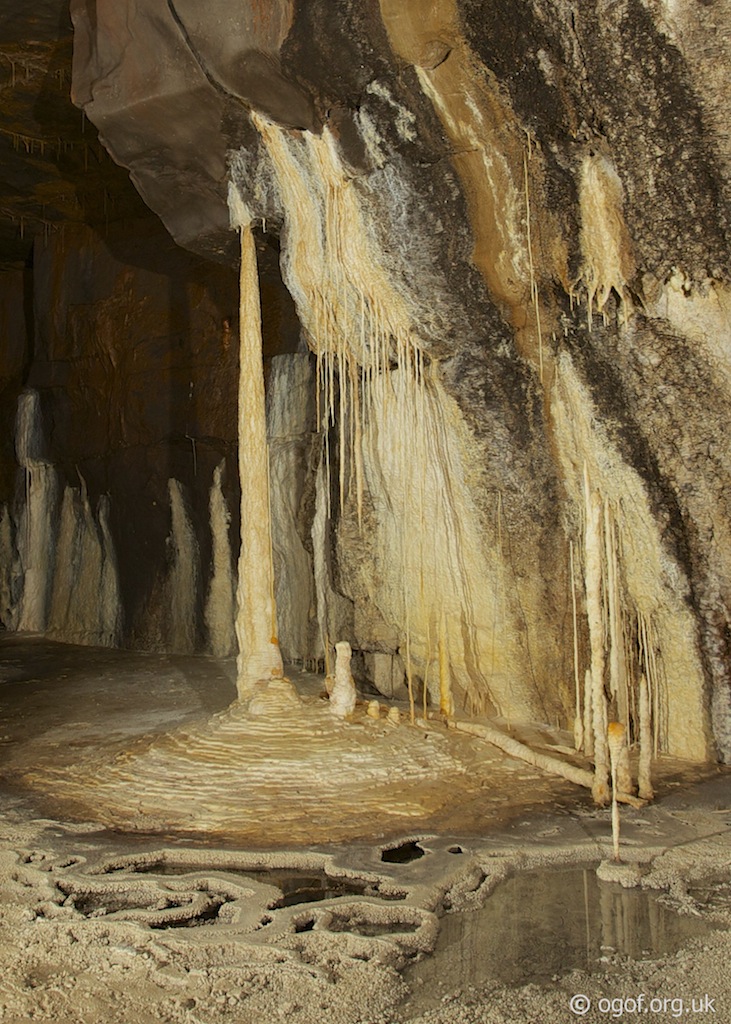
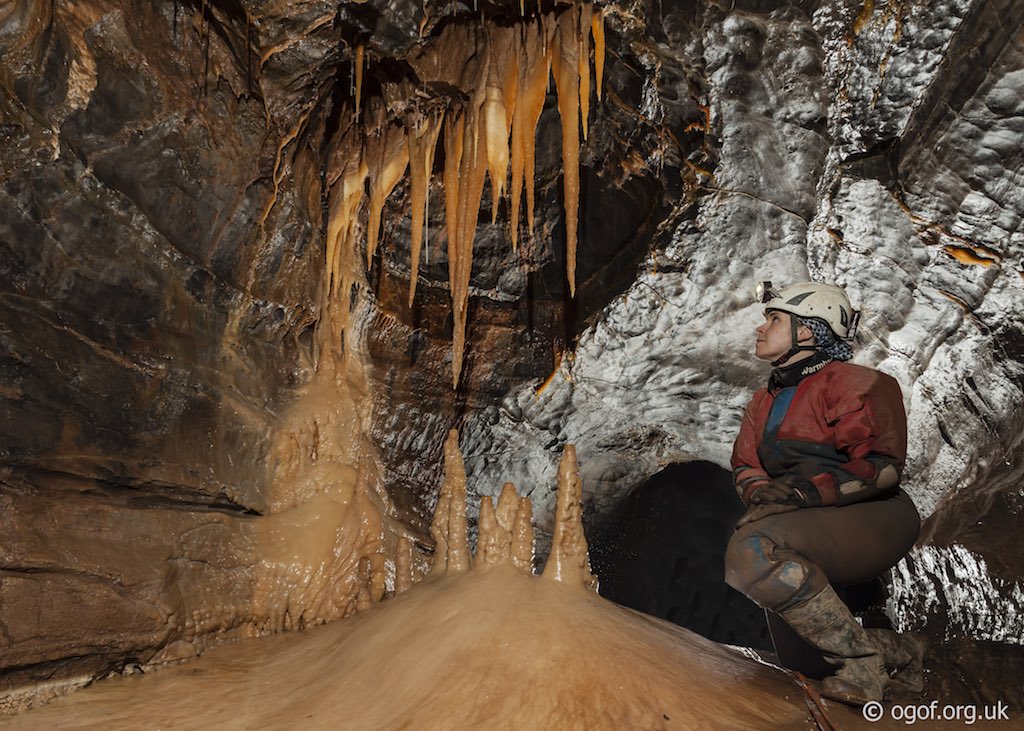
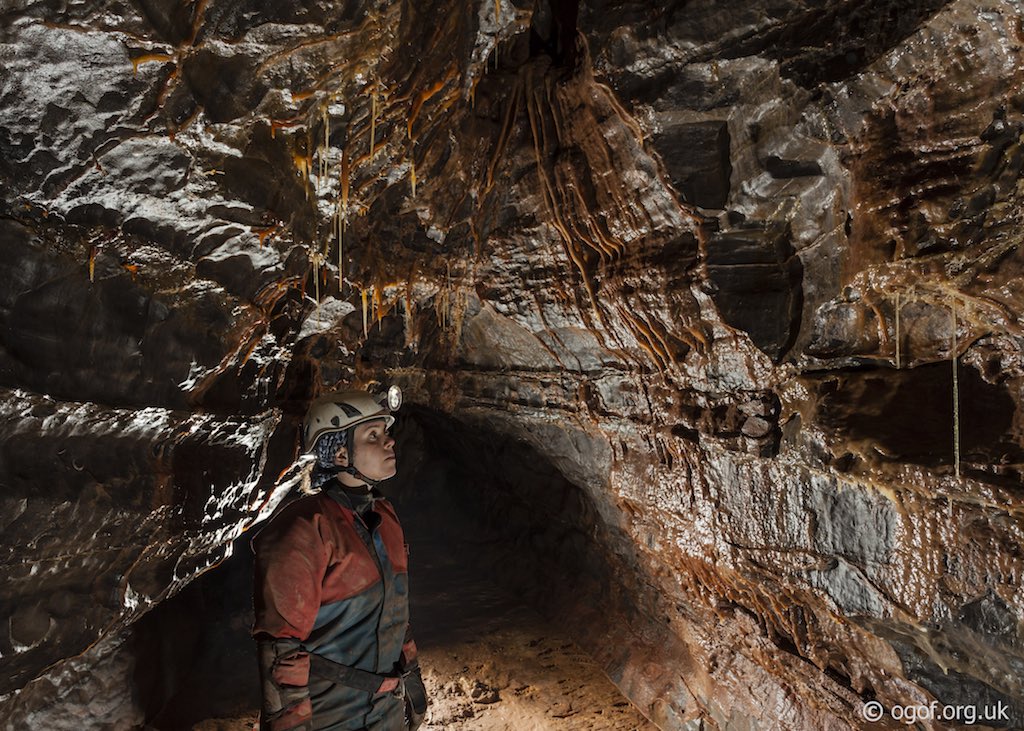
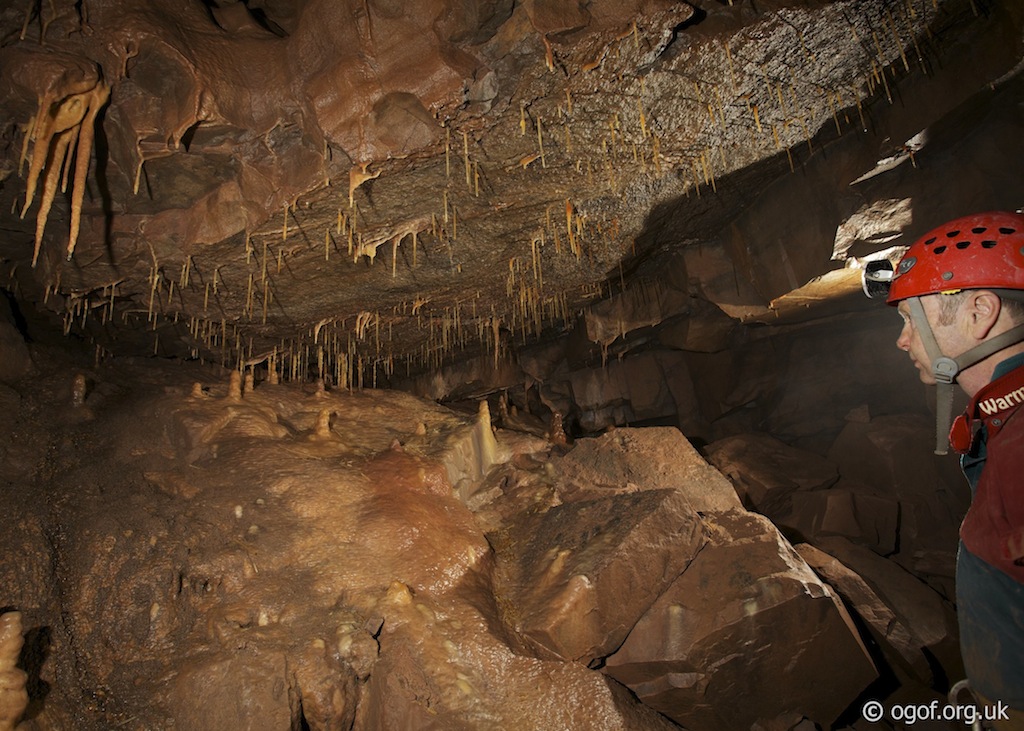
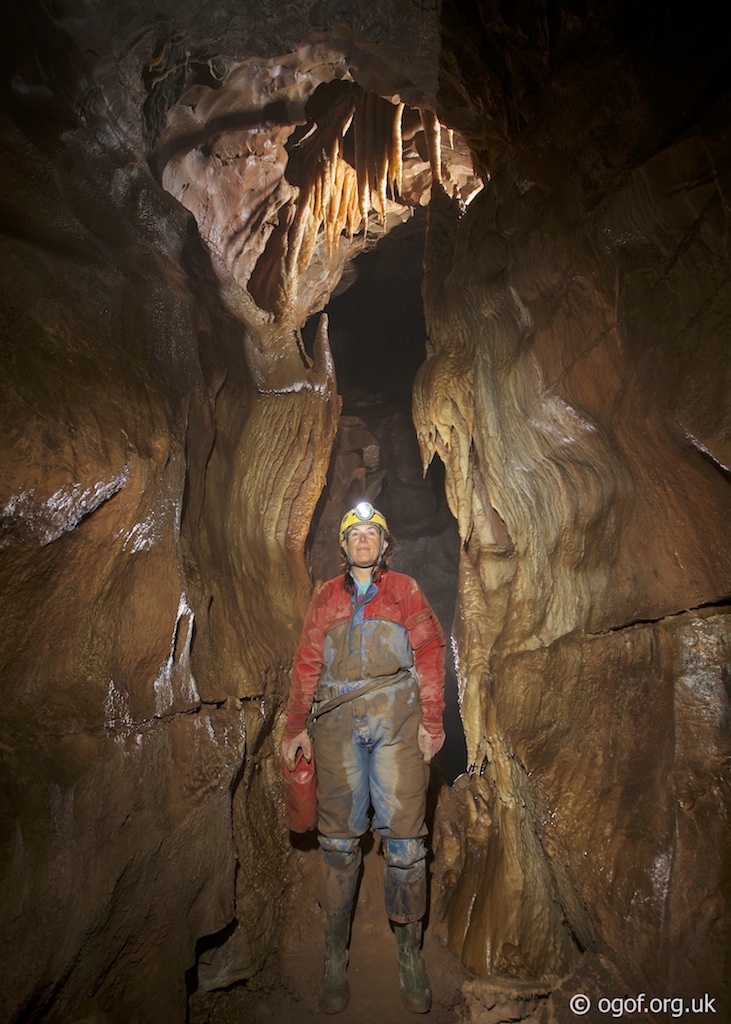
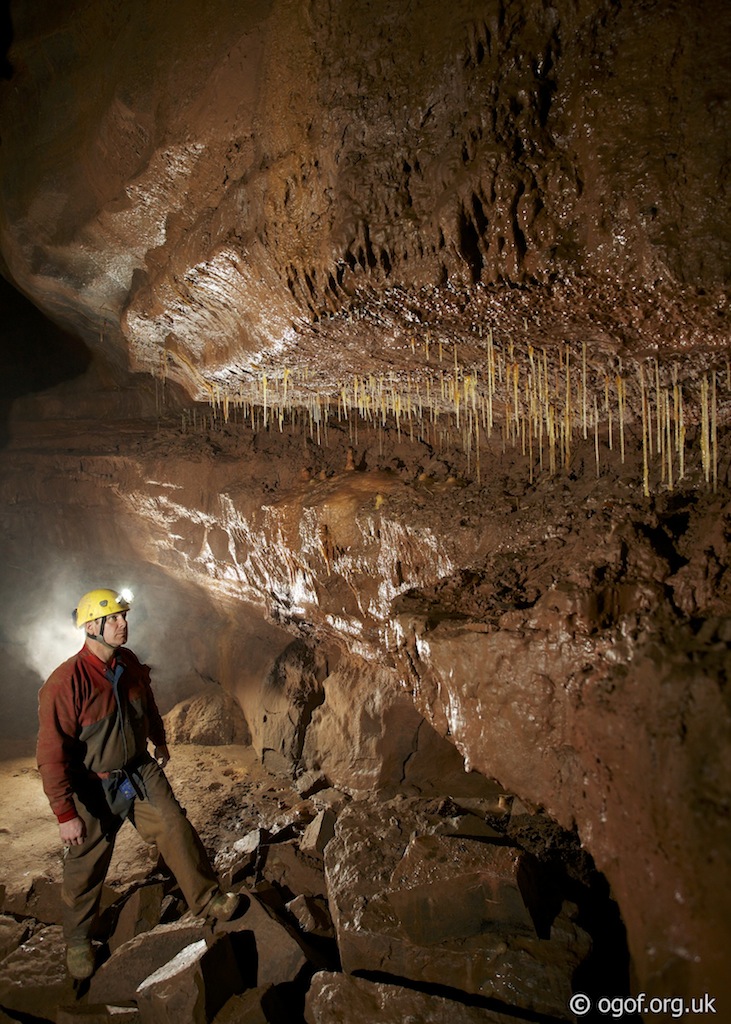
The Columns
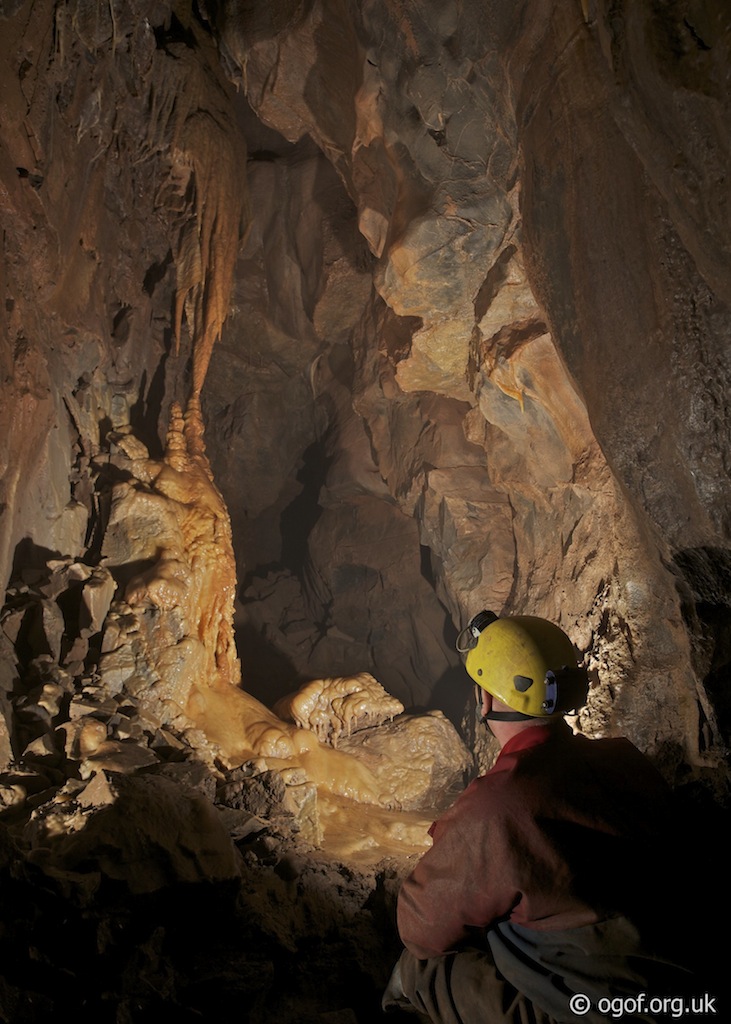
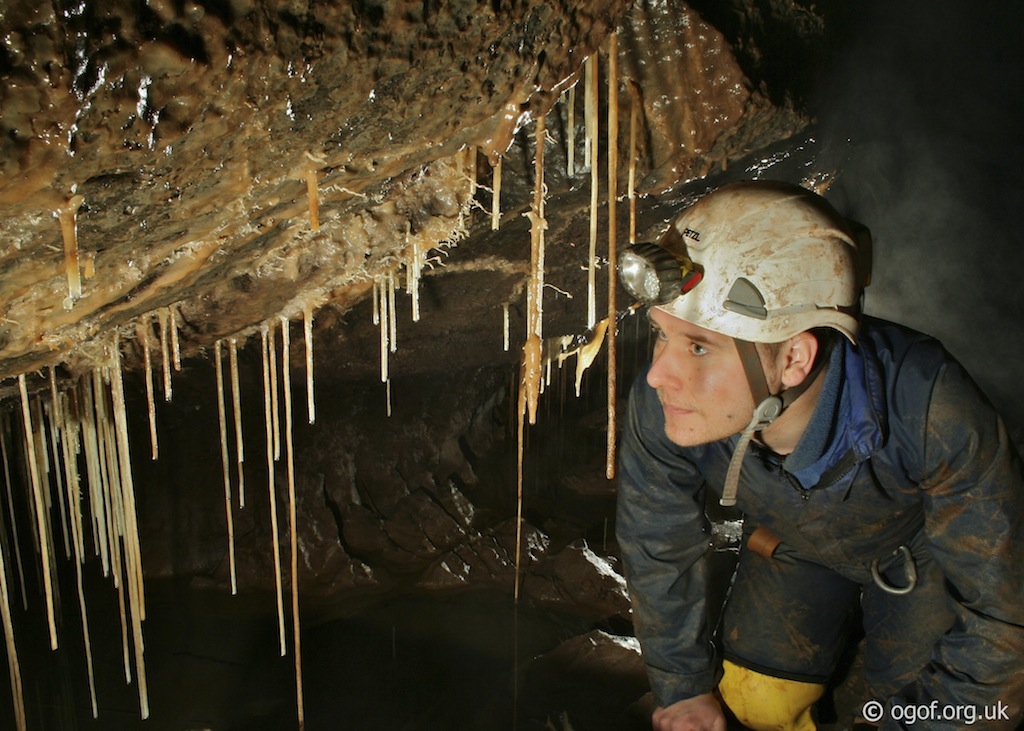
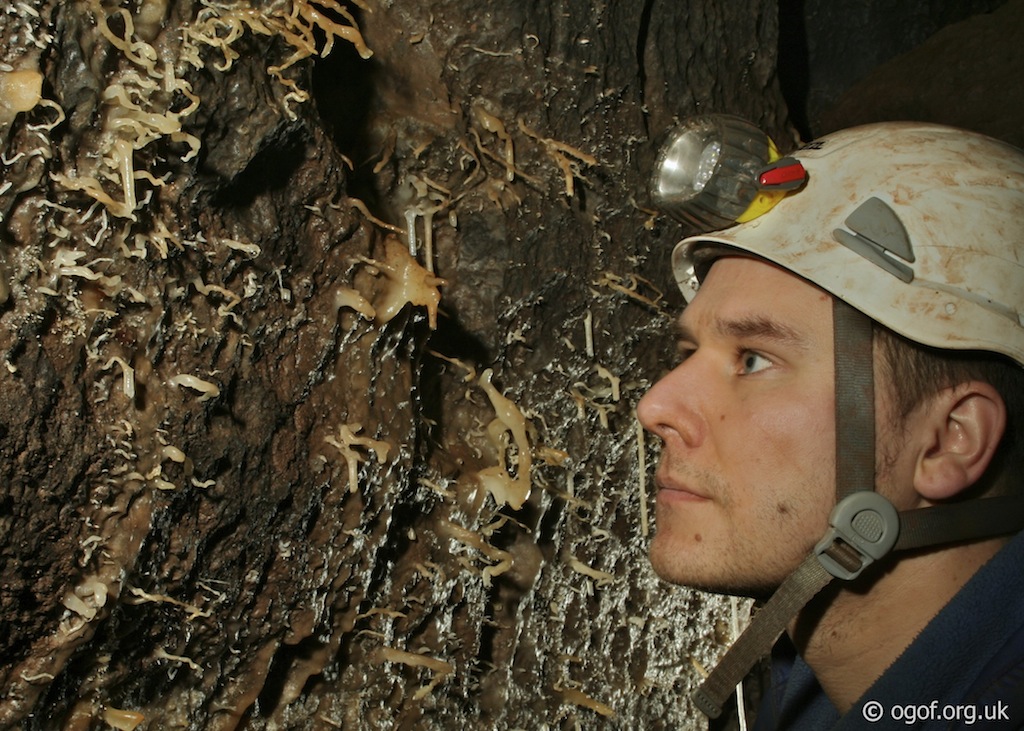
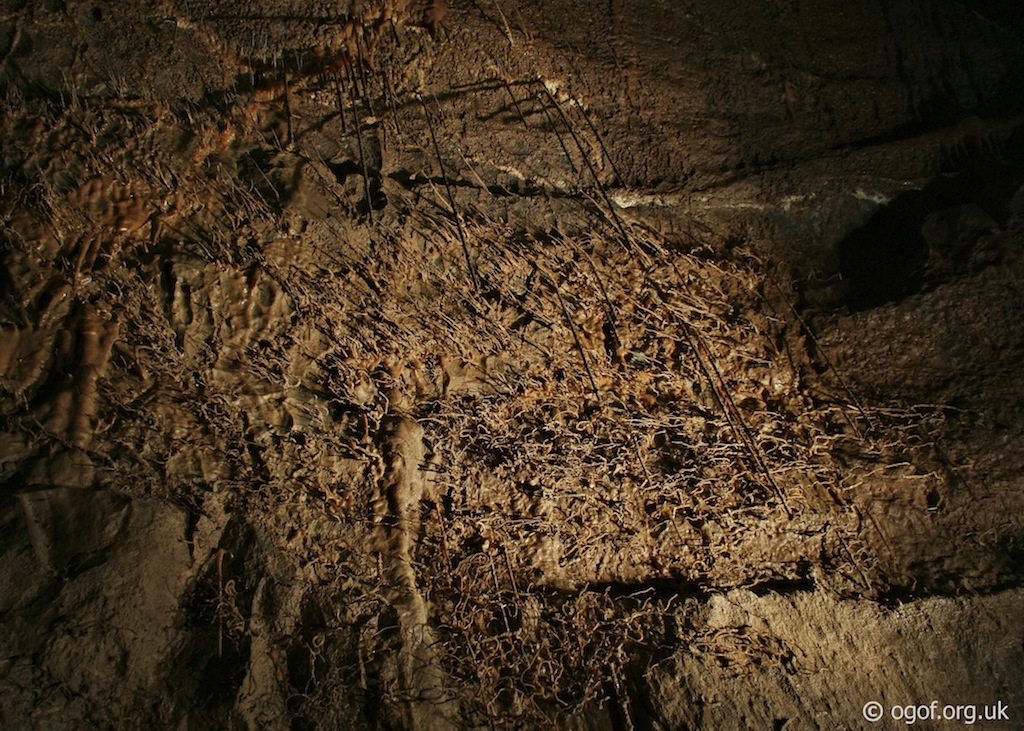
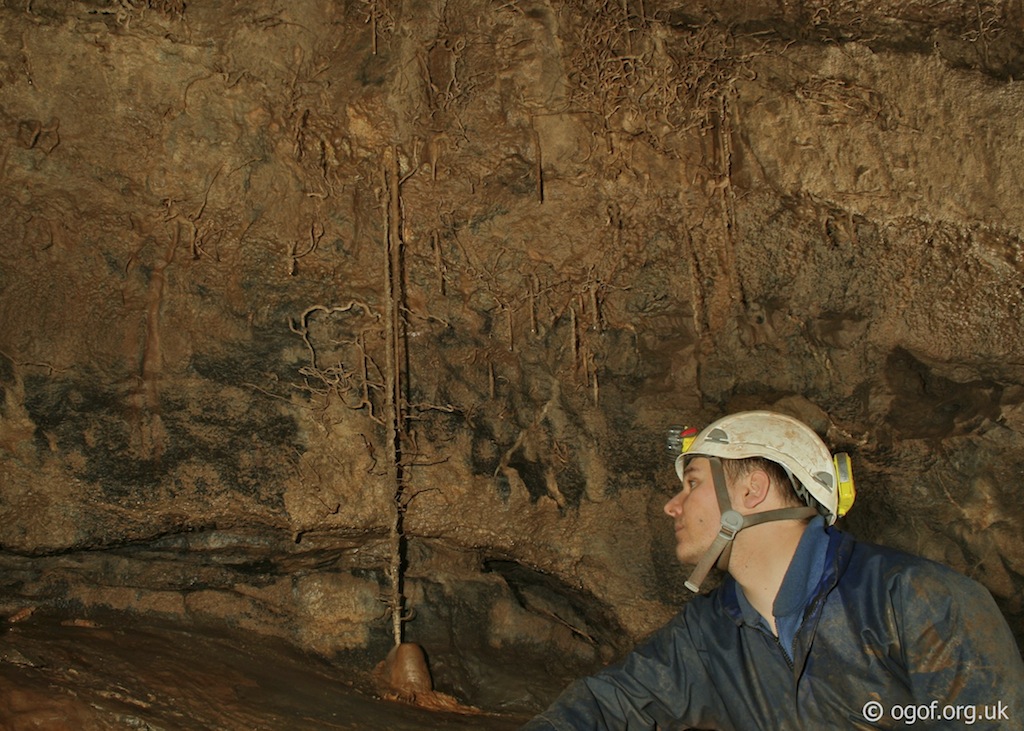
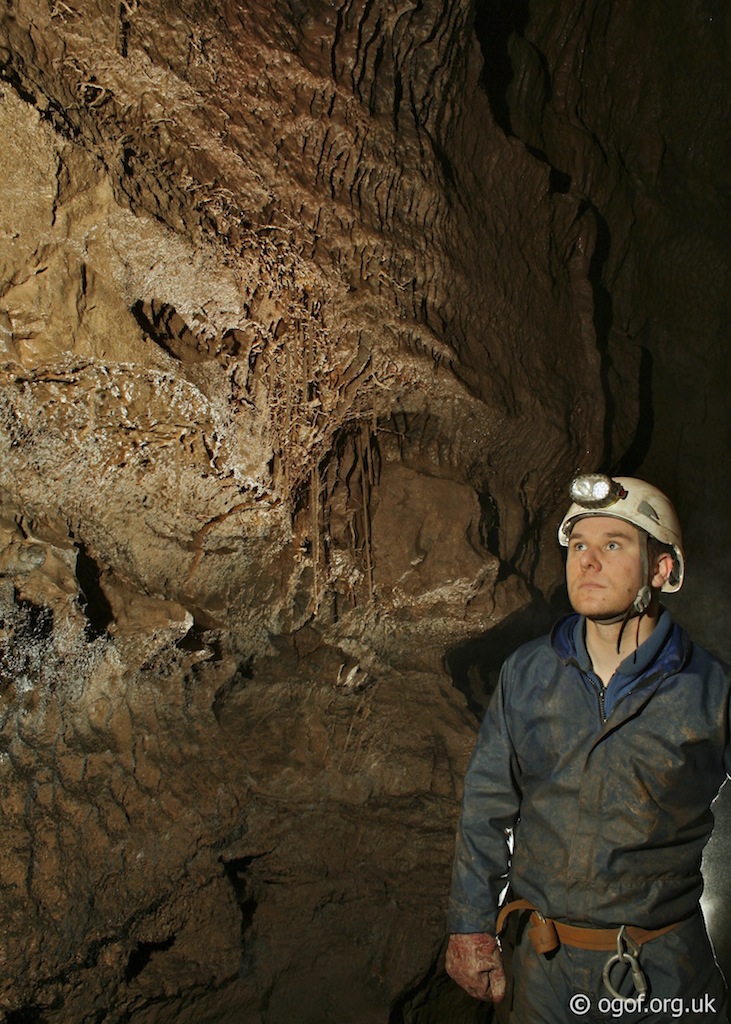
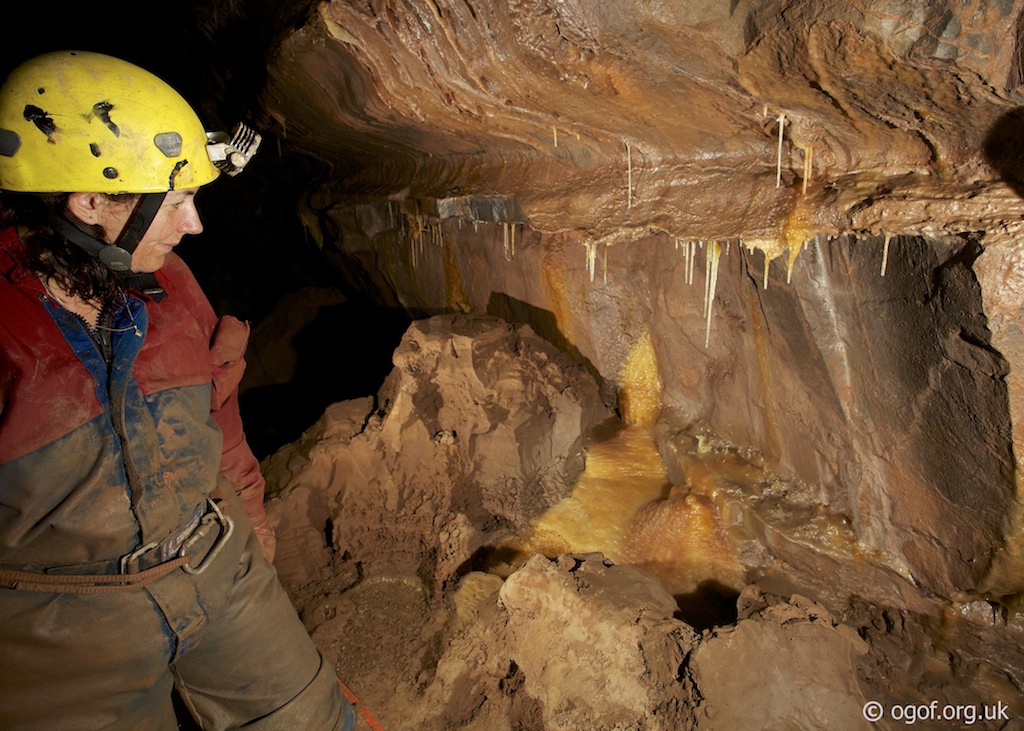
The Columns are a set of impressive but delicate formations probably formed by run off from lime kilns a short distance above on the surface. Column Hall is gated to protect the formations and is opened on the Sunday of Bank Holidays and New Year's Day itself by a team of wardens who oversee the visits on these days.


The Columns are generally approached by heading across Big Chamber to a passage on the right hand side. A short distance along this passage some easy traverses are followed until at the end a climb down into a passage on the left is followed. This rift passage is followed to an corner with a deep hole in the floor that has to be passed to reach a short but slippy climb up above the hole. Beyond a large passage soon reaches a steep wet climb down calcited boulders to enter Cairn Chamber. Routes of here to the left lead into the Labyrinth while following the trickle of water upstream heads towards the Columns. After following the water almost as far as it goes, a passage on the left can be followed a short distance to lead to the gate to Column Hall. The Column Hall area is quite extensive and can be explored during a visit to the Columns. An alternative route to Column Hall via a pitch is generally no longer used. The columns are thought to have been formed from waste leaching from lime kilns on the surface and are very soft and fragile as a result.
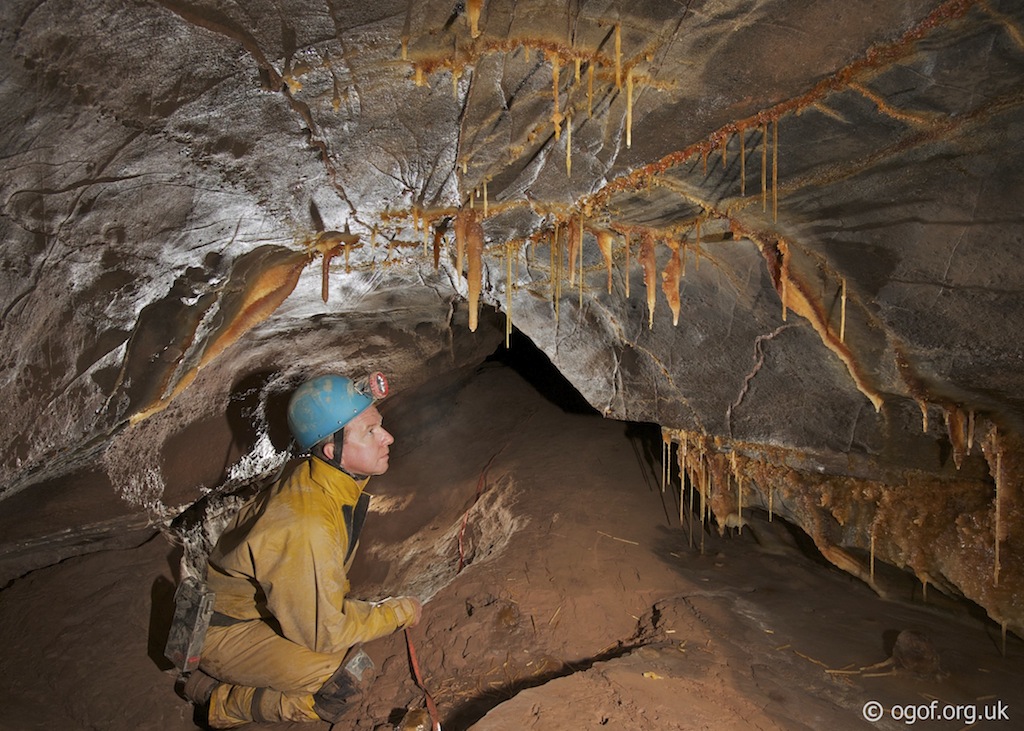
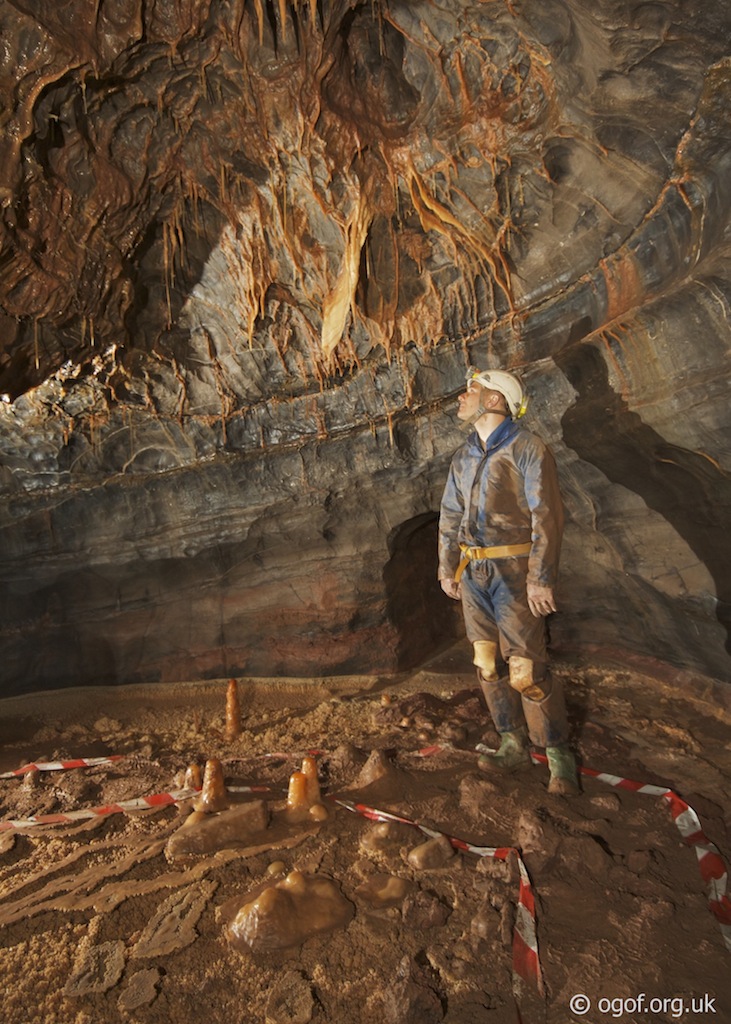
Bedding Chambers
The Bedding Chambers are approached from Speedy Caver and a very steep calcite slope. This leads into a series of well decorated bedding chambers that pass over the top of Gnome Passage before ending in chokes.


Passages opposite the entrance to Big Chamber Near the Entrance give access to Shale Chamber from where an exit from the South of the Chamber descends to give a connection to Speedy Caver. Here a very steep calcite slope can be climbed to give access to the Bedding Chambers. At the top of the slope, immediately to the right a passage can be followed which leads to a series of passages that give access to the Mini Columns. The Bedding Chambers head off to the left from the top of the slope and consist of a series of low and wide chambers connected by crawls with some fine formations in places. Deep holes are found in the floor as the Bedding Chambers pass over Gnome Passage. Routes allow the deep holes to be passed around to give access to passages beyond. The routes split off and all the routes eventually end in chokes.
Swamp Creek and the Nave
Swamp Creek is a stream passage that feeds the main streamway and can be approached from two directions, and is most often visited after passing the Trident and Judge formations heading towards the Nave.


Swamp Creek is generally approached from the Trident and Judge and has some distinctive formations at the start of the passage. Beyond the formations the passage twists and turns with the occasional need to climb over boulders to make progress upstream. Eventually the passage ends at a boulder choke and although the passage continues beyond to eventually meet the Shakehole in Chasm Passage, the continuation cannot be reached directly from stream level. The other way to approach Swamp Creek is to pass down a boulder squeeze on the left, immediately at the bottom of the Corkscrew Climb. Here a passage starts with a bouldery floor and after passing a turn off to Salubrious on the right becomes sandy floored. At one point a passage forks off to the left, but the way to Swamp Creek is to follow the low sandy crawls on the right hand branch. Eventually this reaches a T junction with a larger passage heading north and south. To the north, the passage leads to a window high above Swamp Creek where a traverse upstream on wide ledges will reach a chamber above the boulder choke at the end of Swamp Creek and from where the unpleasant connection through to the Shakehole in Chasm Passage can be followed. From the end of the sandy crawls the southern passage can be followed to emerge in a large passage with the sound of water emerging from Swamp Creek coming from the left. Passing over the water emerging from Swamp Creek leads to the Nave, while going in the opposite direction leads to the Judge and then Trident.
Trade Routes
The common trade routes for people new to the system include Big Chamber Near The Entrance, The Mini Columns, Gnome Passage and then past the Wedding Cake, then left to the Corkscrew Climb down to Salubrious Passage. Salubrious Passage can be followed downstream to meet a dry passage on the left that leads past the Trident, through a wet section past The Judge to lead to the start of the Nave ahead and to the stream passage of Swamp Creek that crosses just ahead of the start of the Nave. Back in Salubrious passage it can be followed downstream to the Crossroads, where ahead the top of Maypole Inlet - the route to the streamway is found. To the right at the crossroads a passage leads first over some easy traverses - Presidents Leap - and then to Selenite Tunnel. A major landmark in the cave is Shatter Pillar which is located on a junction, behind it is a passage that leads down via a drop and then a tight hole to reach the Lugubrious Streamway. Back at Shatter Pillar the main way on follows an impressive sized passage with fine formations in the roof to eventually meet Cross Rift. Cross rift can be followed to the left to reach some crawls that connect to Maypole Inlet, and to the right can be followed to reach Moonlight Chamber. Just before the climb up to Moonlight Chamber a passage descends on the left to head to Midnight Passage.
Northern Lights
Northern Lights is a remote and interesting area of the cave, that is accessed through a rather complicated and sporting route to reach Mudlust Chamber beyond which exploration of this area is very straight forward.

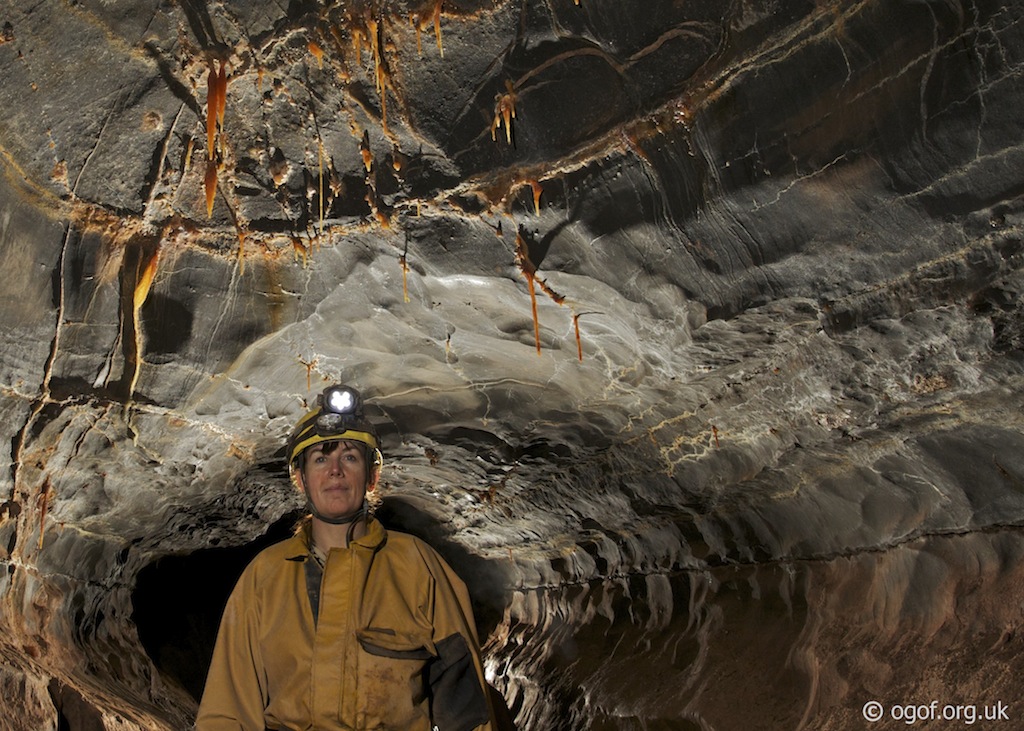
Northern Lights is reached by passing the bottom of the Skyhook Pitch passage following a crawl in a pool to enter a boulder choke and then dropping into a passage down a tight tube beyond the choke. Downstream leads to a passage on the right - Lavender Way that can be followed through several chambers to arrive at a chamber with a rope climb and a squeeze through at the top. This leads directly into the upper section of Mudlust Chamber. Heading down the chamber leads to a route though passages that have large deposits of moonmilk and impressive mud tidemarks on the walls. A small stream is met that issues from a body size tube on the right, this leads to a climb up after a couple of body lengths and then over moonmilk deposits in Moonmilk Revelry to reach an area called Peat's Playground where a variety of passages radiate off.
Upper Great Oxbow
The Upper Great Oxbow is a series of well decorated passages that can be accessed from the Midnight Traverses on one end and from the "Skyhook Pitch" at the other end.


The Upper Great Oxbow is a high level series that leads from the Midnight Passage traverses and then ends above the "Skyhook Pitch".
From the end of Cross Rift a passage on the left leads via a couple of climbs down to a sandy floored passage, along it's course it passes a passage that leads to Lugubrious Streamway on the left before reaching a sandy floored chamber. From the chamber a passage heads down to the sound of the streamway and leads to the start of the Midnight Traverses above the Main Streamway. The traverses can be followed to reach Brigadier Glennies ladder that allows a ascent up a slope to the Upper Great Oxbow Series. Back in the chamber following the passages at the upper end leads after a short distance to a blind passage on the left. At the end of this passage is a pull through system with two anchors placed in the wall (the past location of the Skyhook) to rig the pitch up to the other end of the Upper Great Oxbow Series.
Prokofiev Series
Although the Prokofiev Series lies only a few metres from Timo's Table on the trade routes in OFD Top Entrance, it is rarely visited. Very tight squeezes, an intimidating traverse and an exposed 7m free-climb will put off most people from visiting this area.


Between Timo's Table and the Chasm a passage leads off North to a crossroads, taking the left route here over easy traverses a further junction is reached where a rift heading North can be accessed on two levels. The entry to the Prokofiev Series is found by following the upper level in the rift. The passage height reduces until a tight body sized eyehole has to be passed. Soon holes in the floor are stepped over to reach the start of an intimidating traverse through a tall tight rift. From the other side a tall sandy floored rift passage can be followed until the sound of running water can be heard. This is followed to reach a shower inlet in a small chamber and a short climb through the water leads to a further small chamber. From here a passage to the right leads into a tall chamber with a very narrow rift in the far wall. A bold 7m free-climb up the rift reaches a high level passage from where a ladder can be rigged from a natural thread belay. This short section of passage then leads to a pitch down into Five Mile Chamber. A 10m ladder can be rigged with slings from a natural belay and a thread belay in the opposite wall. Five Mile Chamber has delicate sediment deposits on the floor and ends at a calcited choke at the far end.
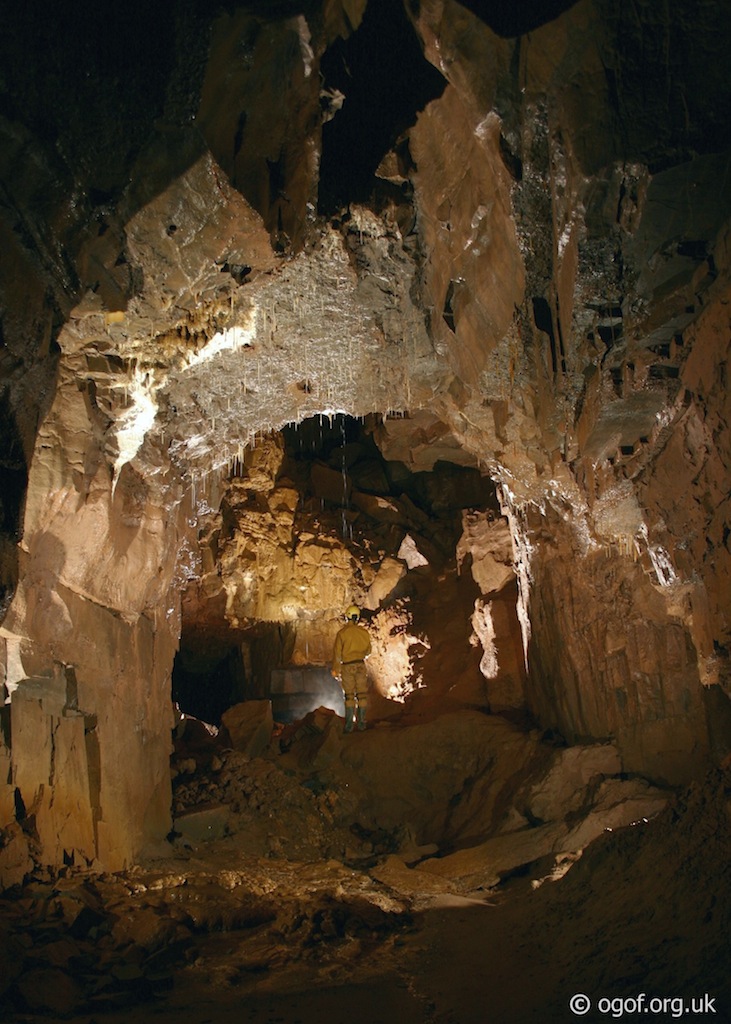
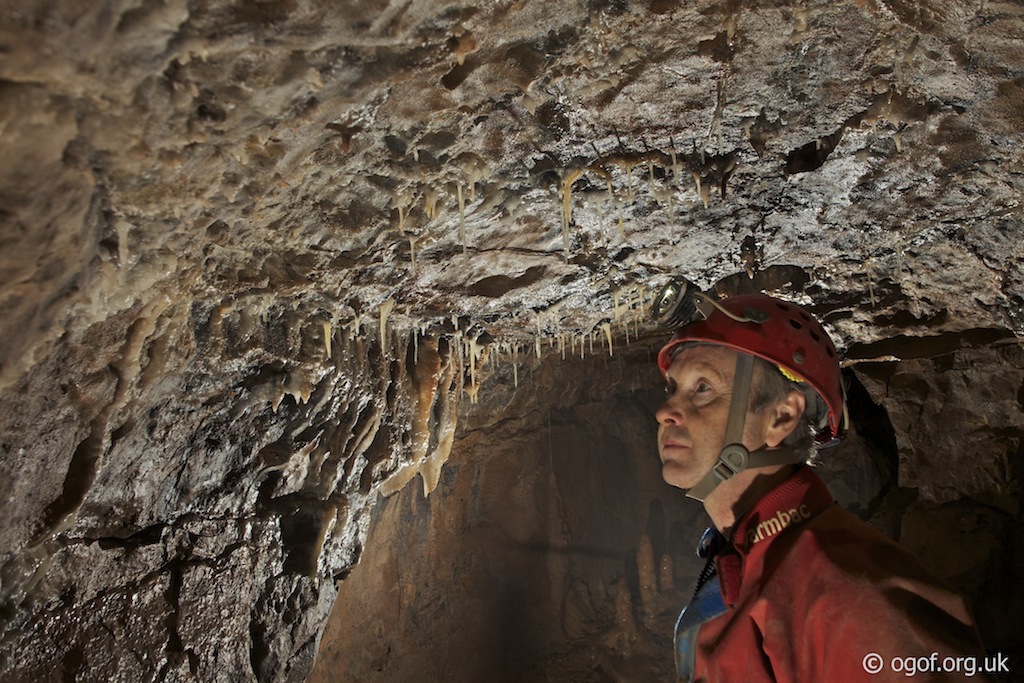
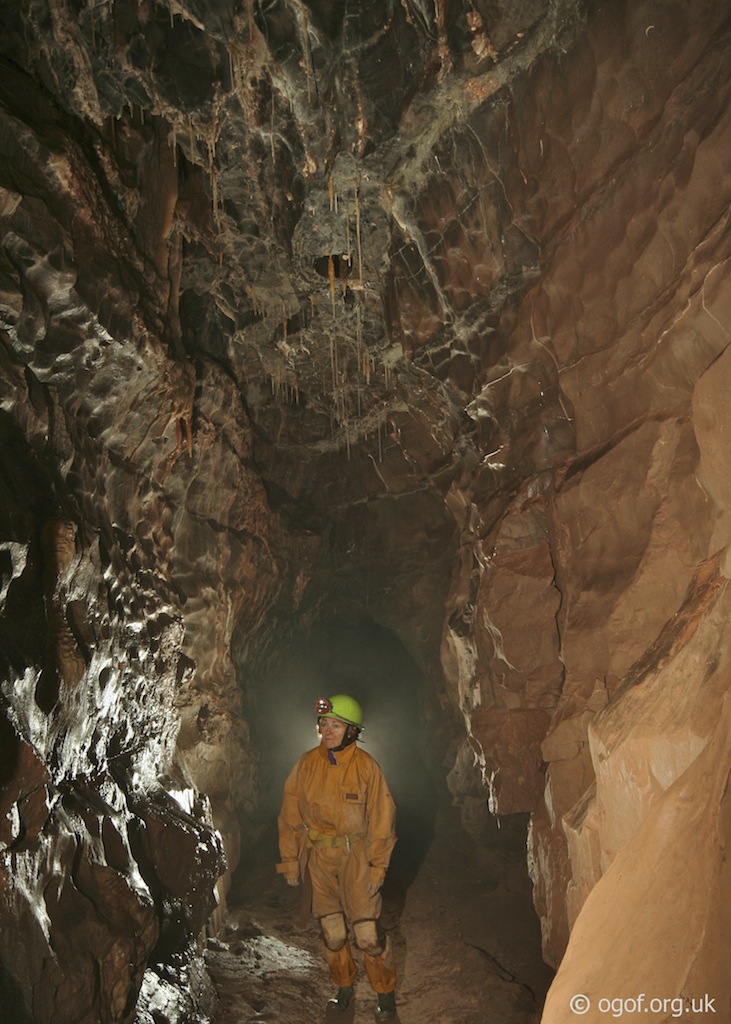
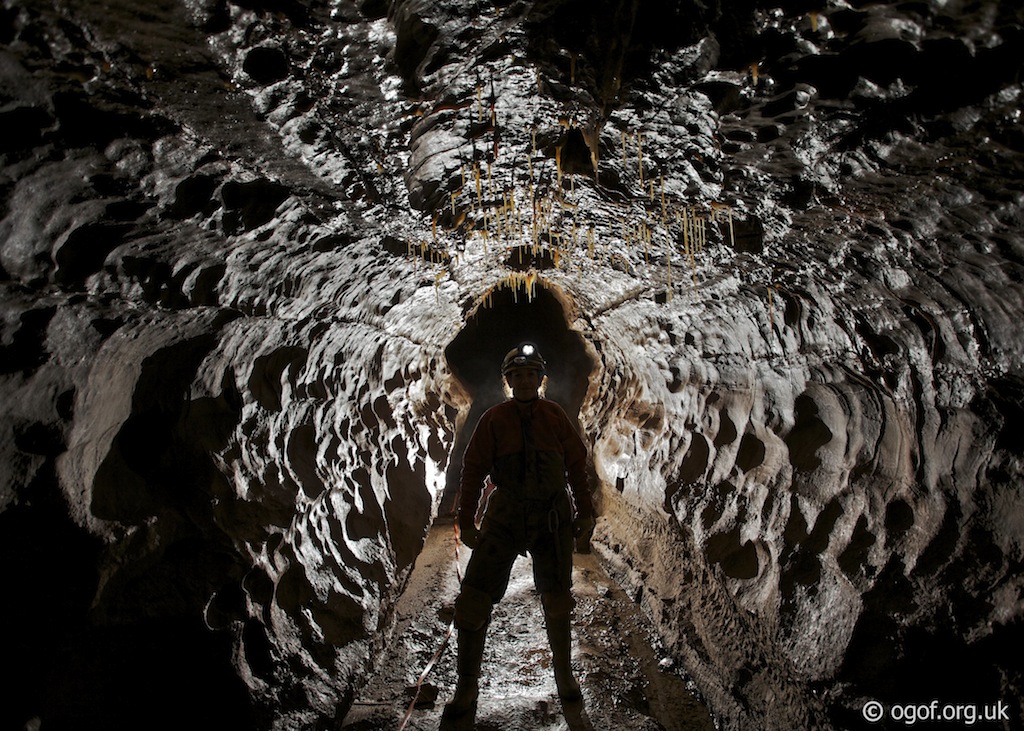
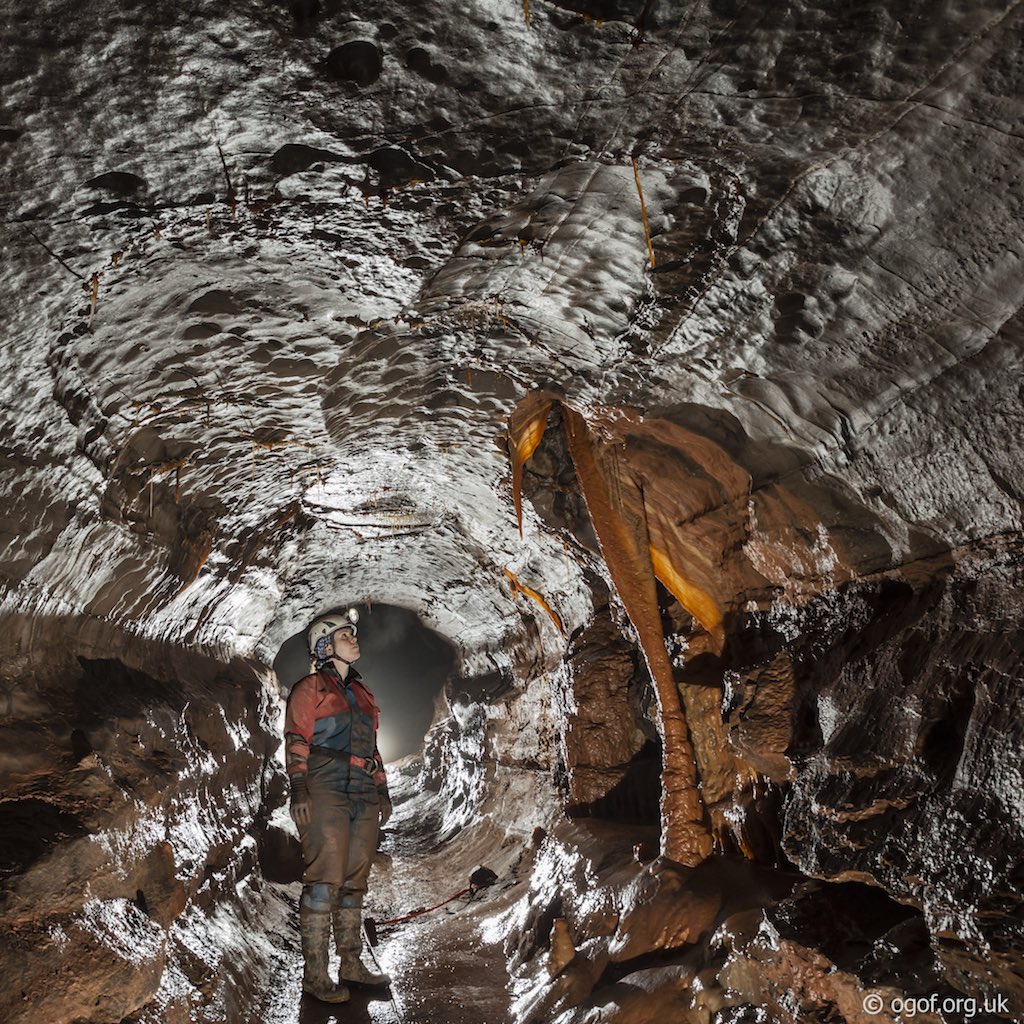
Selenite Tunnel
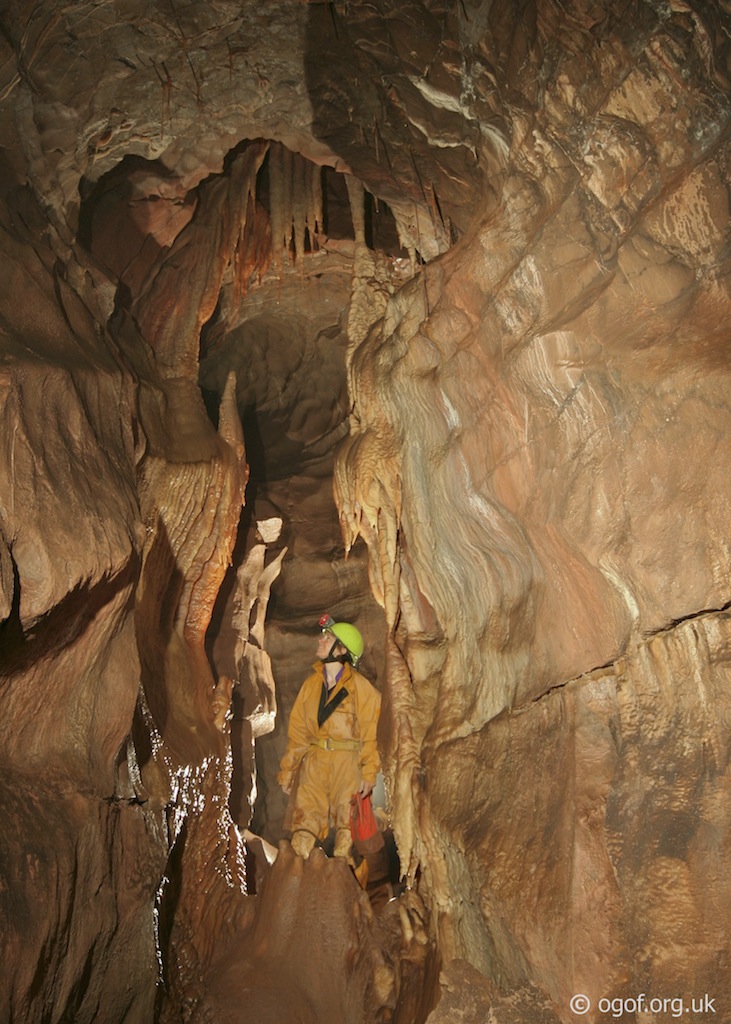
Selenite Tunnel is a well decorated sandy floored phreatic passage with a magnificent scalloping and fine formations in the roof. This passage is approached from the Crossroads via President's Leap and runs from there to Shatter Pillar in it's most impressive form.

Once at Shatter Pillar four other routes can be taken, most with the same impressive passage form and decorated roof. The largest of the passages heads South and splits in two after a short distance from Shatter Pillar, with both passages heading to Cross Rift. The other main route heads upwards and North to meet with the route from the end of Edward's shortcut. The final way from Shatter Pillar is down through a hole just behind the pillar itself. This drops into a passage that can be followed towards the sound of water. A hole in the passage floor is found before the water is reached. This tight squeeze down leads into the start of Lugubrious Passage.
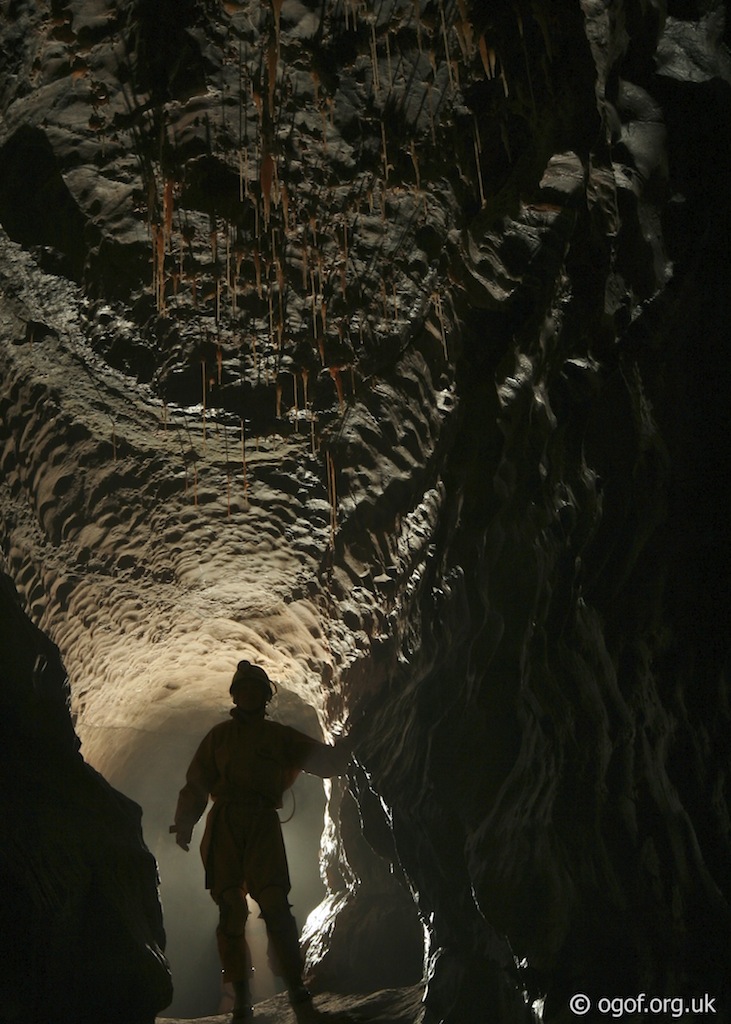
Lugubrious Passage
Lugubrious streamway starts as a narrow twisting rift and continues for some distance to approach the Main Streamway. Near it's end it gives access to a finely decorated balcony over the Main Streamway and for the final 100m a fine oxbow passage with scalloped walls and decorated ceiling can be followed.


Behind Shatter Pillar is a hole down between rocks. This can be followed downwards to reach a passage that leads towards the sound of water. Just before the water is reached a tight squeeze down through a hole in the floor can be passed to enter the Lugubrious Streamway. This is followed for some distance twisting and turning as it descends on it's route to the Main Streamway. Progress is mainly made at stream level, but some sections require you to traverse higher up. After some distance a passage on the left can be followed to give access to a balcony over the Main Streamway. Here a window looks back over Lugubrious Passage with some fine formations. Near the balcony over the streamway you can climb up to a passage on the right. This leads after some distance to link with Midnight Passage. Back in Lugubrious the stream can be followed for a further distance until a large dry oxbow passage can be seen on the right. Climbing up reaches this sandy floored passage that can be followed to a point where it ends high above the Main Streamway. Below the start of this section of passage the Lugubrious Streamway descends steeply to cascade into the Main Streamway.
Deja Rue
Deja Rue is a remote and complex area of passages that lie below the Upper Great Oxbow Series. Deja Rue itself is a fine vaulted passage that descends gradually to reach a low silted sump.


Deja Rue is approached by heading upwards from the chamber at the head of Midnight Passage. The passage is followed past the route on the left to the Skyhook and down a short climb ahead. Beyond the climb down, a slope of boulders is seen ahead, while a small hole in the wall on the left of the passage half way up the boulders leads to a boulder floored chamber. Heading through the hole into the chamber the rote directly opposite the way in is taken and descends to find a small stream flowing in a tall passage. The passage is followed straight ahead for a distance past a point where the stream enters until an dug area is encountered. Following the obvious route through Hayden's Dig leads into the top end of Deja Rue passage. Here you have a commanding view down the impressive vaulted passage as it gently descends to reach an area of sediment deposits before reaching a low silted sump. 20m back up the passage from the sump a small amount of water flows from a low sandy passage. This passage can be followed as a low crawl, flat out in places to reach a larger passage beyond. An enlarged section of survey is very useful when visiting the area beyond this crawl. Soon on the left an aven is found, which links with the Great Oxbow above via a 17m pitch (not rigged). Carrying on eventually leads to an impassable choke, but 10m before the choke a passage on the left can be followed for a short distance to enter a chamber with multiple ways off. Some ways off choke almost immediately, while the main ways off form the two ends of a round trip of this area. All routes can be explored from here, but will close down or link back to the circular route eventually. Water is followed in part of this series to be found issuing as a spout from an impenetrable passage. It is near this area that an 11m pitch (rigged) leads upwards to two further pitches and the link to Merthyr Vale.
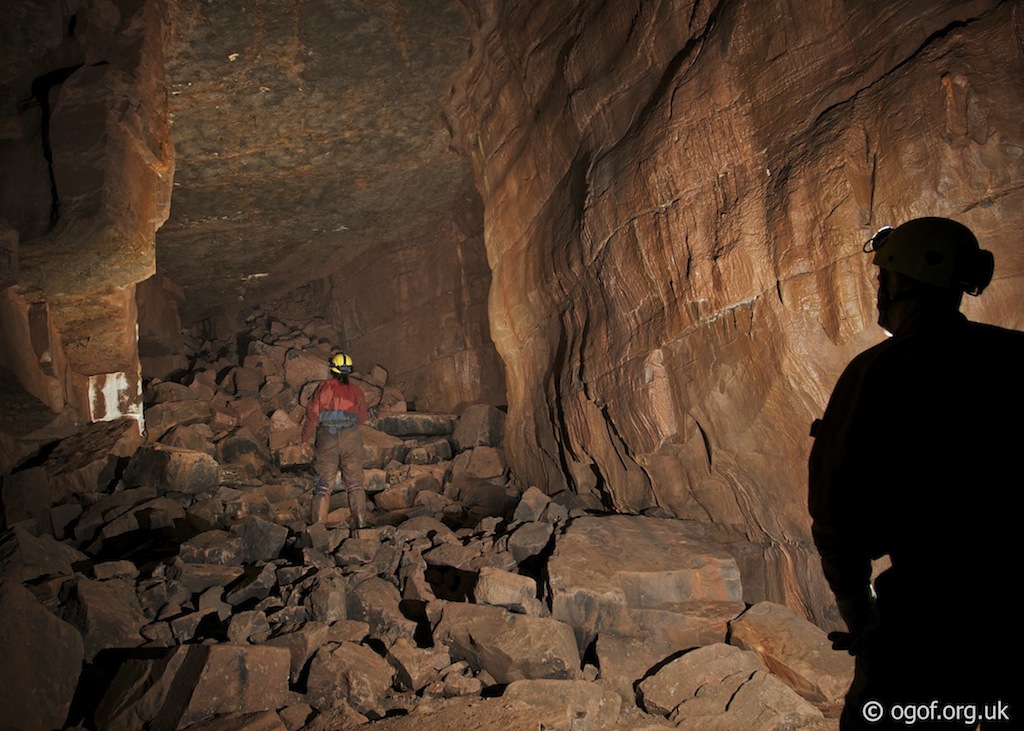
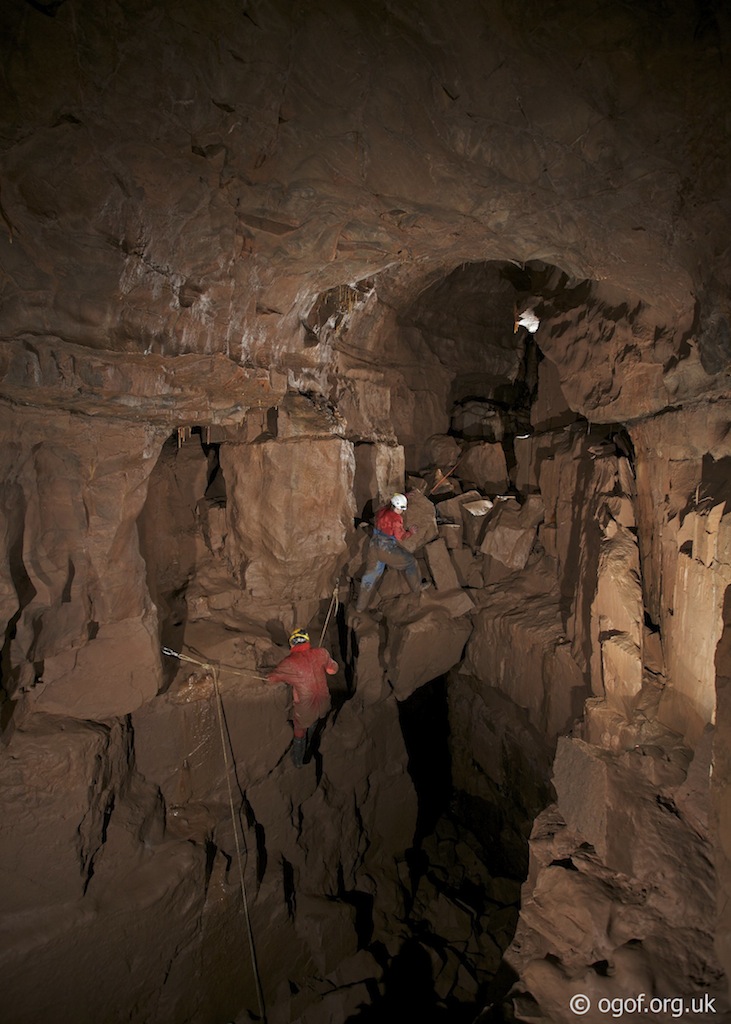
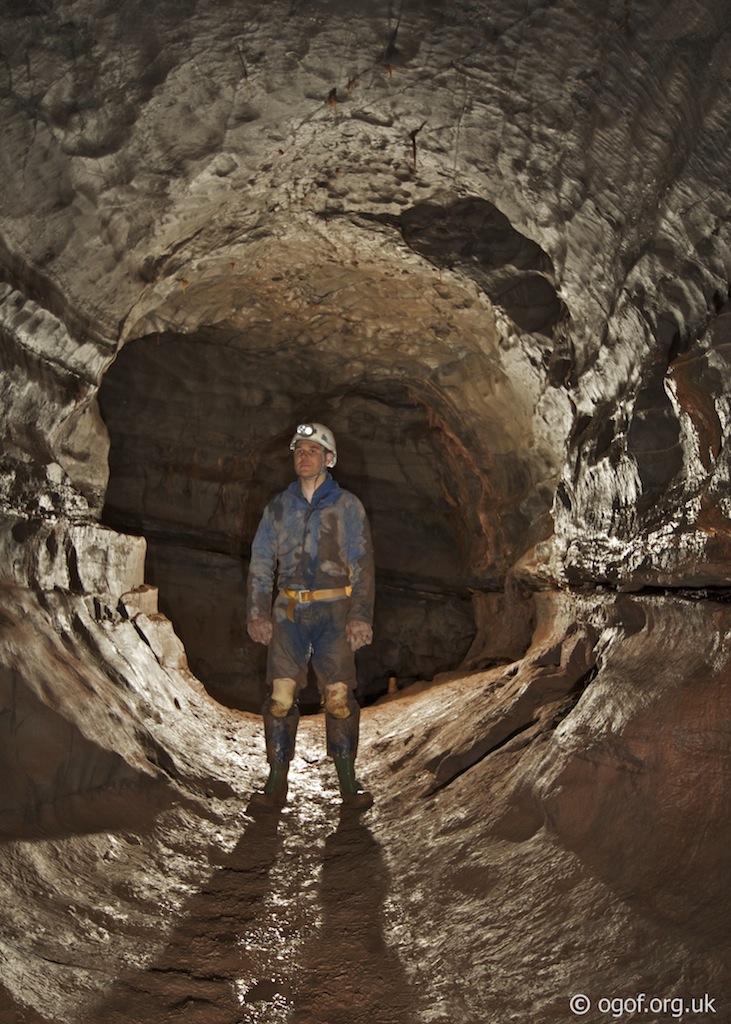
Chasm Passage
Chasm Passage is a huge passage that runs north-south through the system linking the top of the Corkscrew area at the south end to the Nyth Bran Series at it's northern end.


Chasm Passage starts with the boulder slope down to the top of the Corkscrew climb on the left. Ahead a lofty passage continues which has fine calcite formations on the walls and areas of calcite on the floor below. The passage first veers right and then takes a sharp left turn before it reaches the top of a pitch above the Shakehole. Above the pitch on the right hand wall is a rift passage. This can be climbed up to and can be followed to a junction. Ahead at the junction leads to a balcony overlooking Chasm Passage below. The left branch can be followed back to the top of Arete Chamber. This passage has a high mud sediment blockage partway through that has to be climbed over. Back in Chasm Passage the 8m pitch down into the Chasm brings you to the Shakehole, where a very slippy climb down leads to the top of a tall rift passage that contains a stream that feeds Swamp Creek. The route along this passage is tortuous and leads eventually to a chamber where a traverse gives access to a high level passage on the right that links to the sandy floored passages that run parallel with Swamp Creek. Back in Chasm beyond the Shakehole the floor rises steeply and at one point a 3m climb up is required to progress. This climb often has a handline in place. Beyond the passage continues, very lofty and reaches an area where it splits in level, being higher on the right hand side. in this area on the right is a climb up to a passage that leads into the southern end of the Nyth Bran series, while a little further along in the left hand side in the lower section is a low crawl into a passage that links down to the bottom of Arete Chamber and also to Salubrious Passage. Ahead Chasm Passage continues past two right hand passages that both link together and lead to Poached Egg climb. Chasm Passage ends shortly as it reaches the Nyth Bran Series ahead and links to Timo's Table on the left.
Tackle
Nave | 20m - 12m - 25m pitchesPendulum Passage | 35m - 10m - 15m pitches + 10m handline for final climb
Prokofiev Series | 7m climb - 10m pitch
Poached Egg | Handline is helpful as the key handhold is no longer there...
Crevasse | Handline down to the traverse and across it followed by an 8m pitch at the end or 40m rope for SRT
An SRT Topo rigging guide is available from the references below.
Video


References
Cambrian Cave Registry entry for Ogof Ffynnon Ddu 2 UKcaving Wiki entry for Ogof Ffynnon Ddu
Ogof Ffynnon Ddu 2 virtual tour
Adrian Fawcett's South Wales SRT Topo Guide Including Ogof Ffynnon Ddu 2 (PDF)
Adrian Fawcett's South Wales SRT Guide Home Page (MS Word)
Caves of South Wales | Tim Stratford | ISBN: 1-871890-03-9 | Published by Cordee
Selected Caves of Britain and Ireland | Des Marshall - Donald Rust | ISBN: 1-871890-43-8 | Cordee
OFD Survex Data | Brian Clipstone's survey data page
OFD Survey PDF - Low res | Brian Clipstone's survey page
Warnings
Navigation is the single biggest cause of rescues in OFD. The route from Gnome Passage to the entrance provides the greatest challenge to people new to the cave as the complexity of the passages means the survey is of limited use in this area.The streamway is dangerous in wet weather and can rise very rapidly after rain.
Disclaimer
The photographs and information of this page has been provided to help cavers planning trips. Caving can be a dangerous activity, if you are interested in exploring caves please join a caving club so you can enjoy a safe introduction to this sport. Local caving clubs are listed on the links page or you can visit the 'New To Caving' website for more options.If you feel that any of the information is incorrect or should be updated please contact us.
Cave Conservation Code
- Cave with care and thought for the environment.
- Disturb nothing whether living or geological.
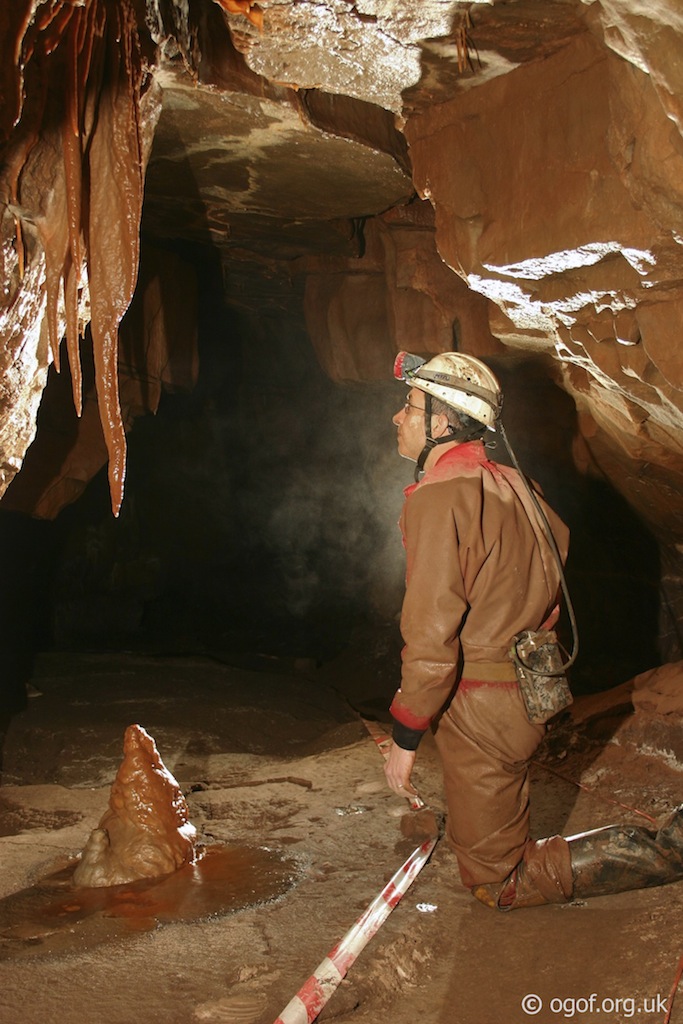
- Avoid touching formations.
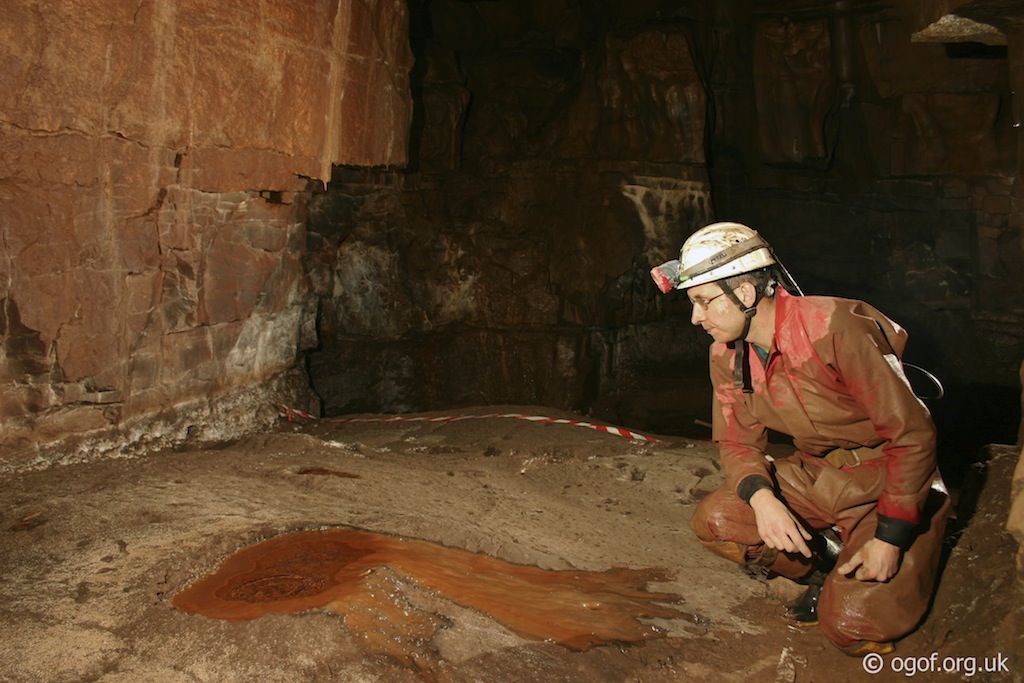
- Keep to marked routes and never cross conservation tapes.
- Take nothing but photographs.
- Do not pollute the cave, leave nothing behind.
british-caving.org.uk
Download leaflet
